June 12, 2026 · Squamish, BC 🇨🇦
Mamquam Mountain: Exploring an Otherworldly Icefield
A shamelessly stacked Mounties crew getting it done in new territory and surreal terrain.
- Distance
- 16.83 mi
- Elev. Gain
- 6,447 ft
- Time
- 28 hr
- Coords
- 49.7753° N, 122.8507° W
GPS track for route beta. Conditions change constantly, so verify your route and navigate at your own risk.
June 11 to 12, 2026
The Approach
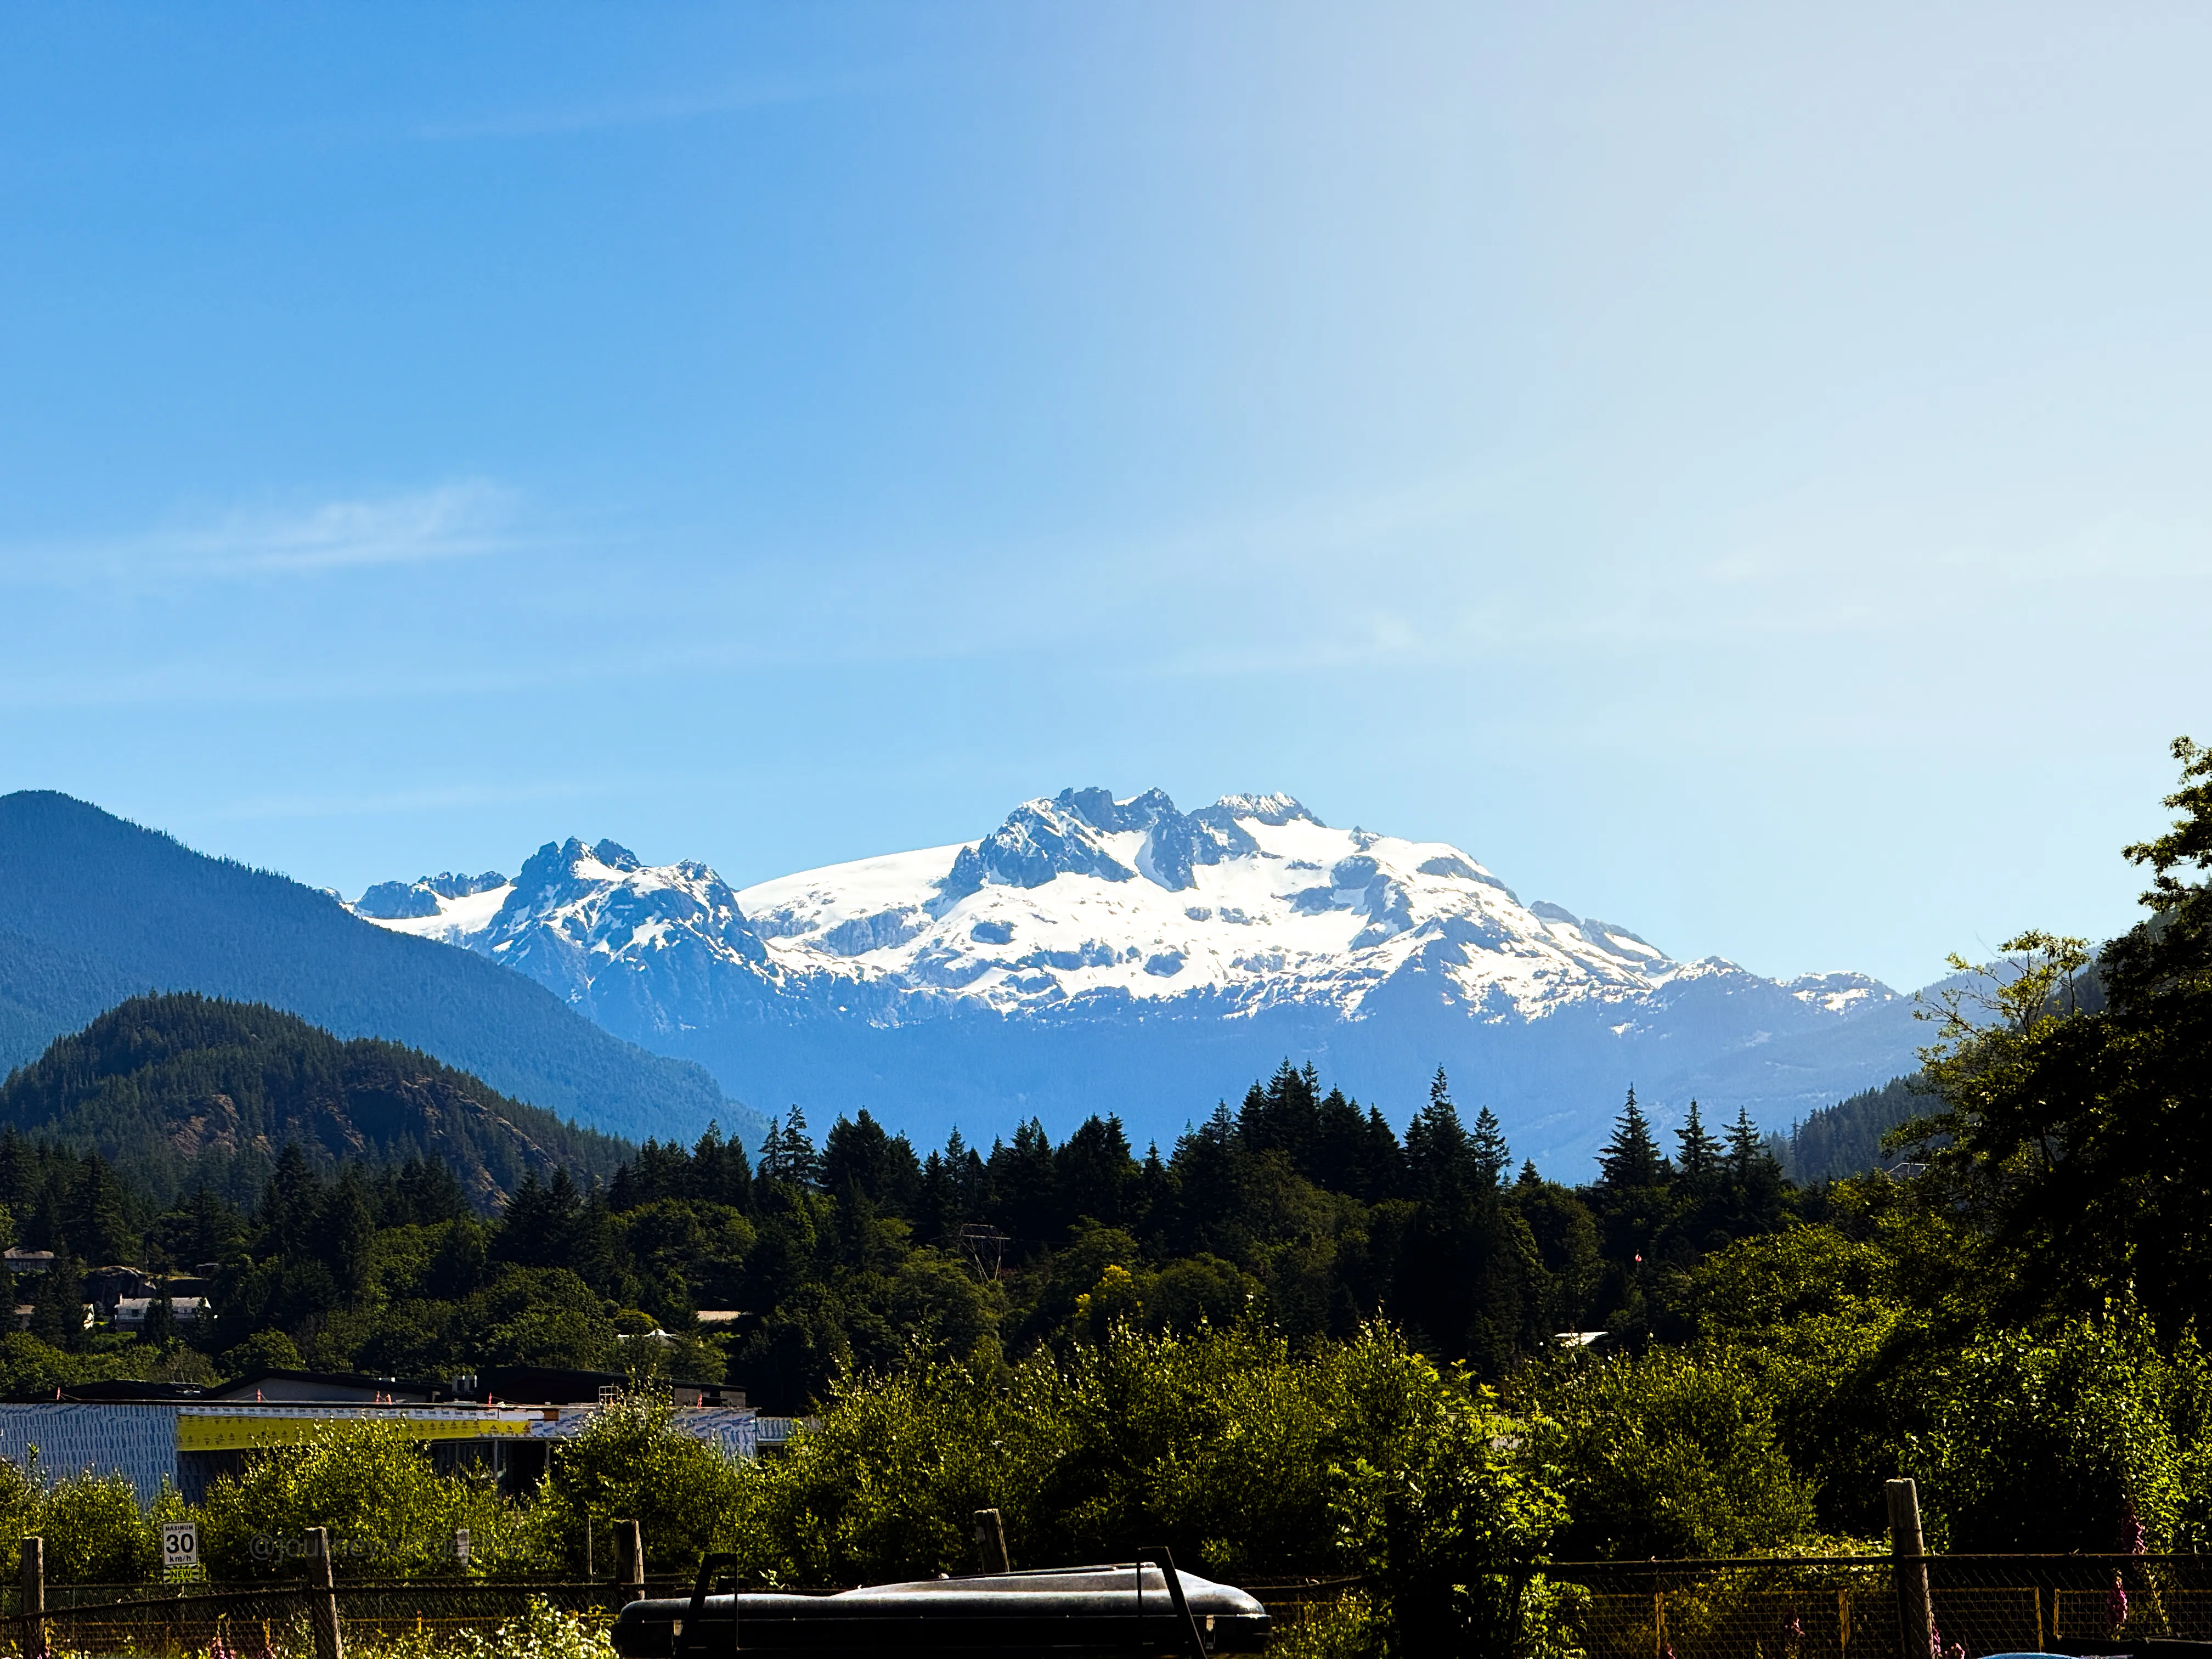
Mamquam Mountain, visible from Squamish. The objective.
Getting there: the forest service road in is hella rocky and slow going, so you’ll want a high clearance vehicle. It looks almost impassable at a few points, but it goes, and you’ll get there. Heads up that service drops out partway up the road, so download your maps before you lose signal.
We set off from the Watersprite Lake TH at 2,610 ft (796 m) at 1300. The turnoff to the climbers trail (the New Darling Lake Trail) comes at 2,915 ft (889 m). You start running into swamps here. Lots of this is already worked around with wooden bridges to cross over, but you will encounter swamps that you sink deep into with your boot if you don’t step around.
Paranoid Creek
The log crossing over Paranoid Creek sits at 3,360 ft (1,024 m). A note on it: very slick wood. The fixed line is aged and somewhat sketchy. I crossed the first time with crampons into the wood, but scooting across horseback style was safer and easier overall. The static line will need replacing soon. On the descent, we all scooted the whole way. Some wanted to wear helmets. On the ascent, the last branch requires a 180 degree rodeo move and then backwards scooting to get the last meter.
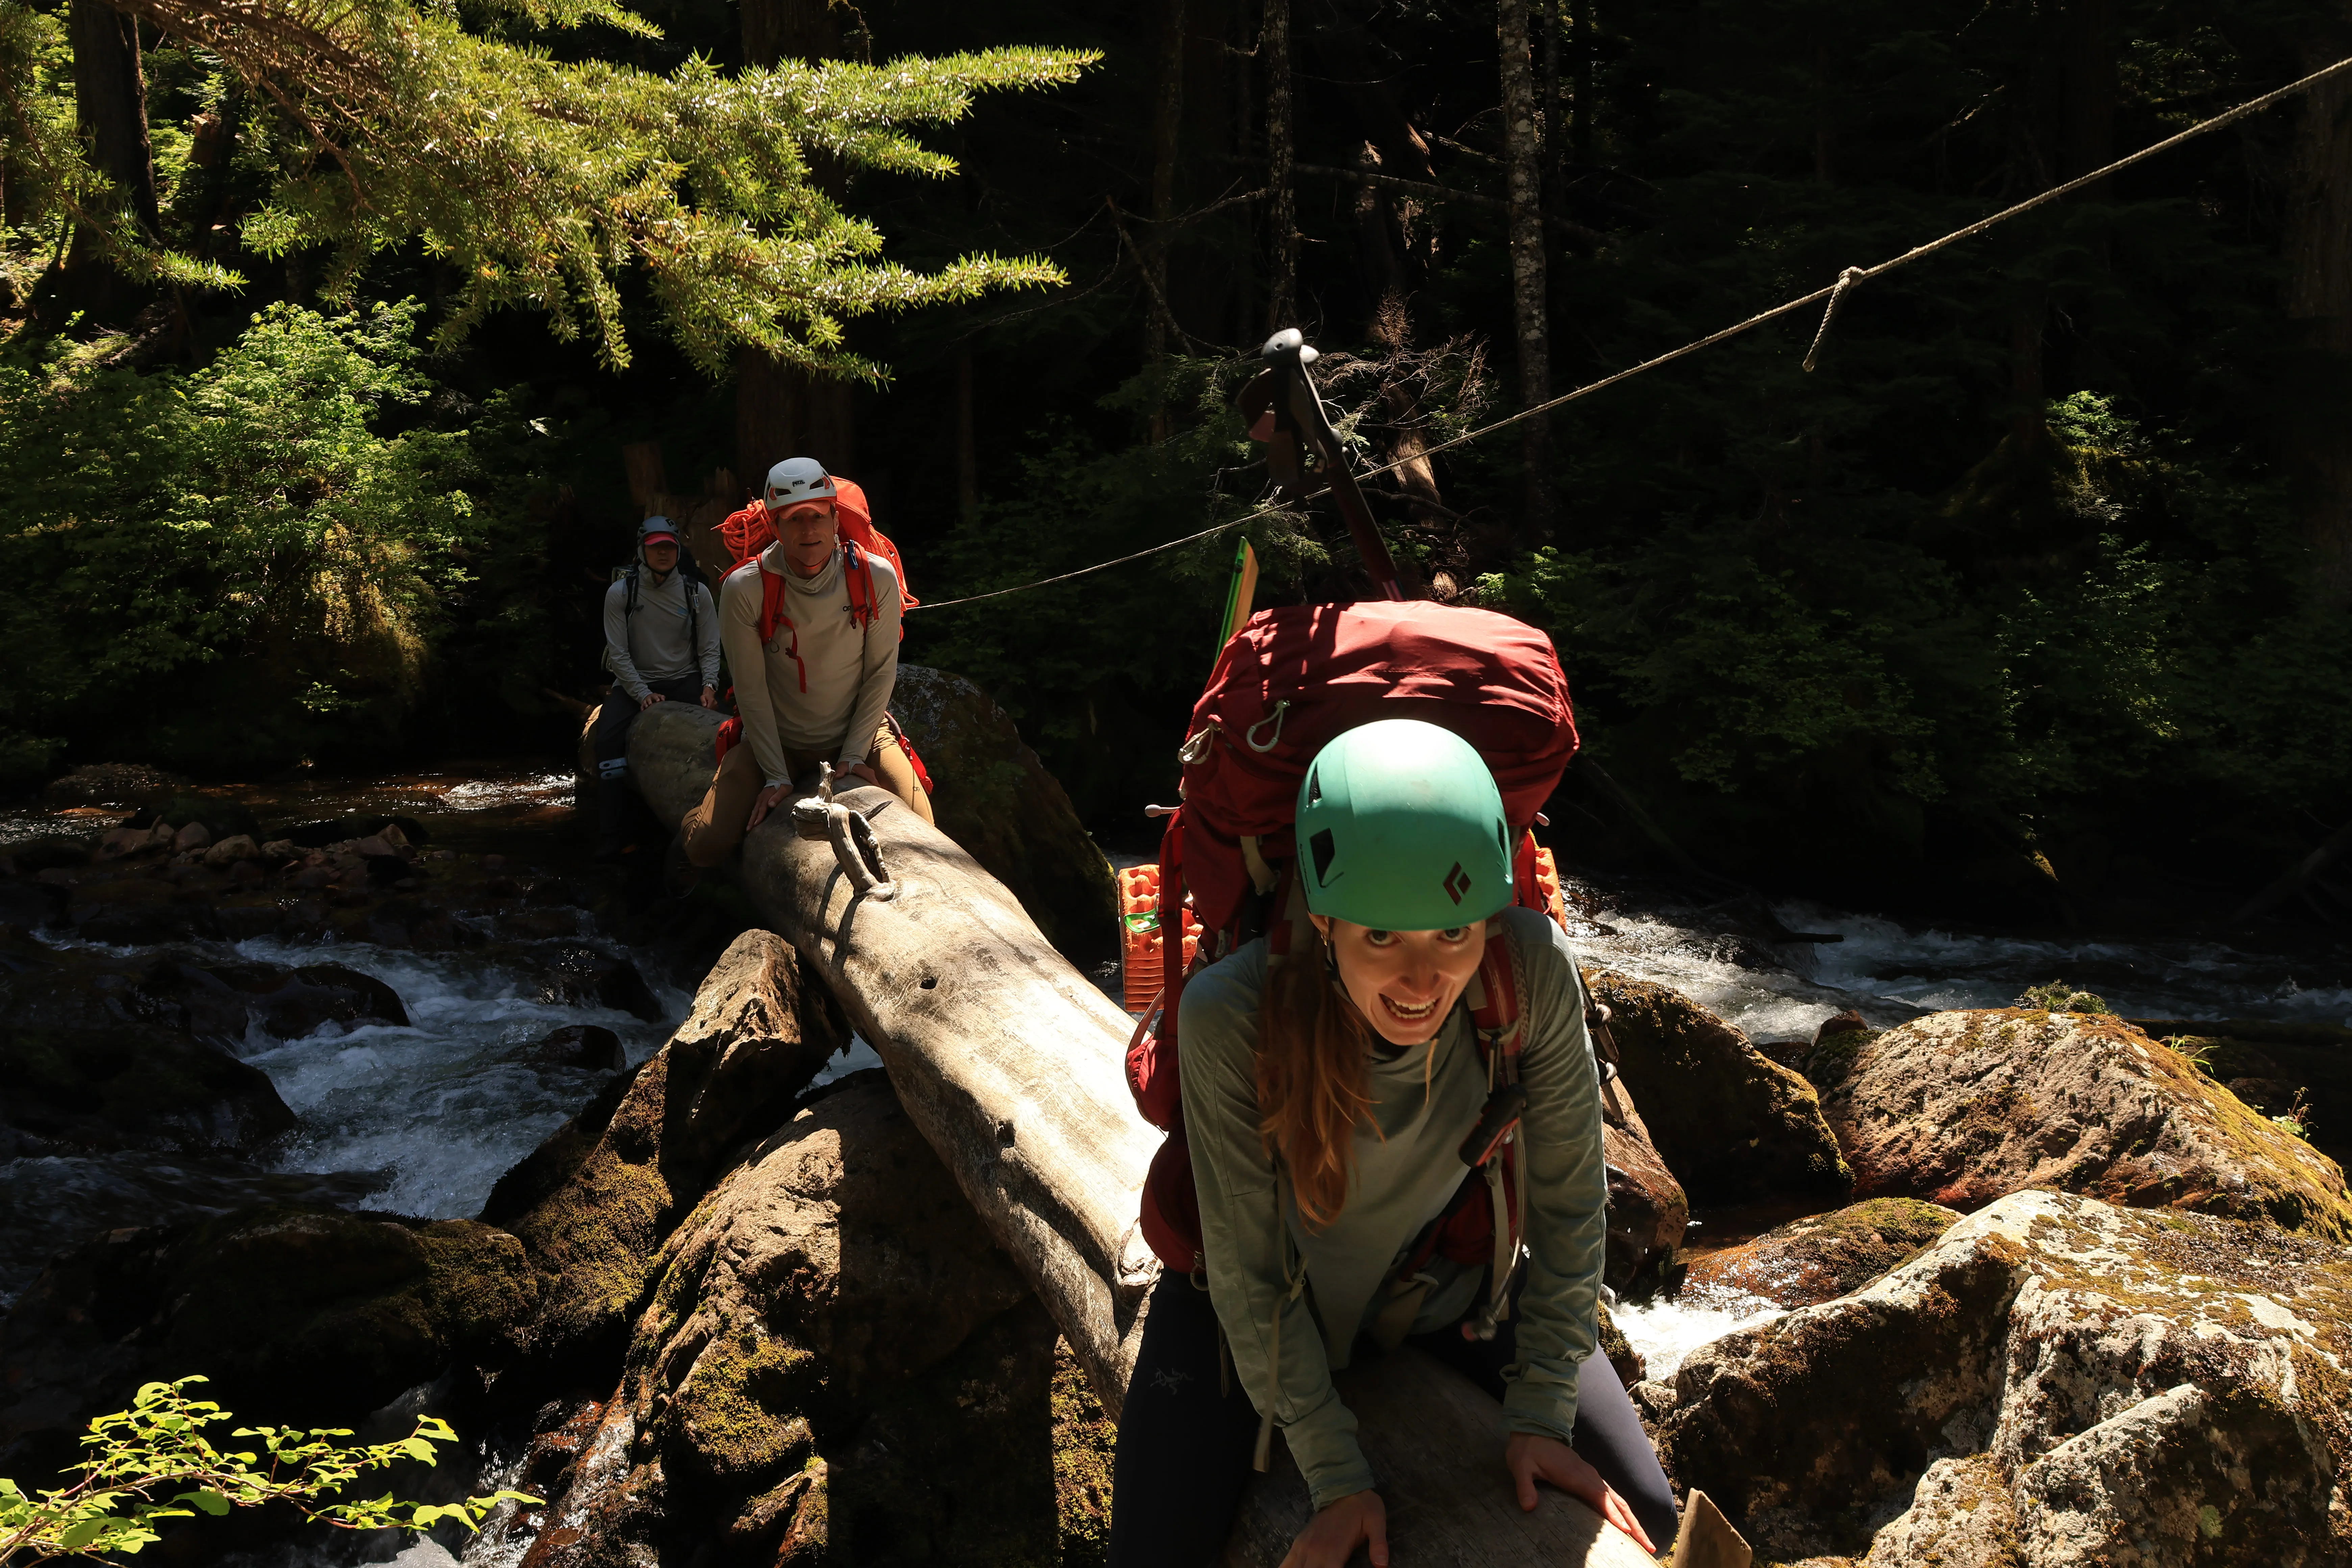
The good old log scoot over Paranoid Creek
After Paranoid Creek, the intensity picks up and you are doing a steep forest climb up. There is actually quite good flagging, including someone’s not so environmentally friendly spray painting of rocks. At least it’s accurate. I clocked several 50+ degree grades and at one point a 70% grade. It’s a good leg burner. If you find yourself scrambling boulders for any length of time (you have to do very little), you might be sort of off the path. It all goes though. Eventually you “top out” of the forest with a view of some snowy Canadian peaks. You begin a very faint trail through some snow and vegetation. Up and down over some small snowy ridges. The snow level was low, and my team collectively post-holed dozens of times by rocks. The snow was total slush on day 1 and day 2.
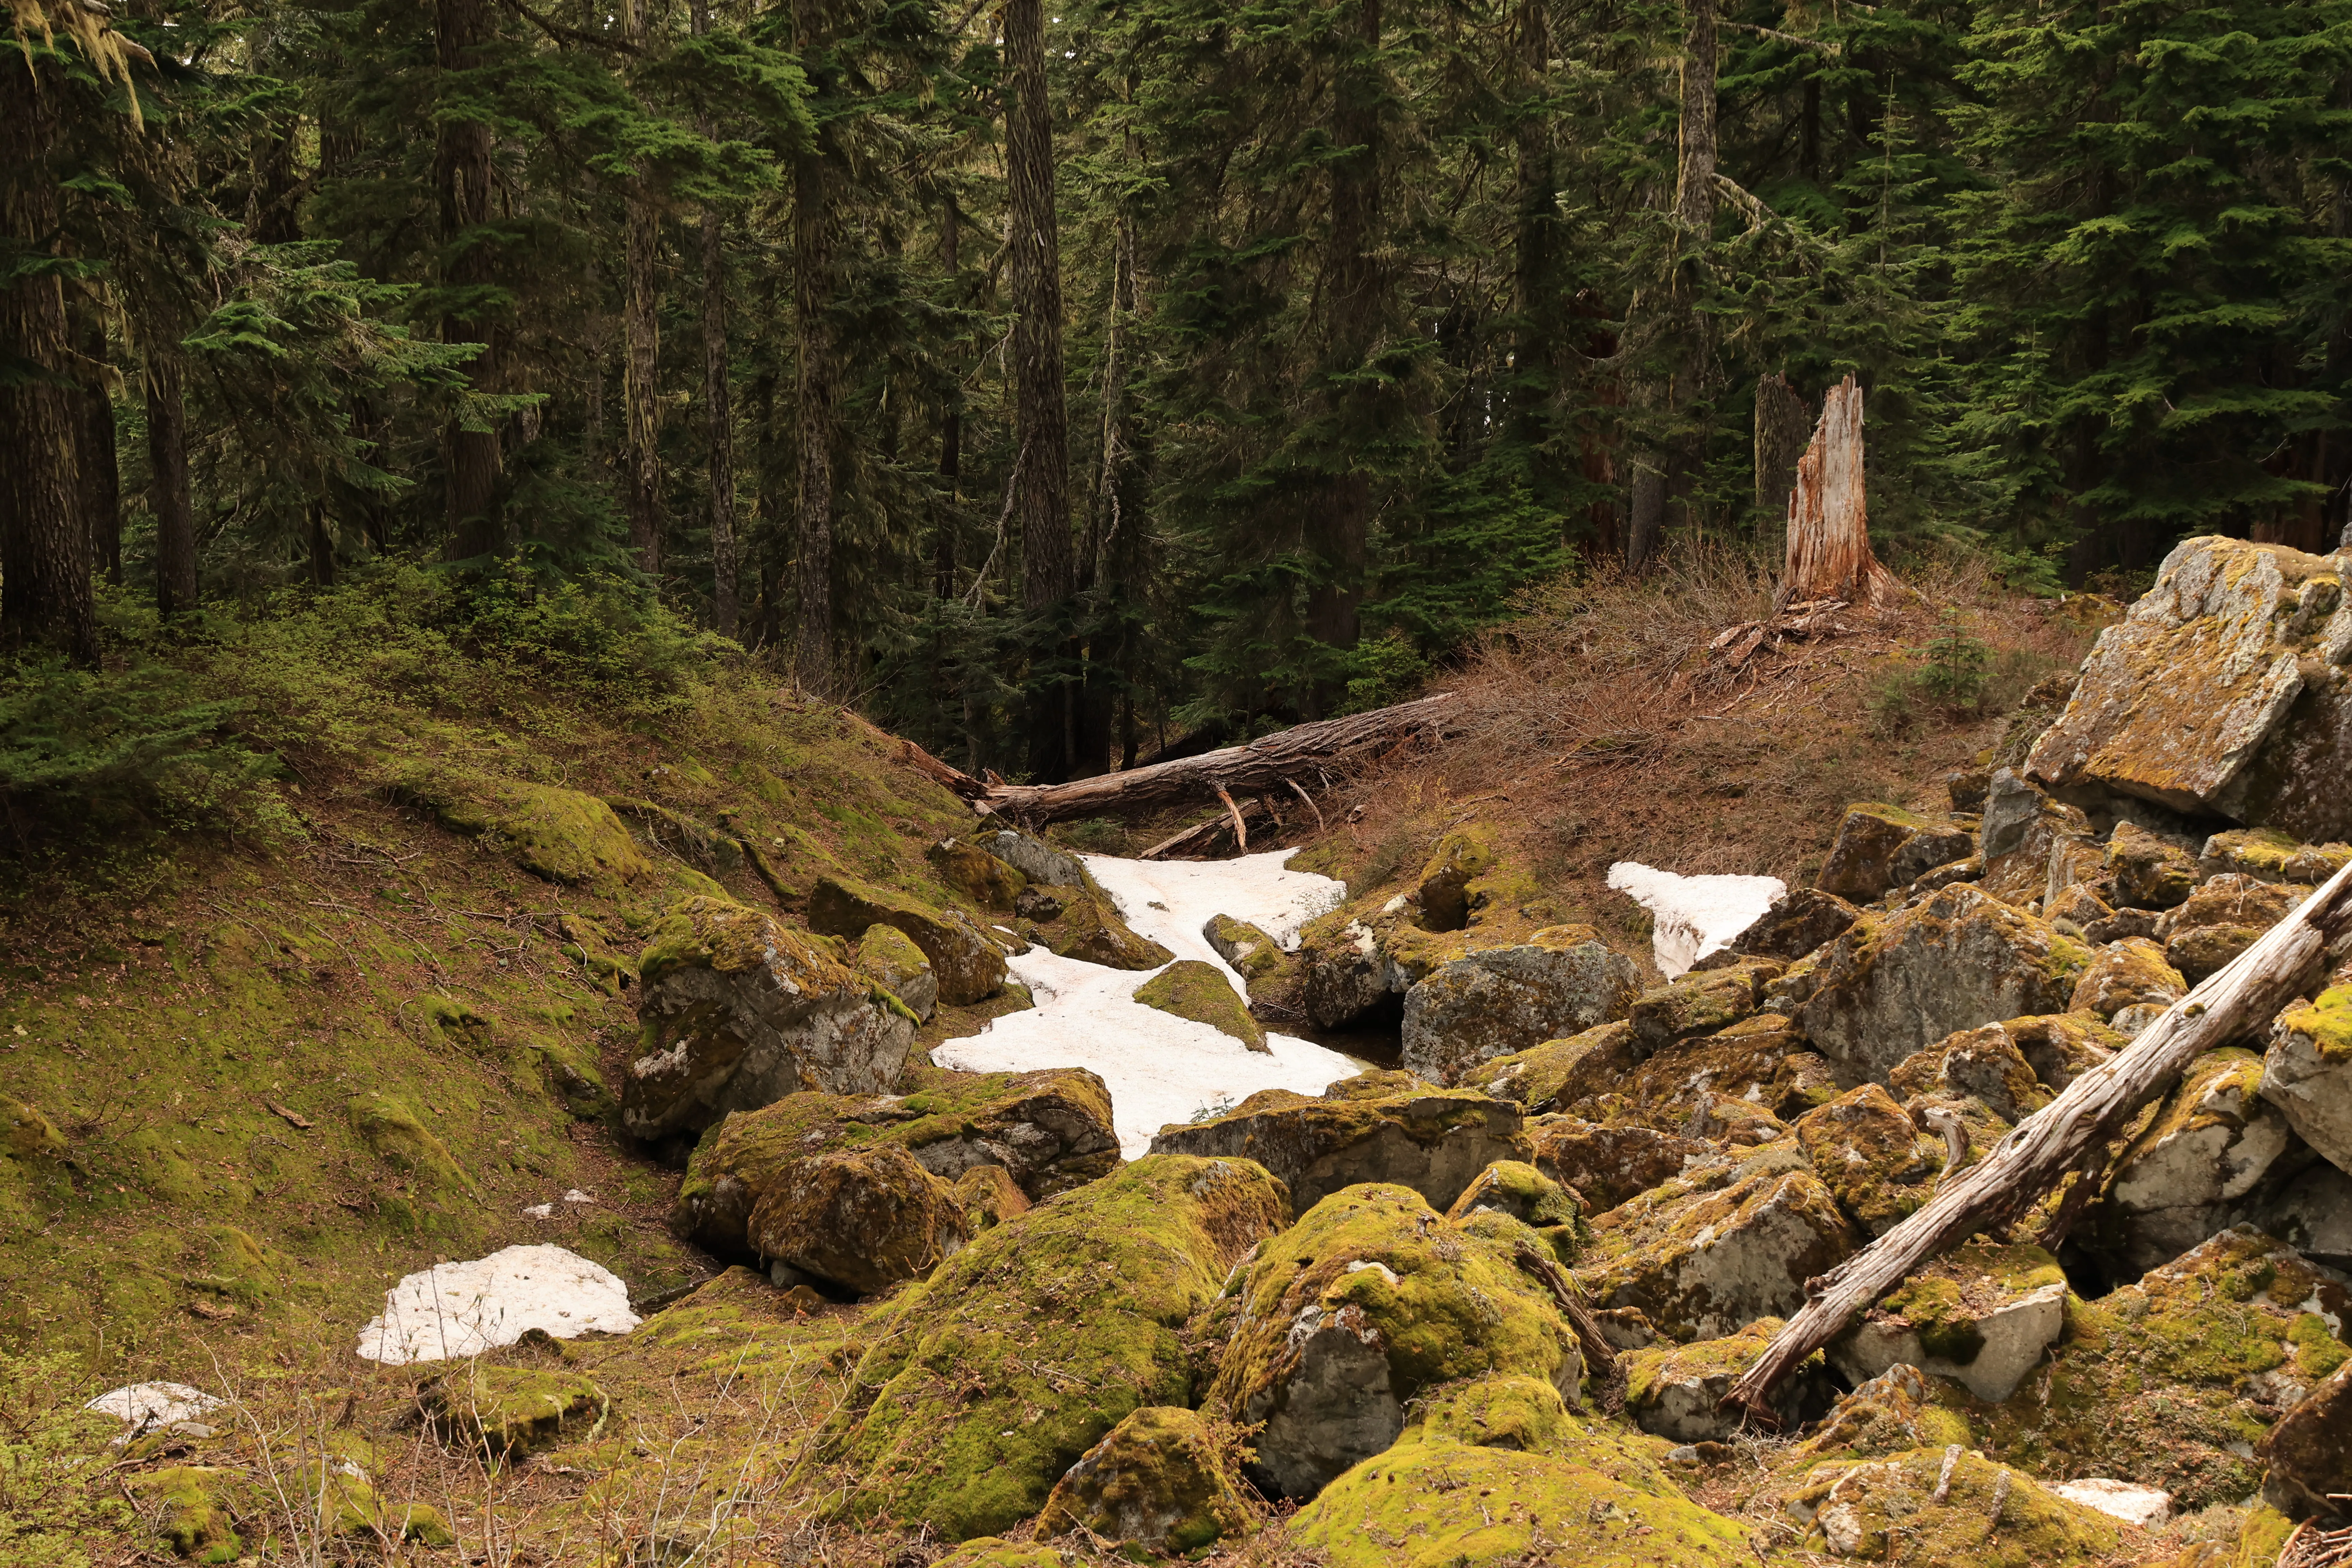
First snow spotted in the forest
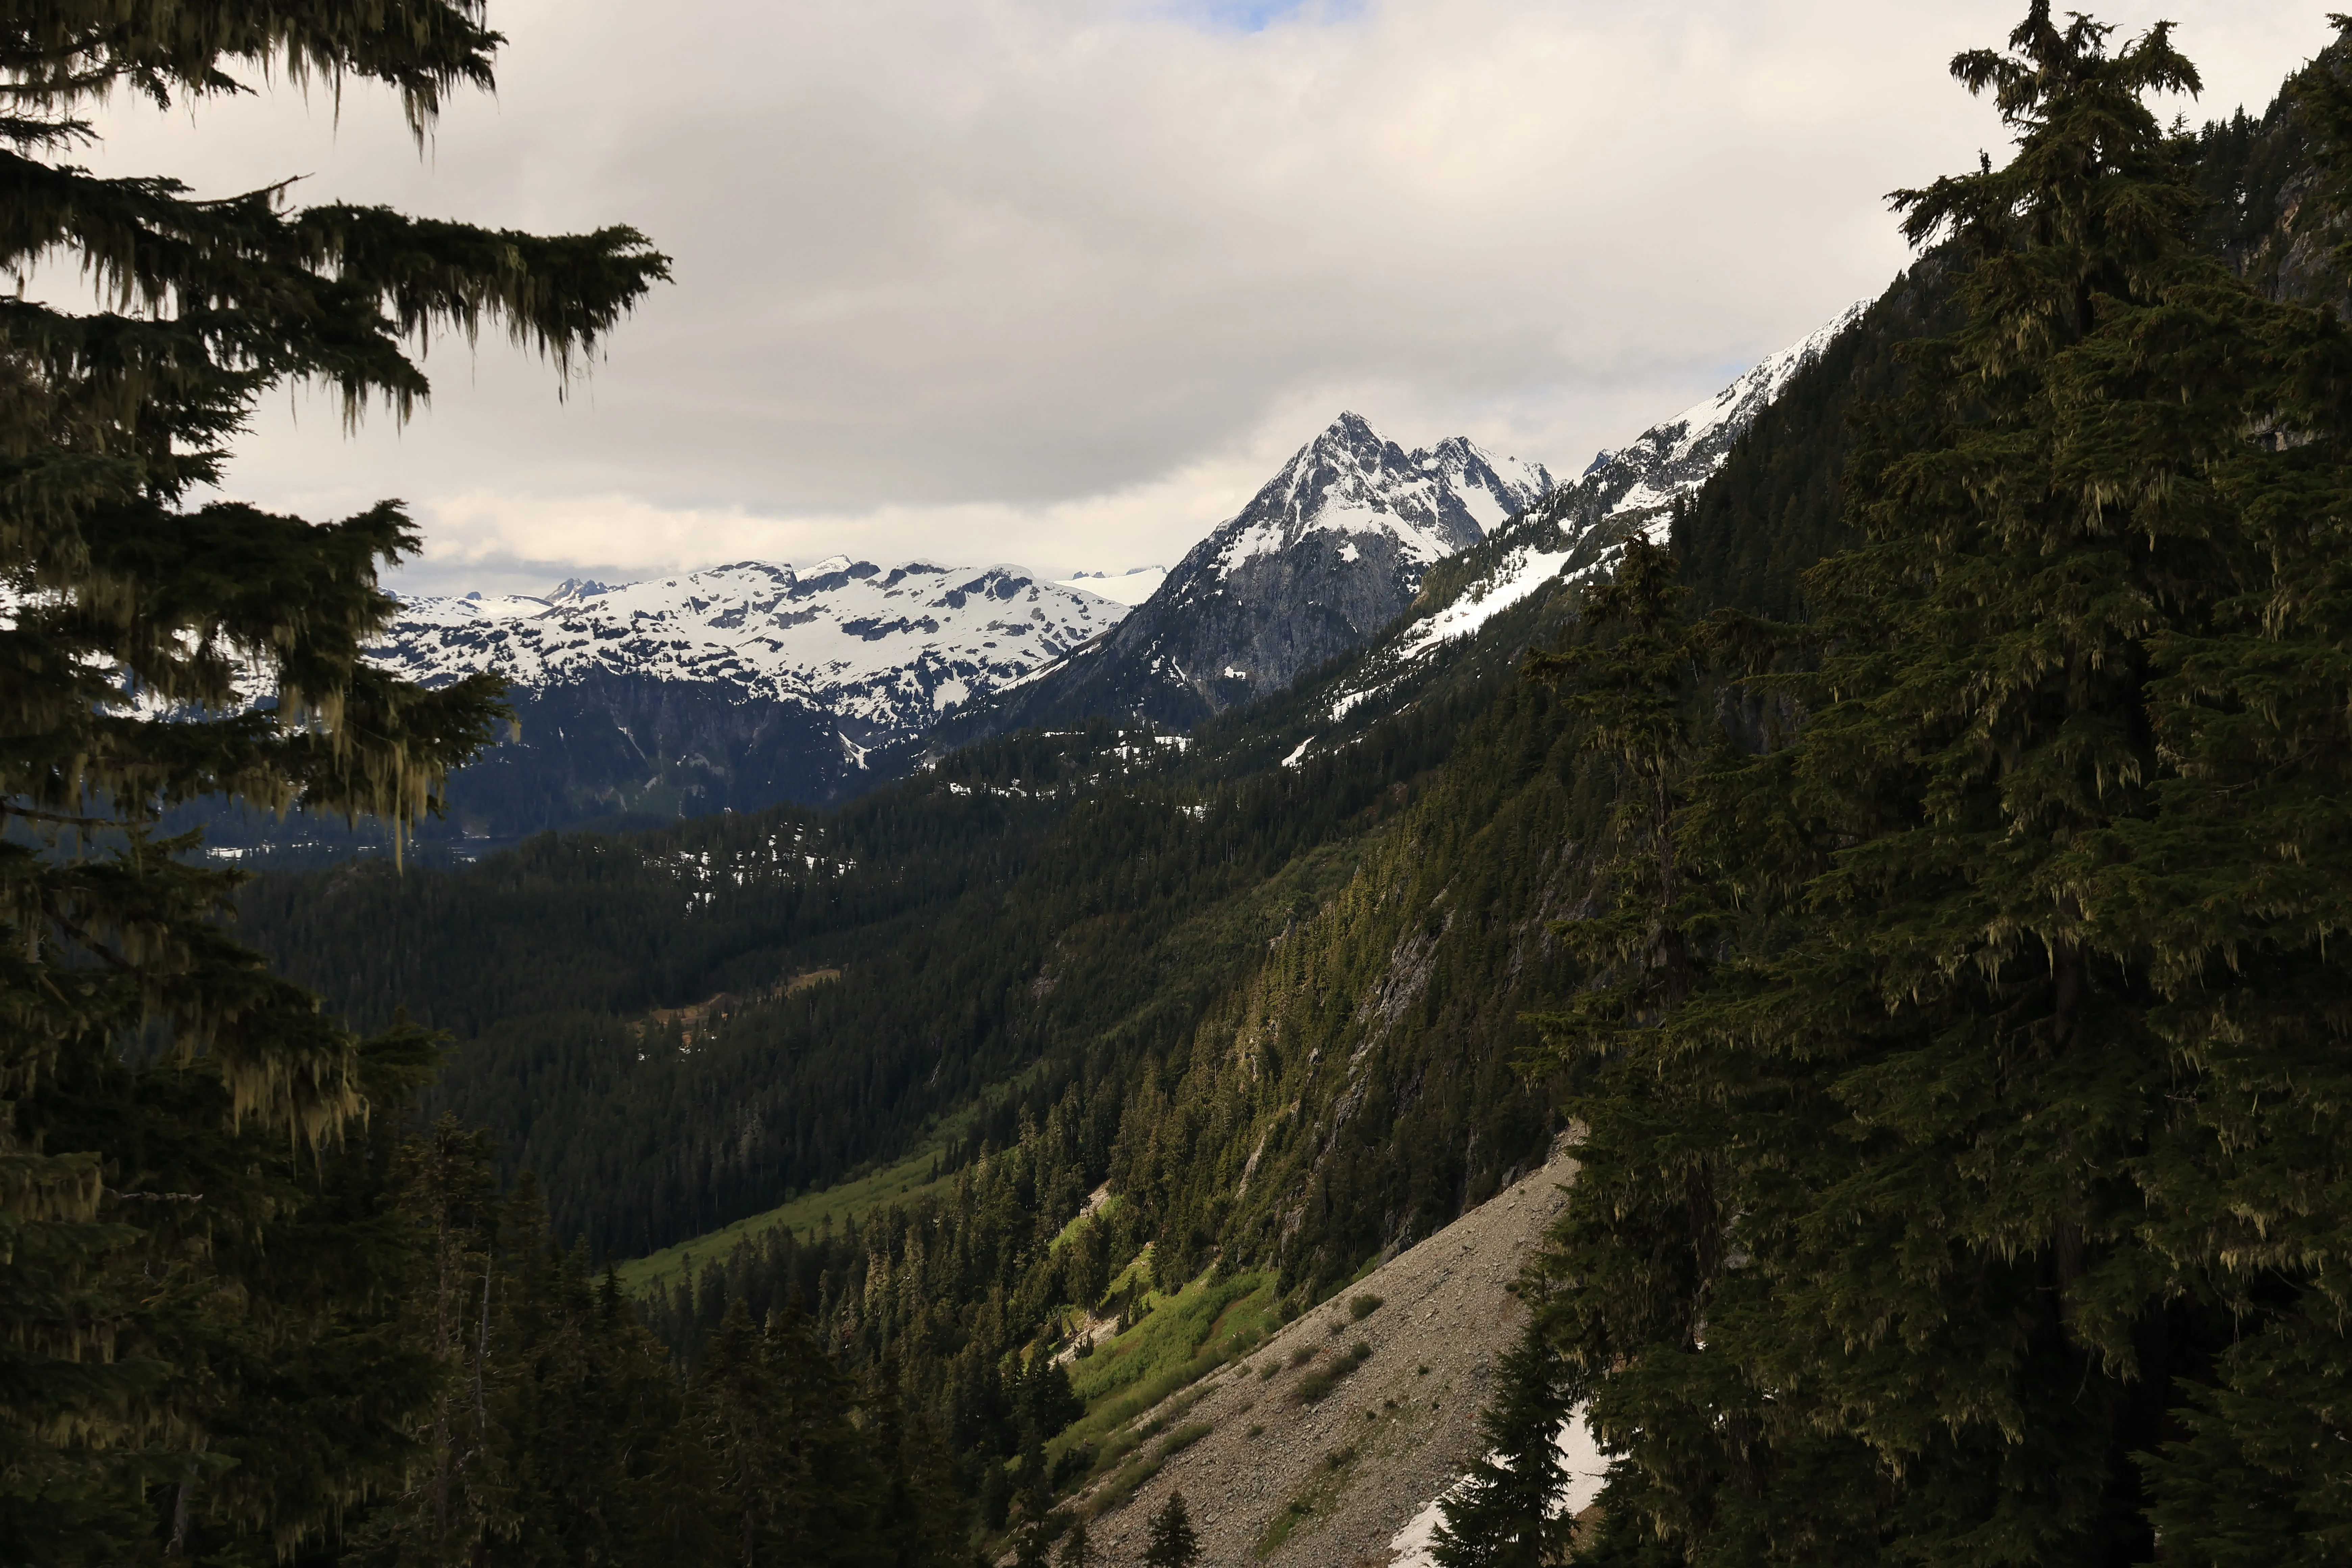
Topping out of the forest, snowy peaks ahead
Darling Lake
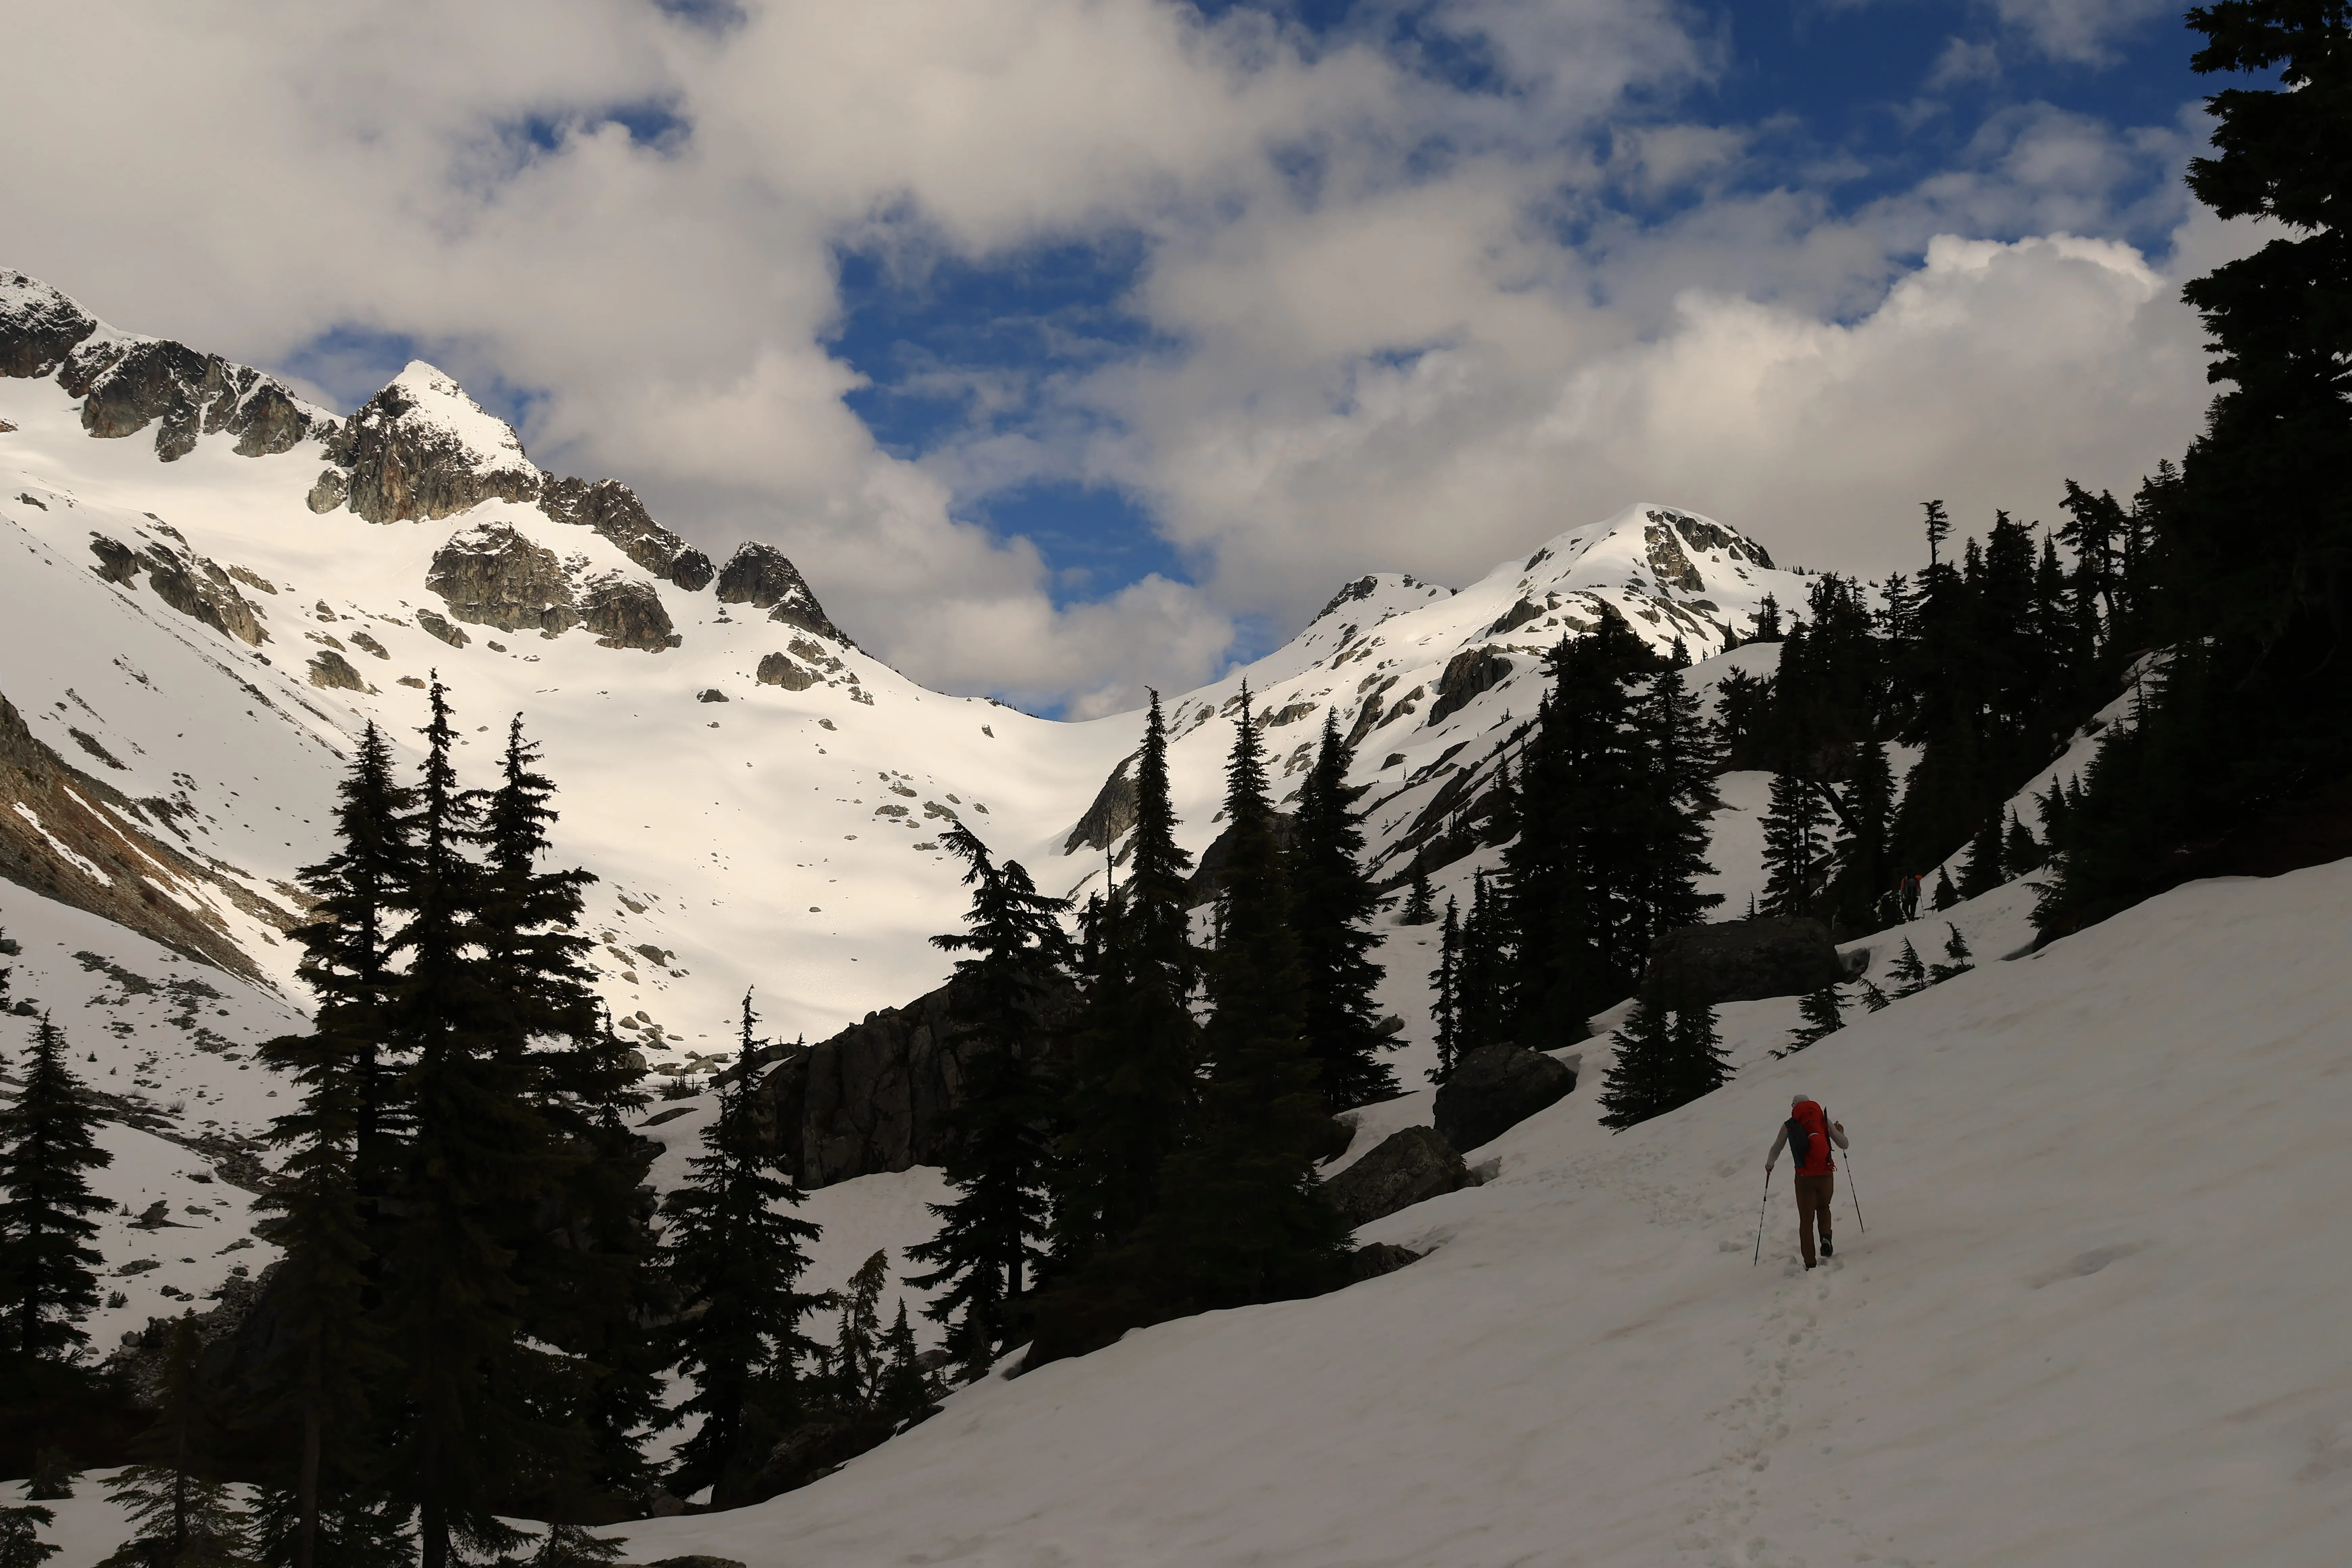
Nearing Darling Lake on the ascent
We arrived at the beautiful Darling Lake around 1730. We were greeted by a glorious alpine lake landscape and snow covered peaks. Manic Peak was in full view. Garibaldi was hiding in the clouds across the way. I was careful to monitor the weather very closely for this trip as the designated leader. We had mixed forecasts of sunshine, thunderstorms, and rain. It ultimately settled on “some clouds” and I decided we should shoot our shot. The clouds were certainly present, some looking ominous and dark. Garibaldi was not welcoming; we had made the right decision for our objective. We couldn’t see Mamquam yet, and we were all eager to get our first sight of it.
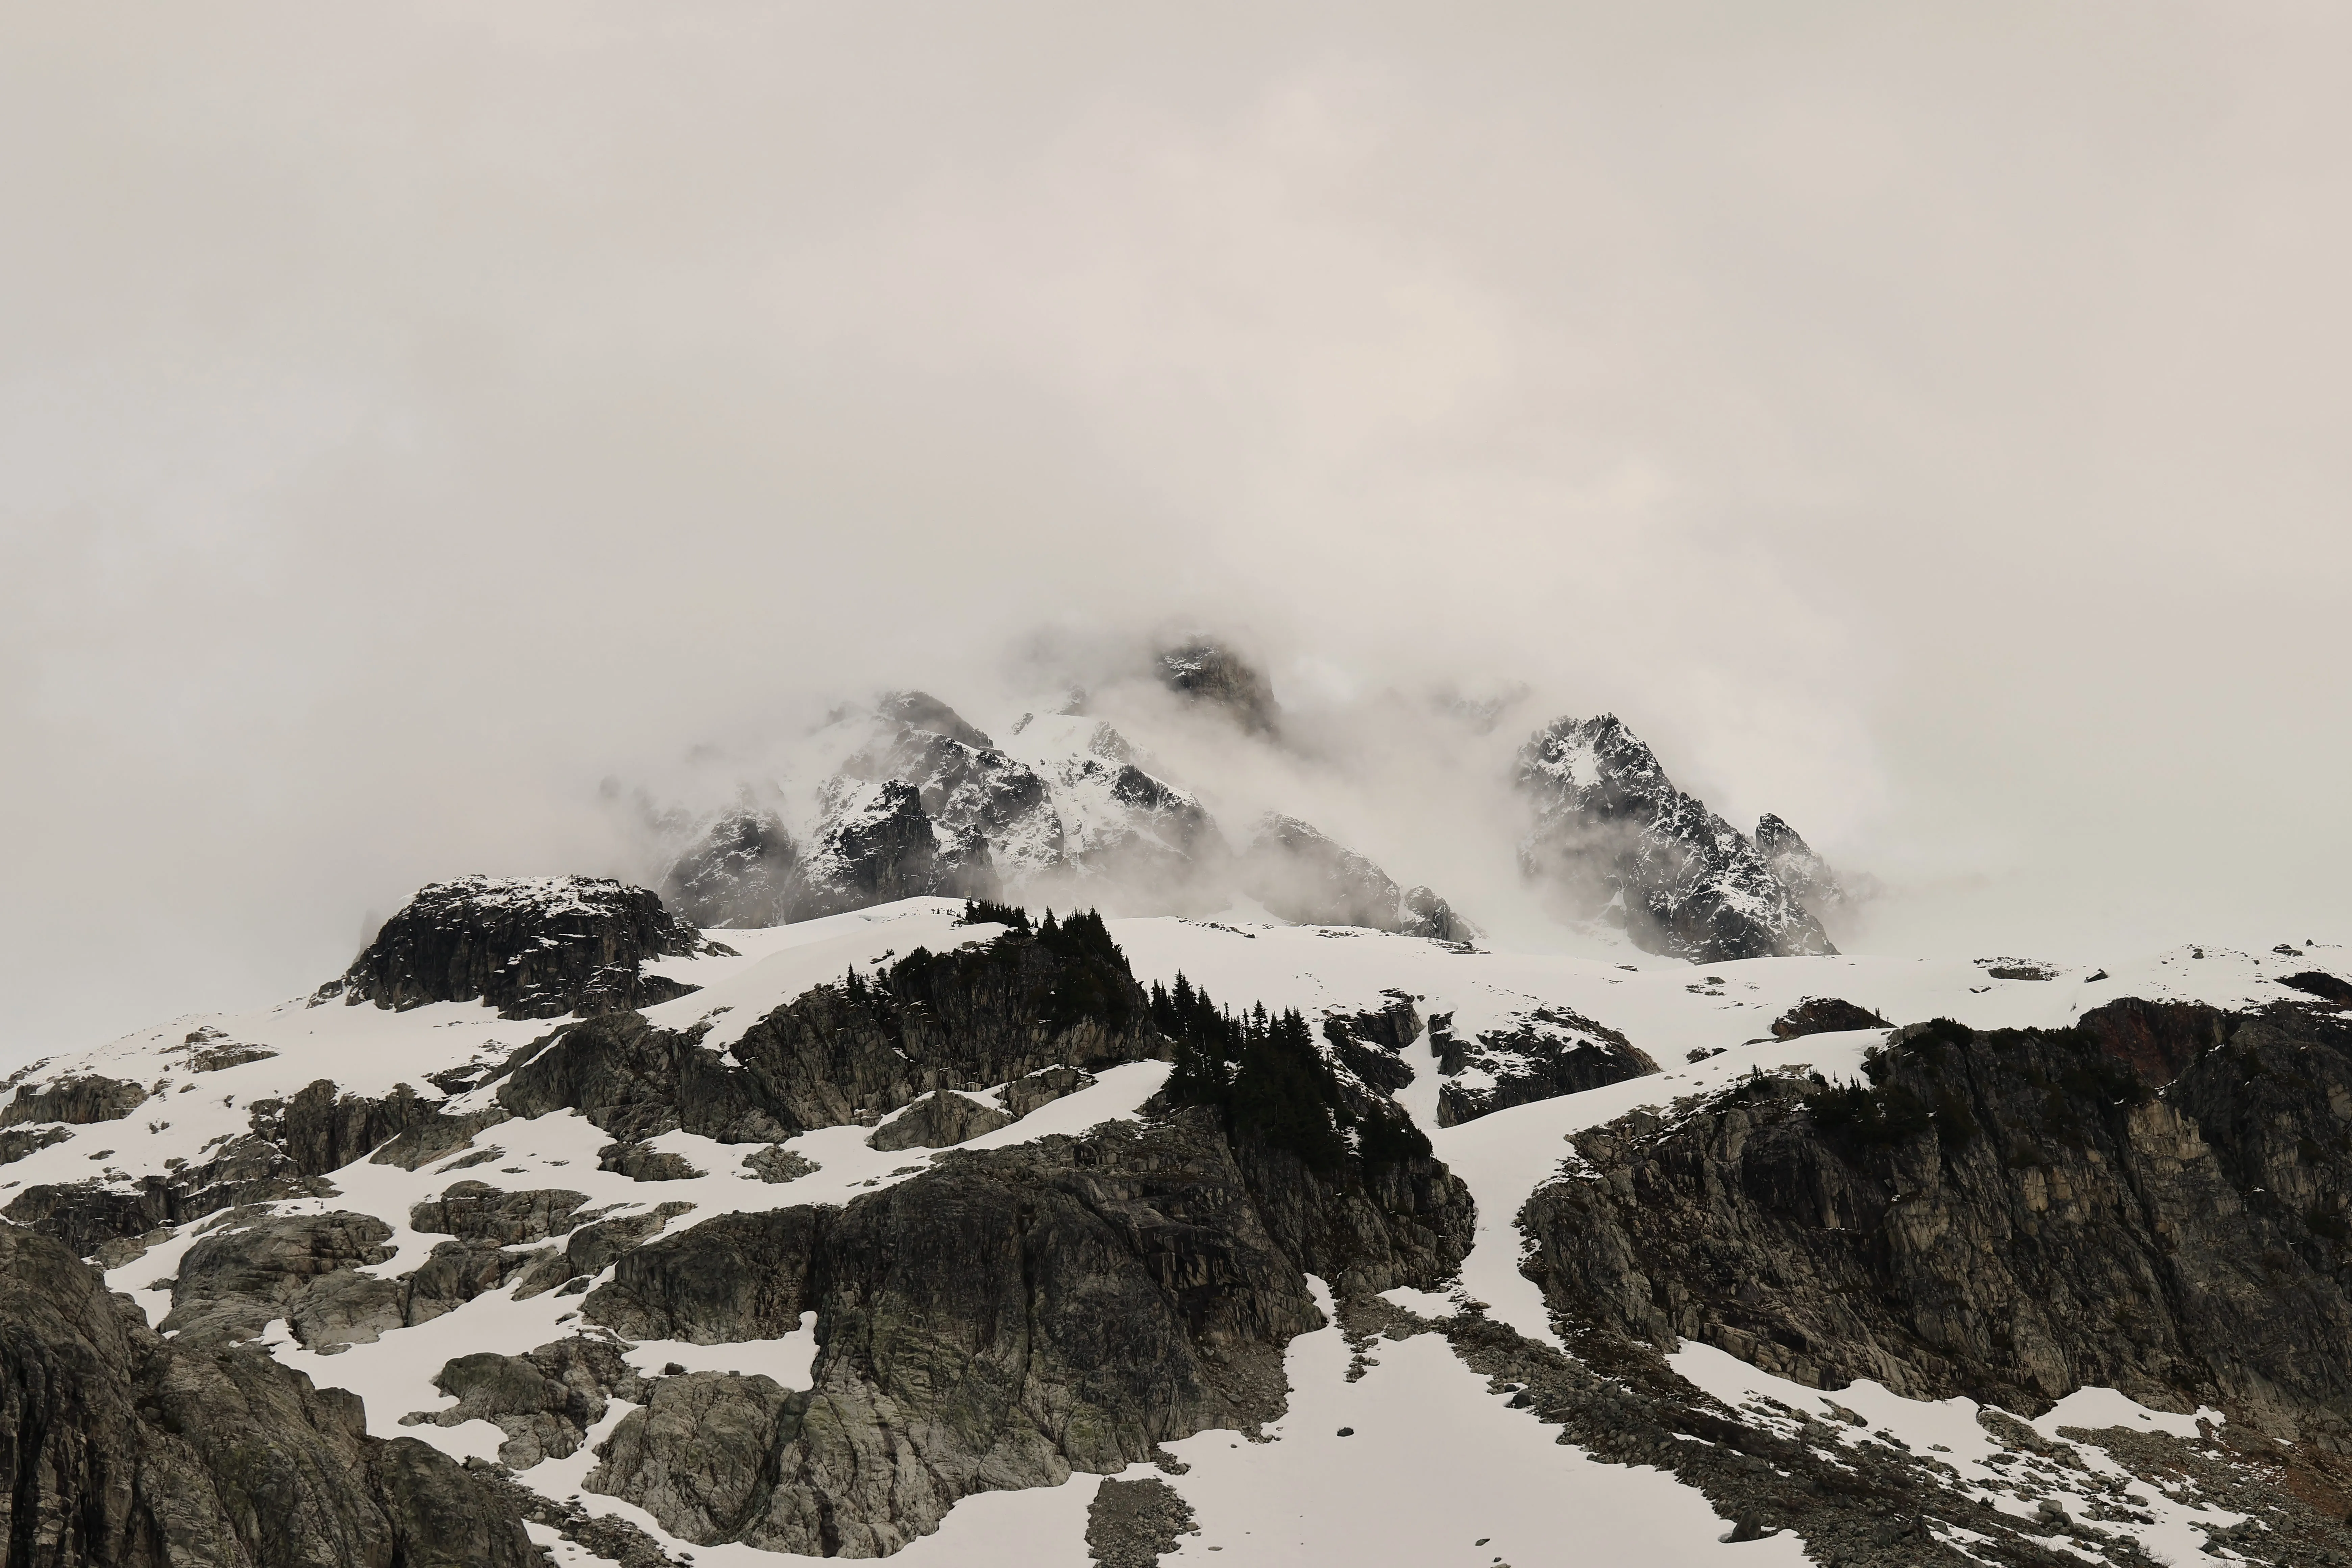
Clouds over the peaks above Darling Lake
We settled into camp at what looked to be a previous party’s tent or kitchen sites. Peter and I opted to bivy on the very small and limited dry spots available at Darling Lake. I imagine in the next couple weeks there will be many more spots. Jetboils got boiling, and the team wound down by 1900 for some sleep with full stomachs. The heavy overcast made the light faint. As the team prepped for sleep, Peter and I discussed the plan for our alpine start.
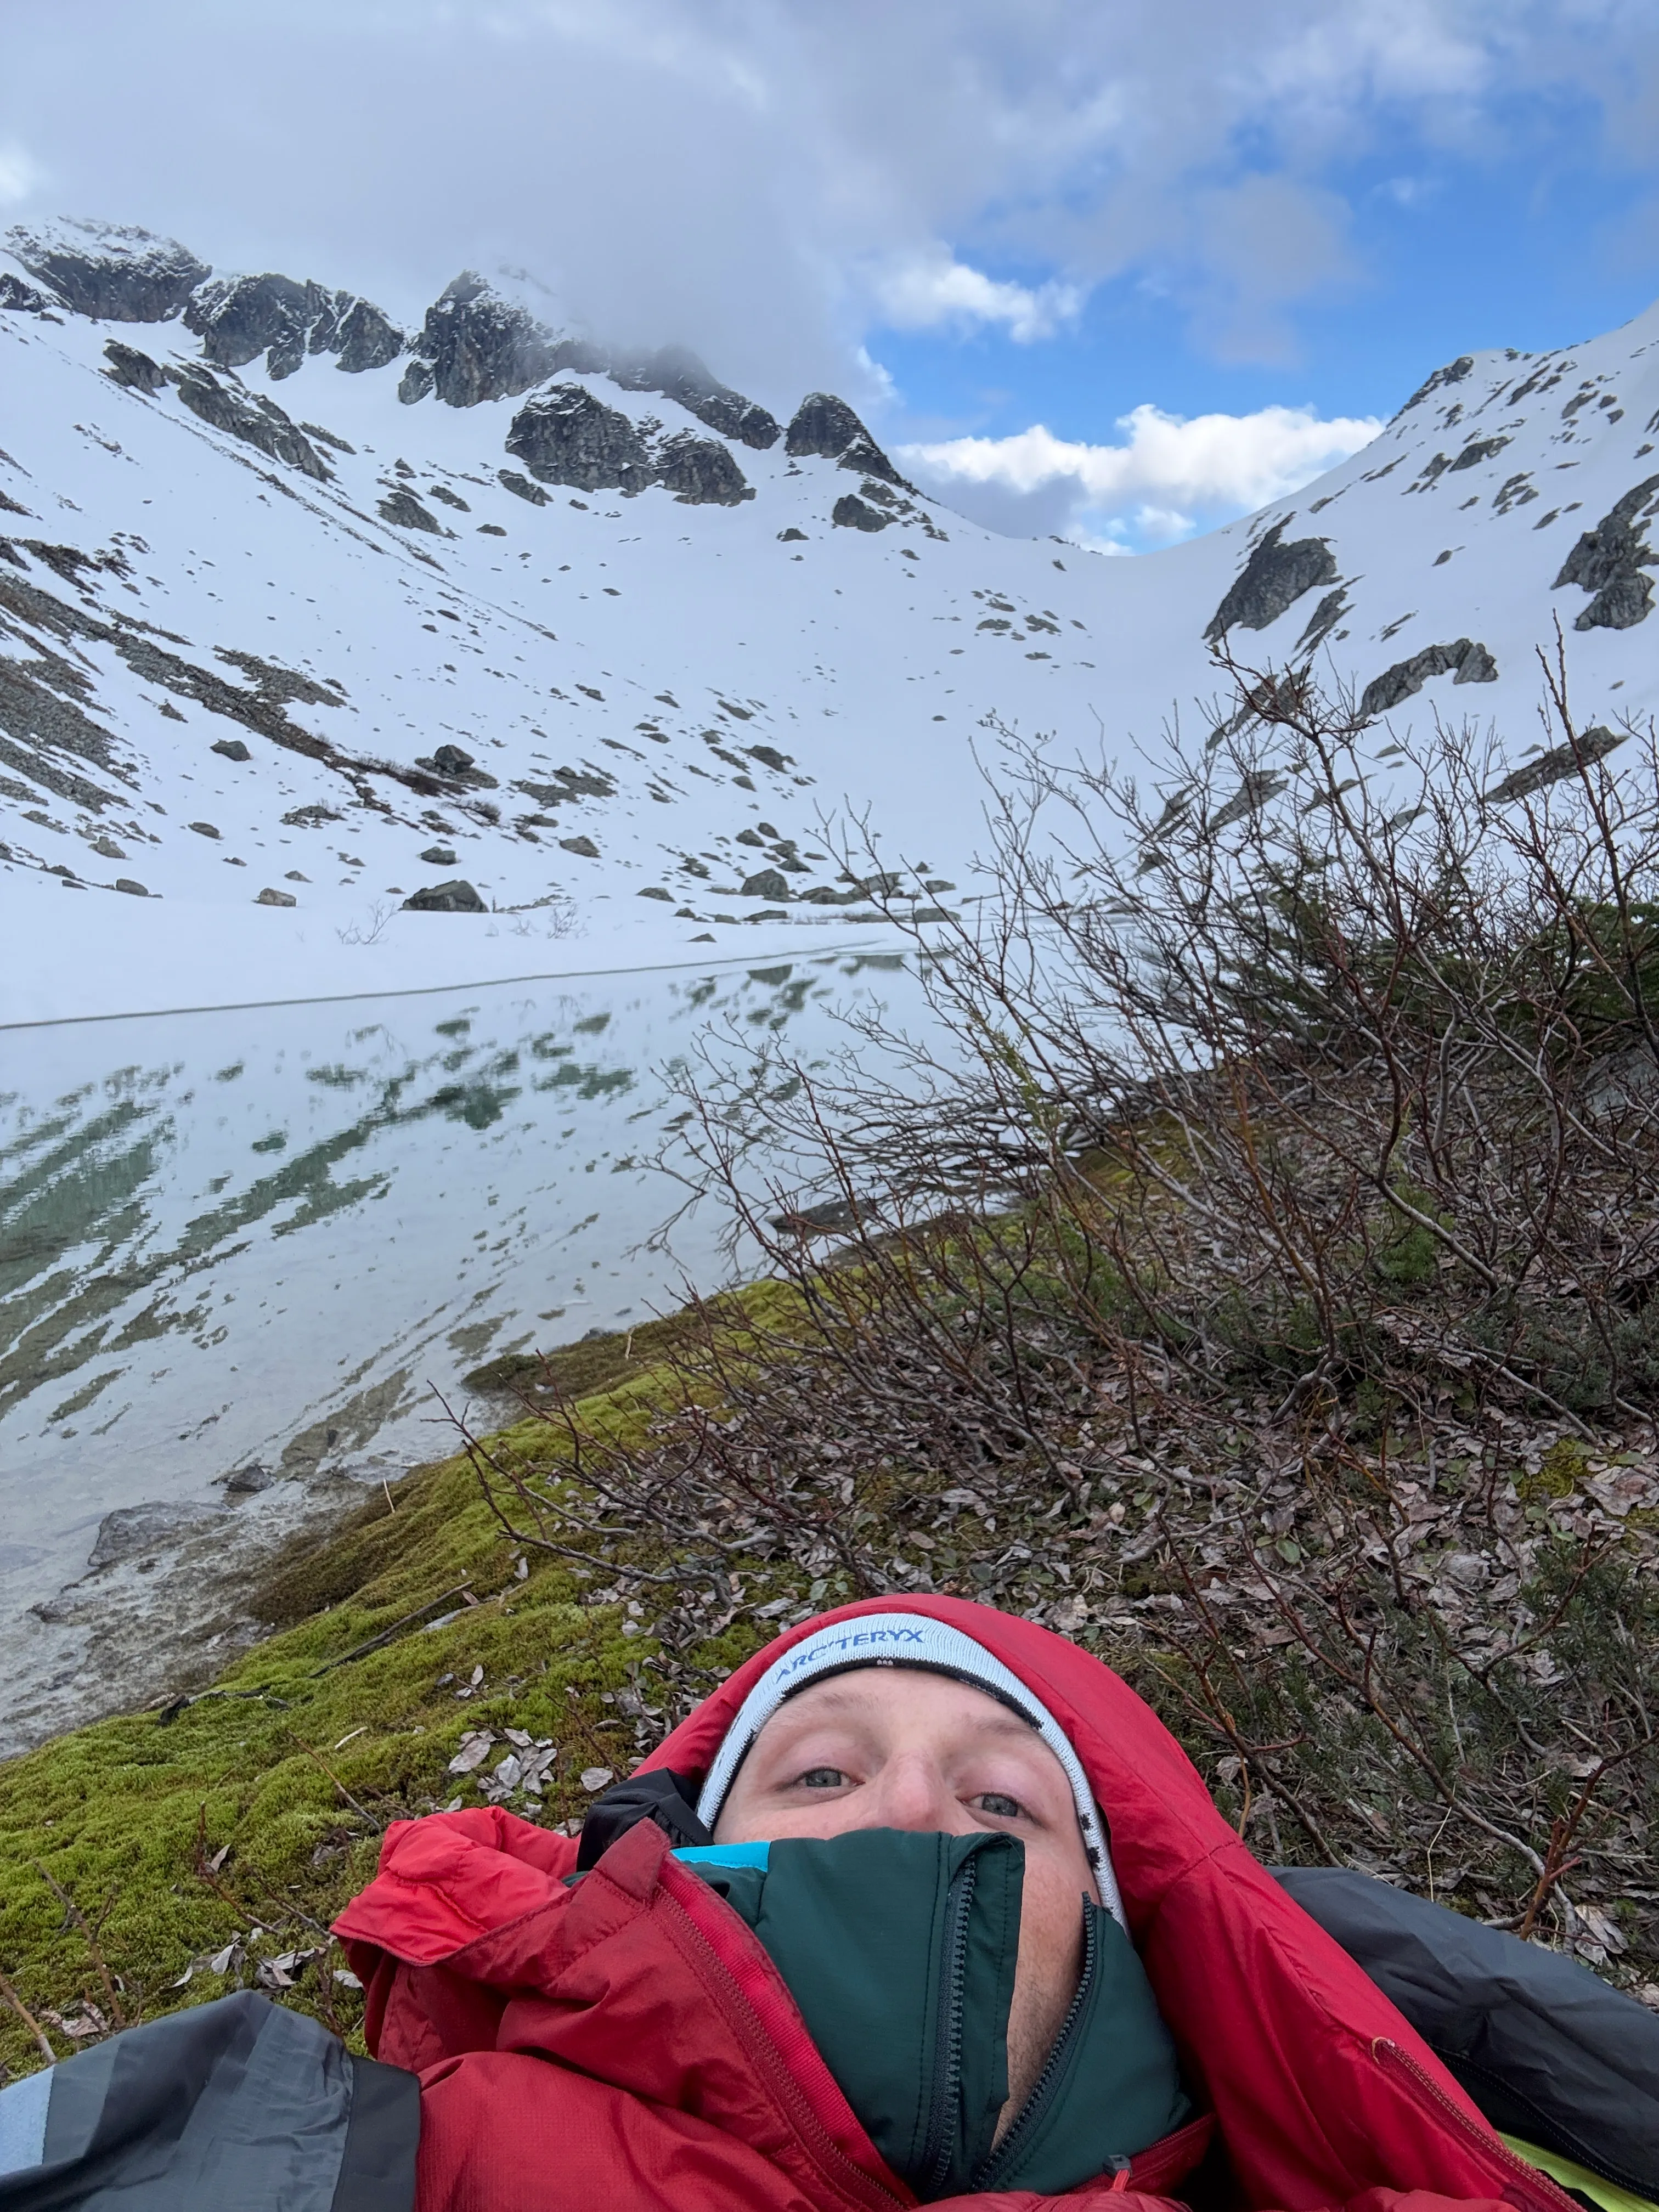
Two of the only dry patches at Darling Lake, home for the night
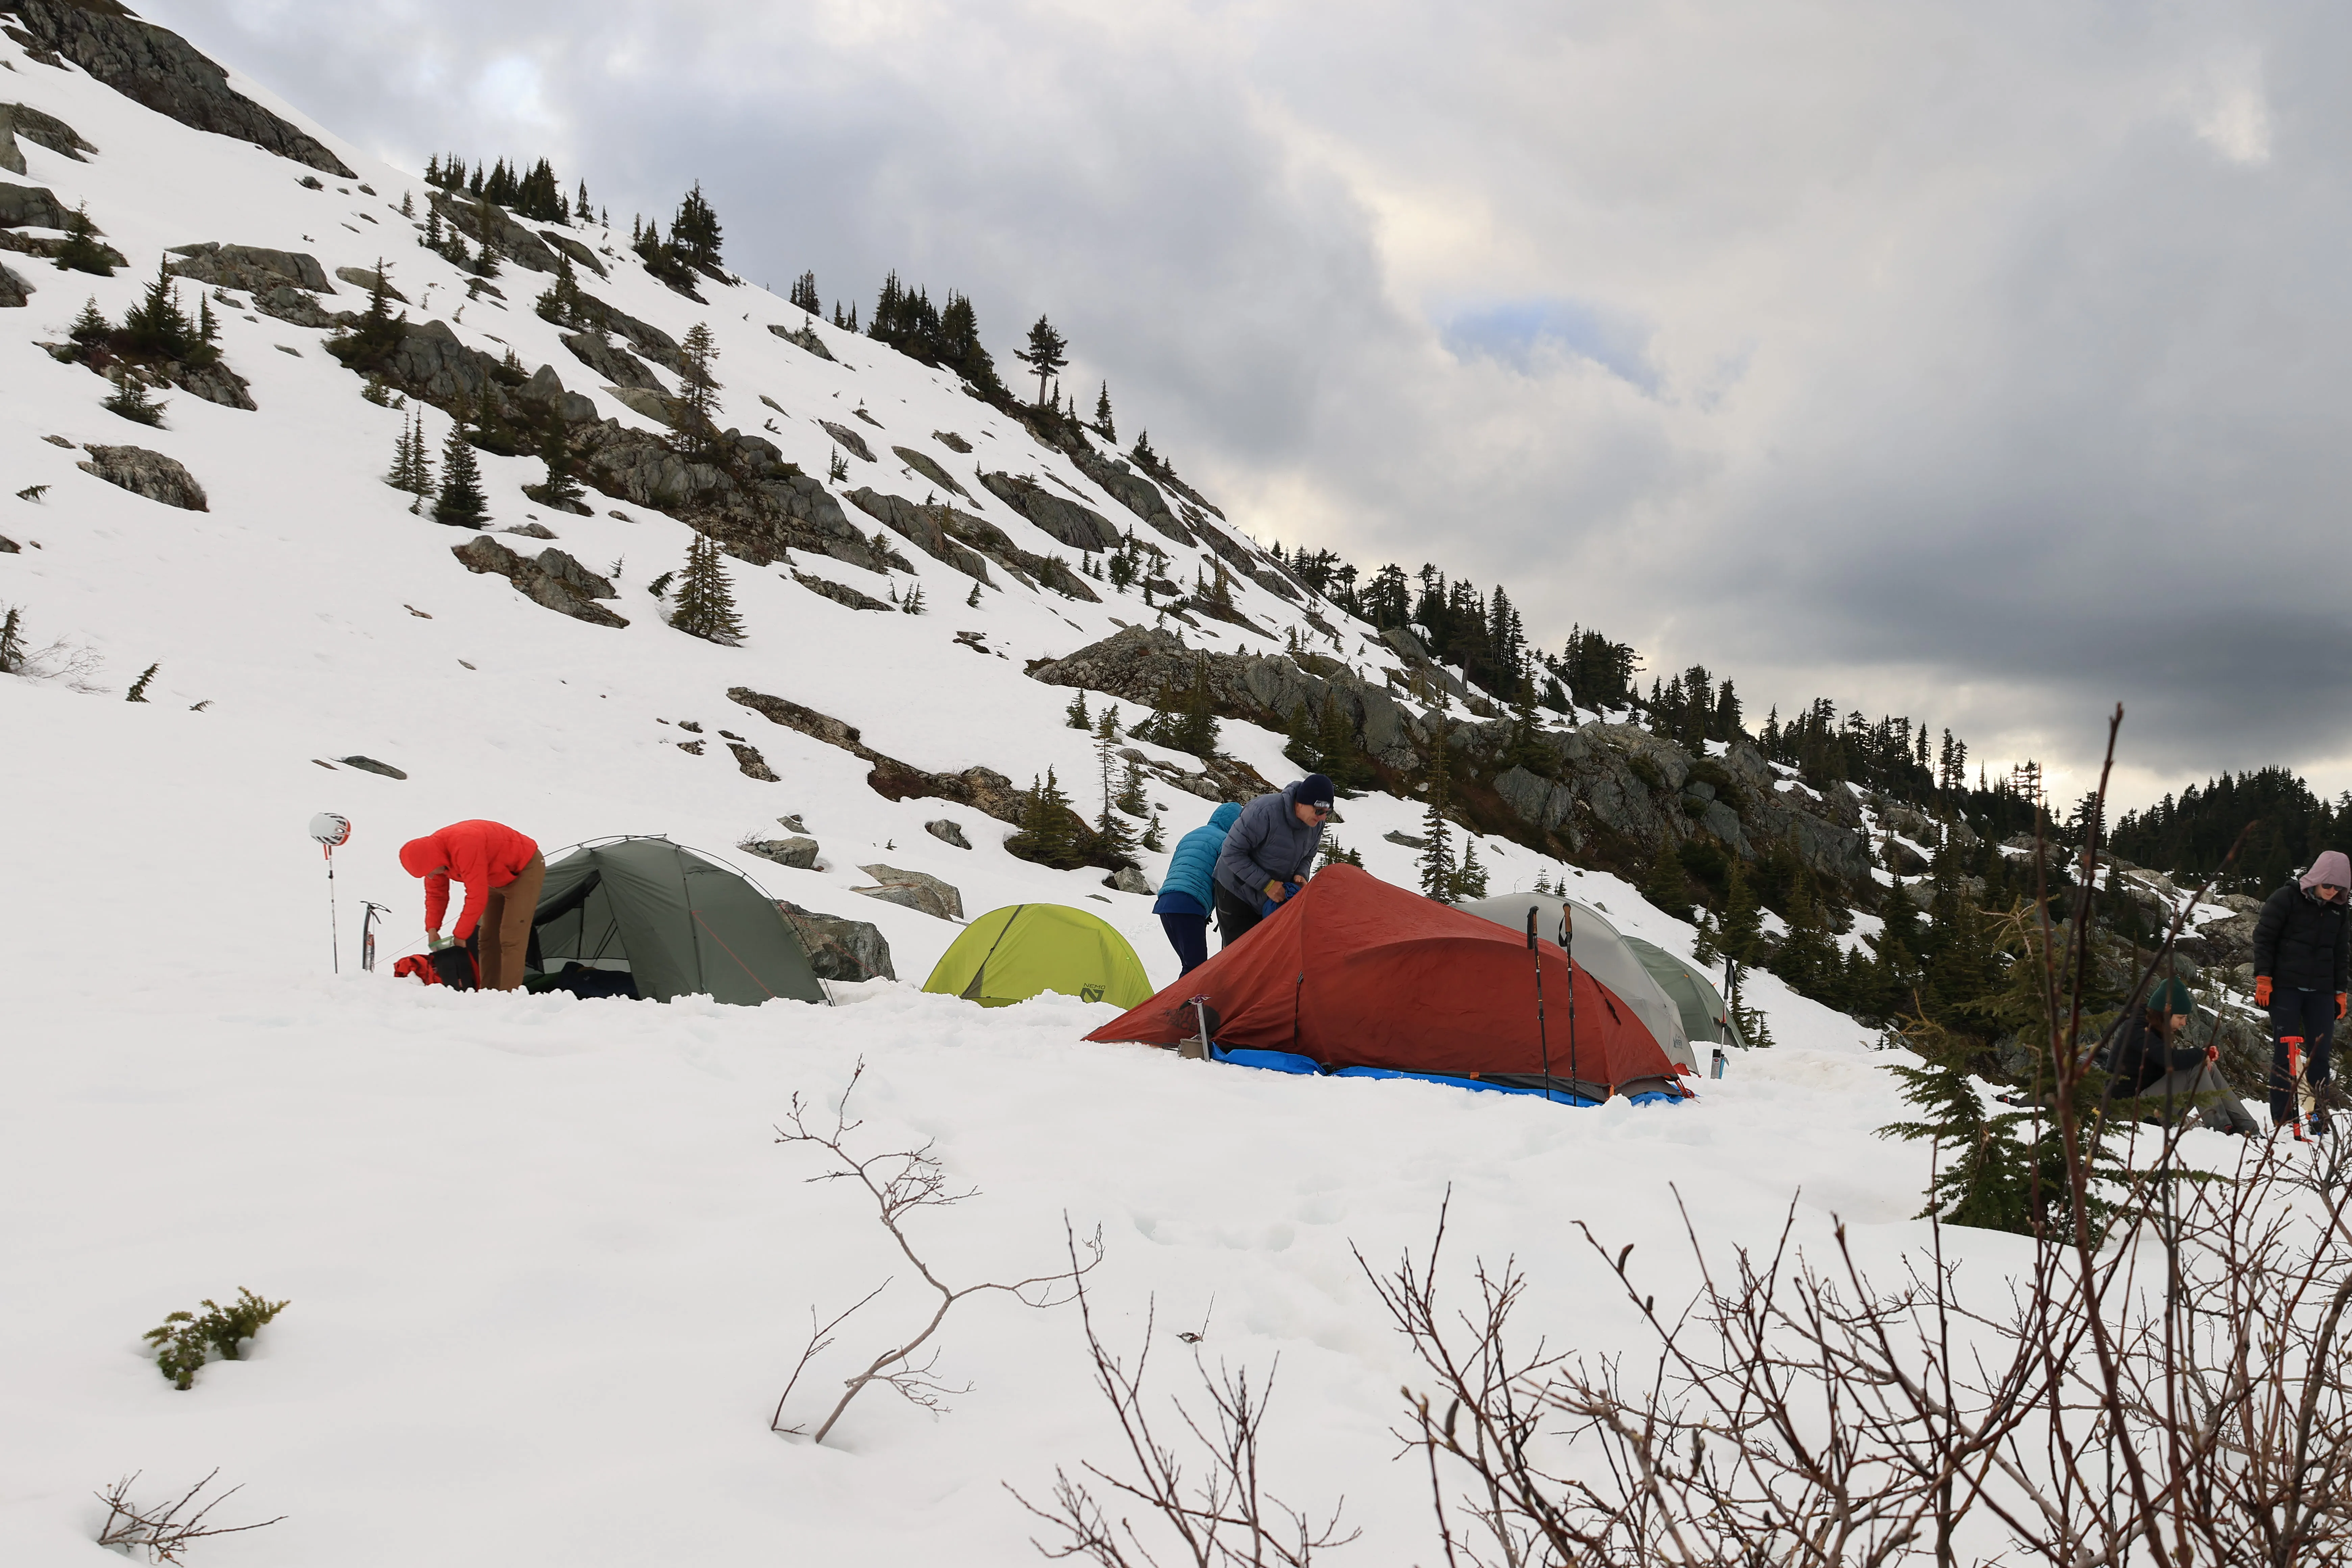
High camp at Darling Lake
Peter is a legend in the Mountaineers Org community. Although he has a few years on most of the club, you’ll often find him at the front, leading the pack through the most daring and difficult sections. He has bagged and tagged more peaks than most of us could dream of. His experience is priceless, and I was happy to have him along as a mentor on this trip. In fact, I had selected this team based on skill and experience levels. It was a shamelessly stacked team, and they would live up to my expectations.
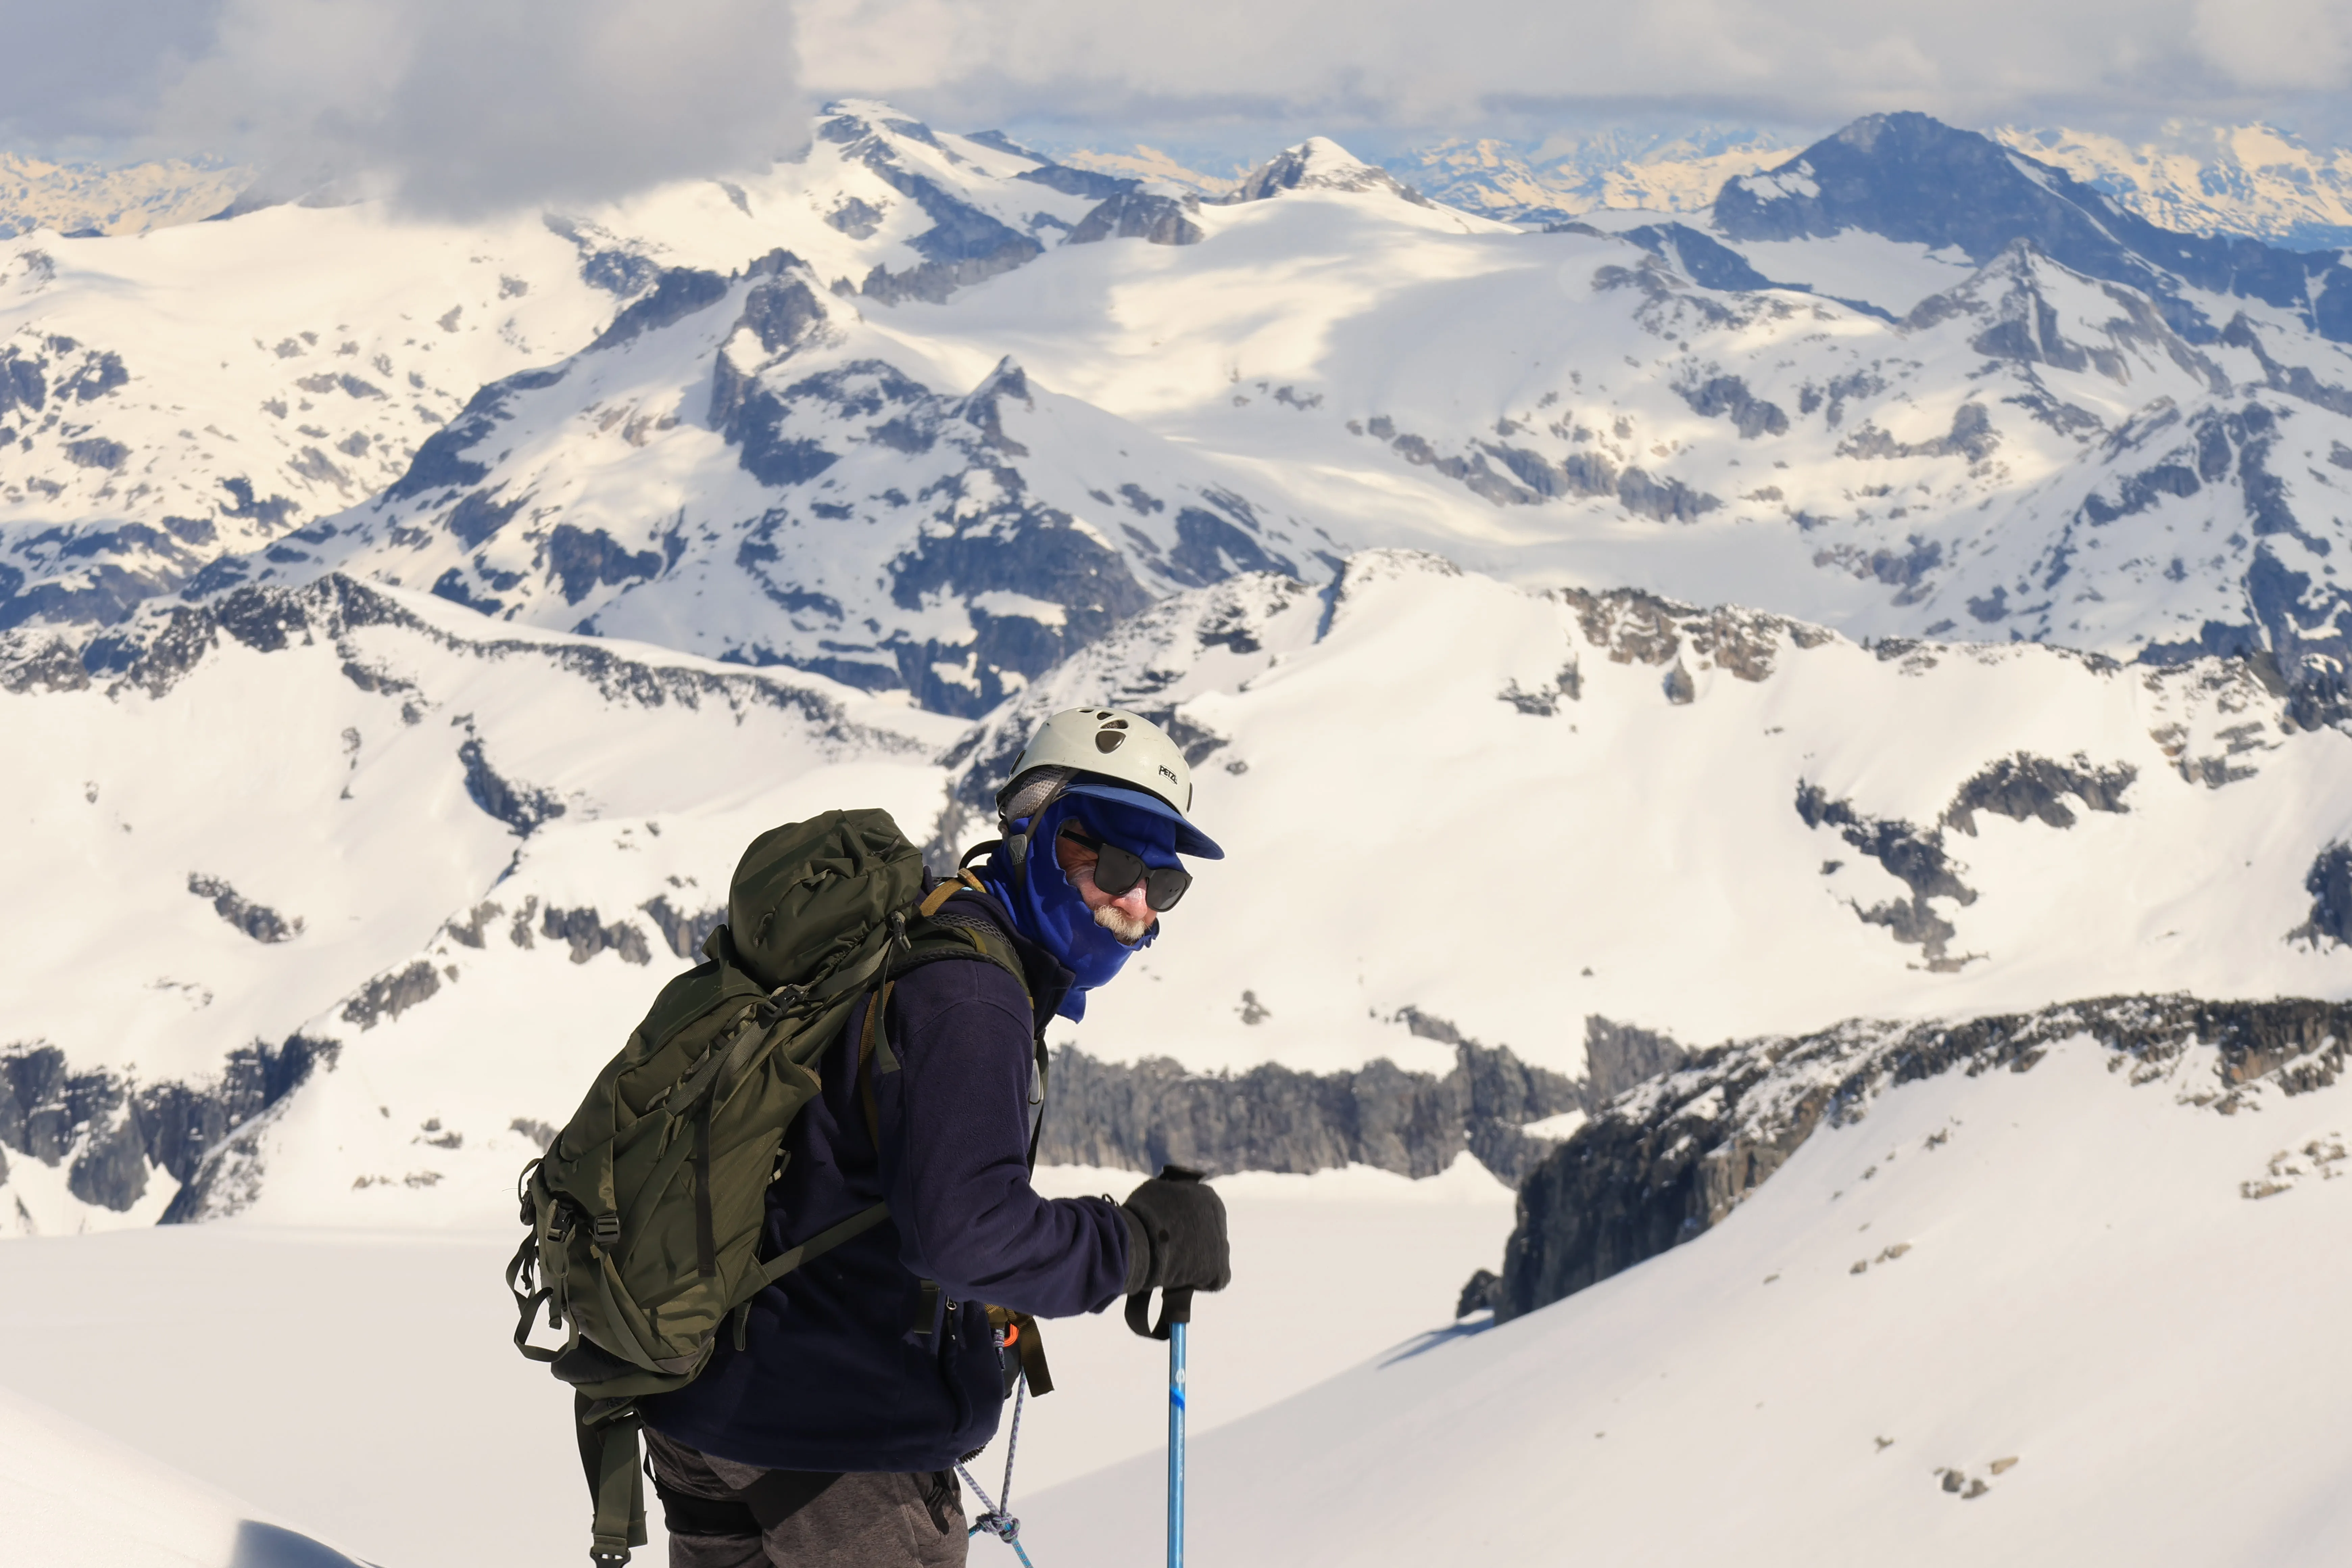
Peter, a Mountaineers legend and our mentor for the trip
I had originally planned on a very, very early start in order to make sunrise on the summit. This dream quickly faded as my priority shifted more to the team of 8 not only enjoying the trip, but getting optimal rest. I wasn’t thinking a major cloud inversion was likely anyway. I made the final decision for a 0300 alpine start the next morning. Plenty of time for rest (6+ hours is pretty significant in the great outdoors), and we should still make it to the mysterious Mamquam Icefield by sunrise. I was eager to see this feature. I’ve climbed lots of glaciers, but not icefields to date. I hoped it would be really stunning.
Alpine Start
I awoke in the middle of the night to a perfectly clear, starry sky. A sign to any mountaineer that there is a good day ahead, assuming your tent isn’t being blown into your face by high winds. I woke up to eat my gas station pastry (a disgusting but effective tool I have found for myself in the alpine. Lots of calories, and my GI doesn’t hate it). We donned harnesses and crampons out of the gate. To our surprise, the snow had firmed over night. Our ascent up the snowy rock gully looked much more appealing now. Headlamps lit, we rolled out of camp.
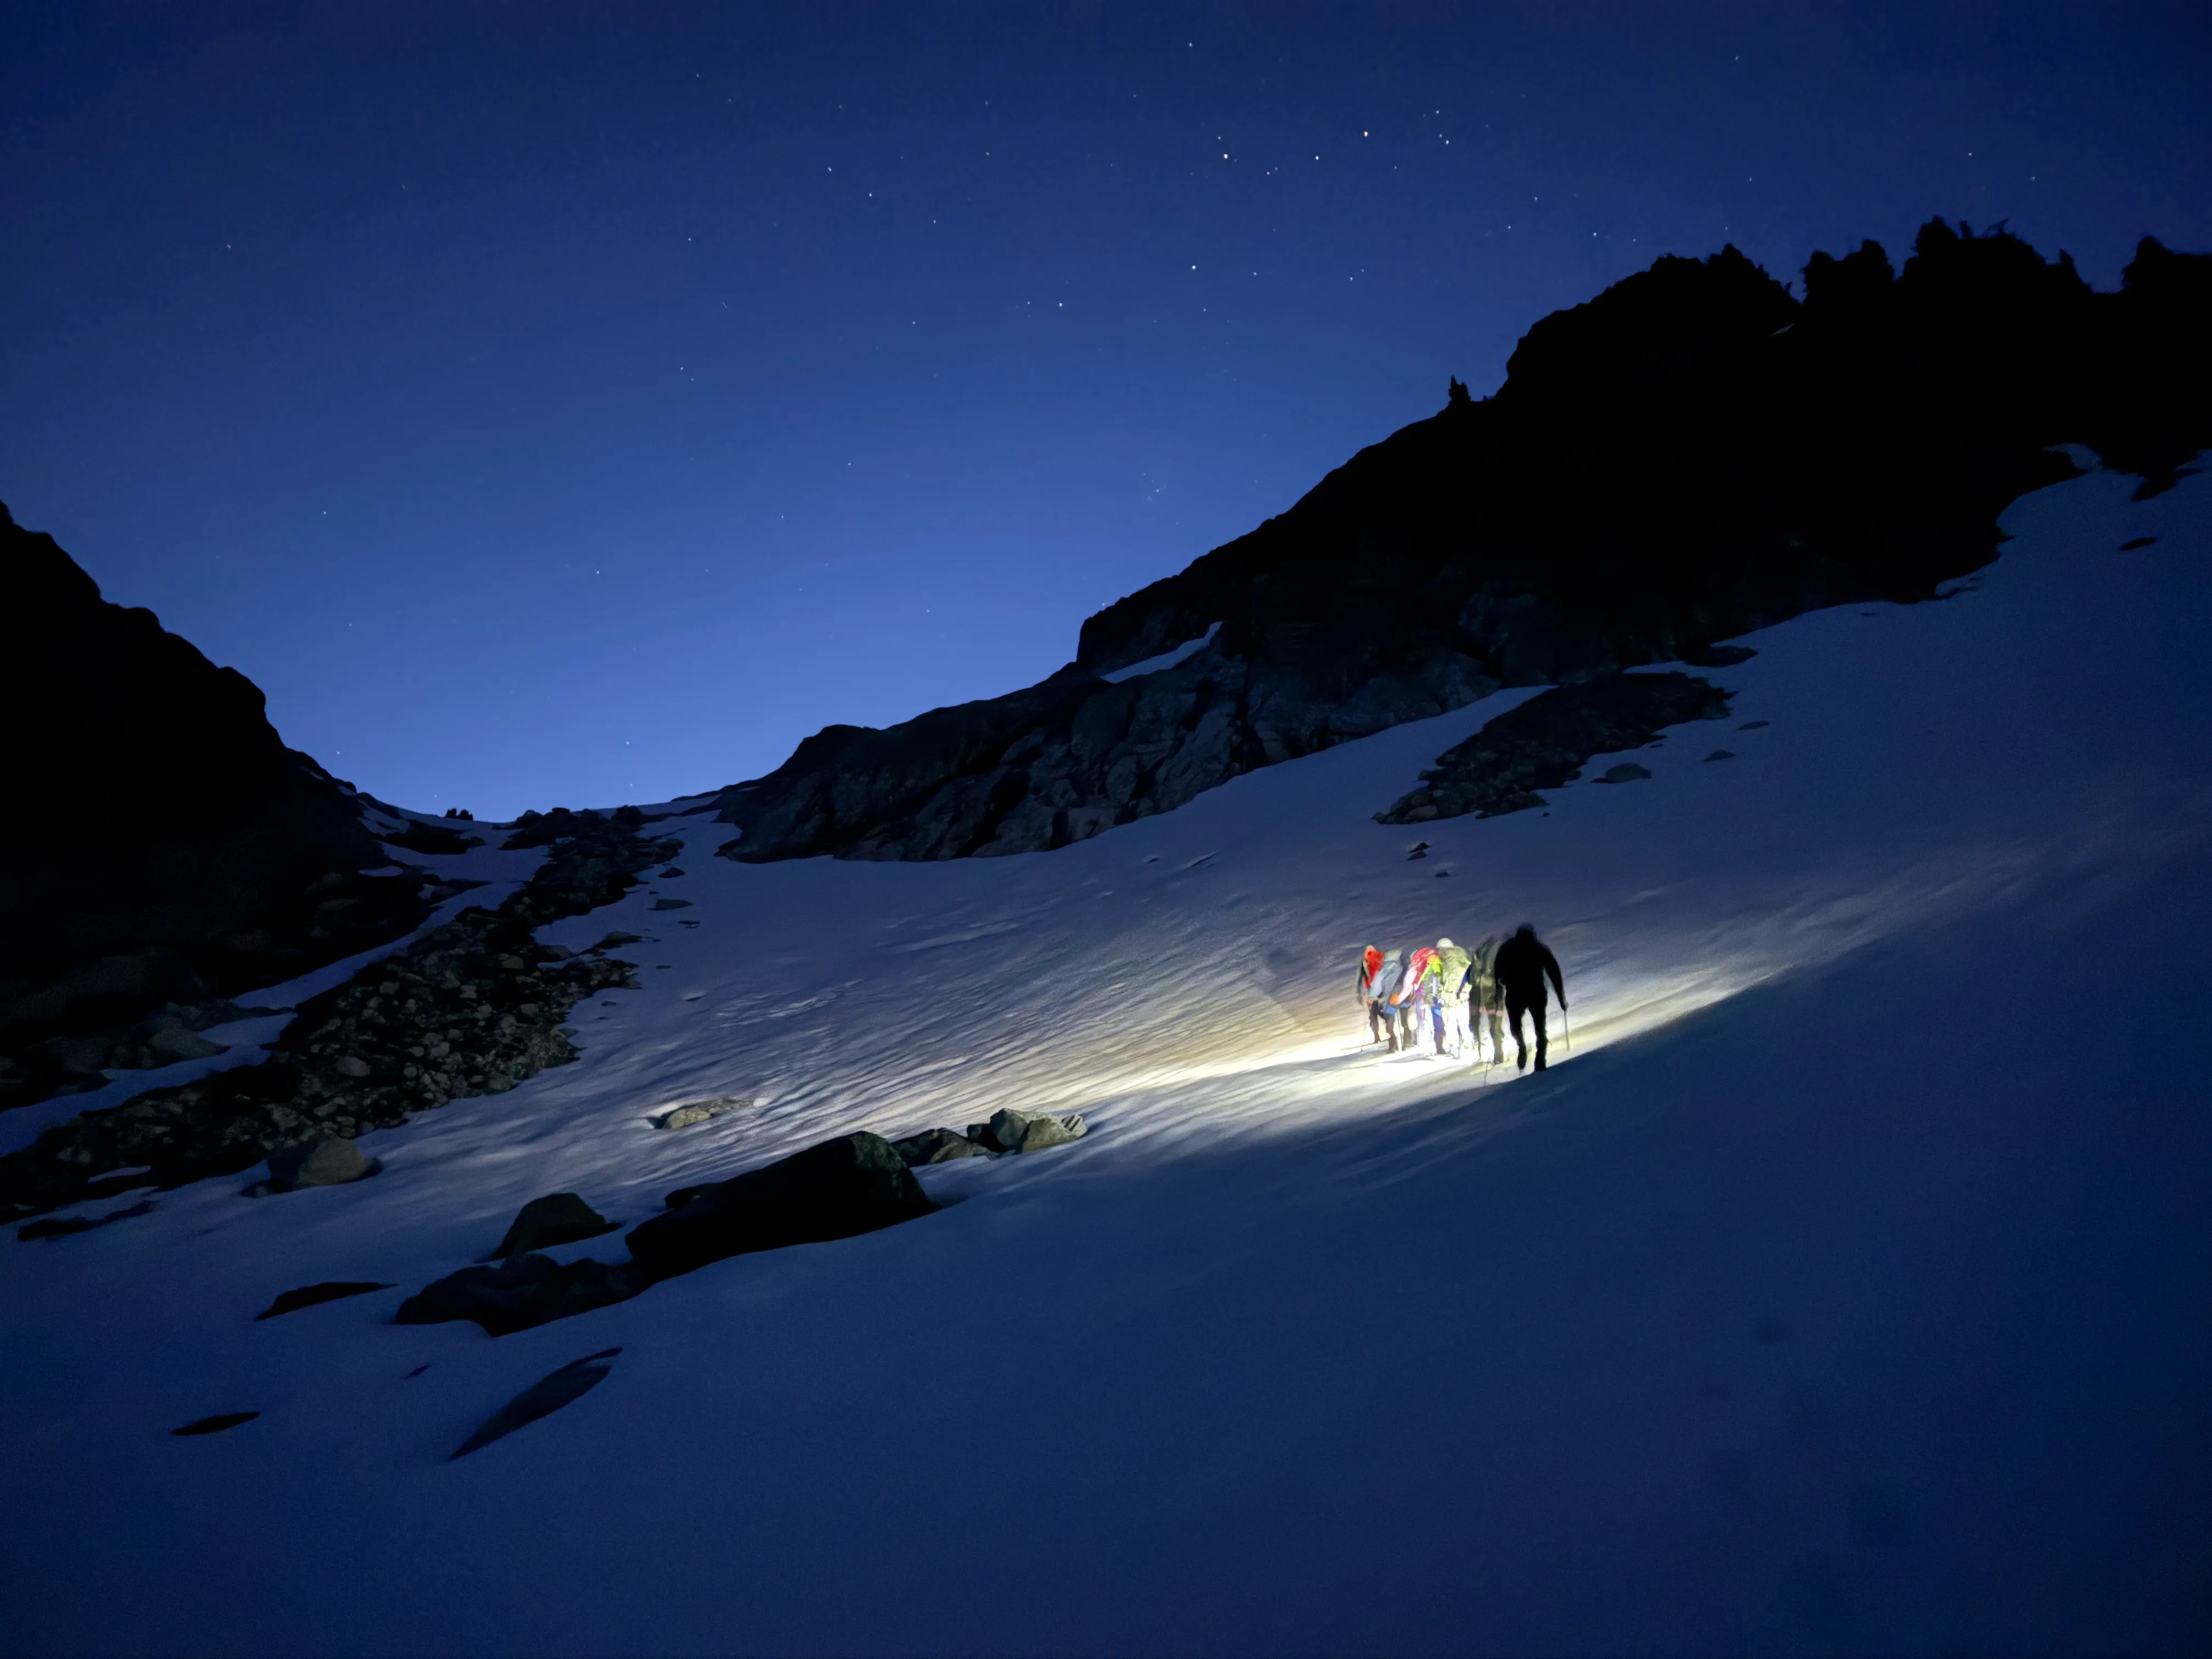
Starting up the snow gully in the dark
There were two noteworthy things along this steep gully. One, make sure you keep an eye out around 5,600 ft (1,707 m) for a weak snowbridge. You can hear the water beneath it loud, and the bridge is visibly thin. Two, we saw fresh bear tracks. Be sure to store food properly. This place has a lot of bears, it would turn out.
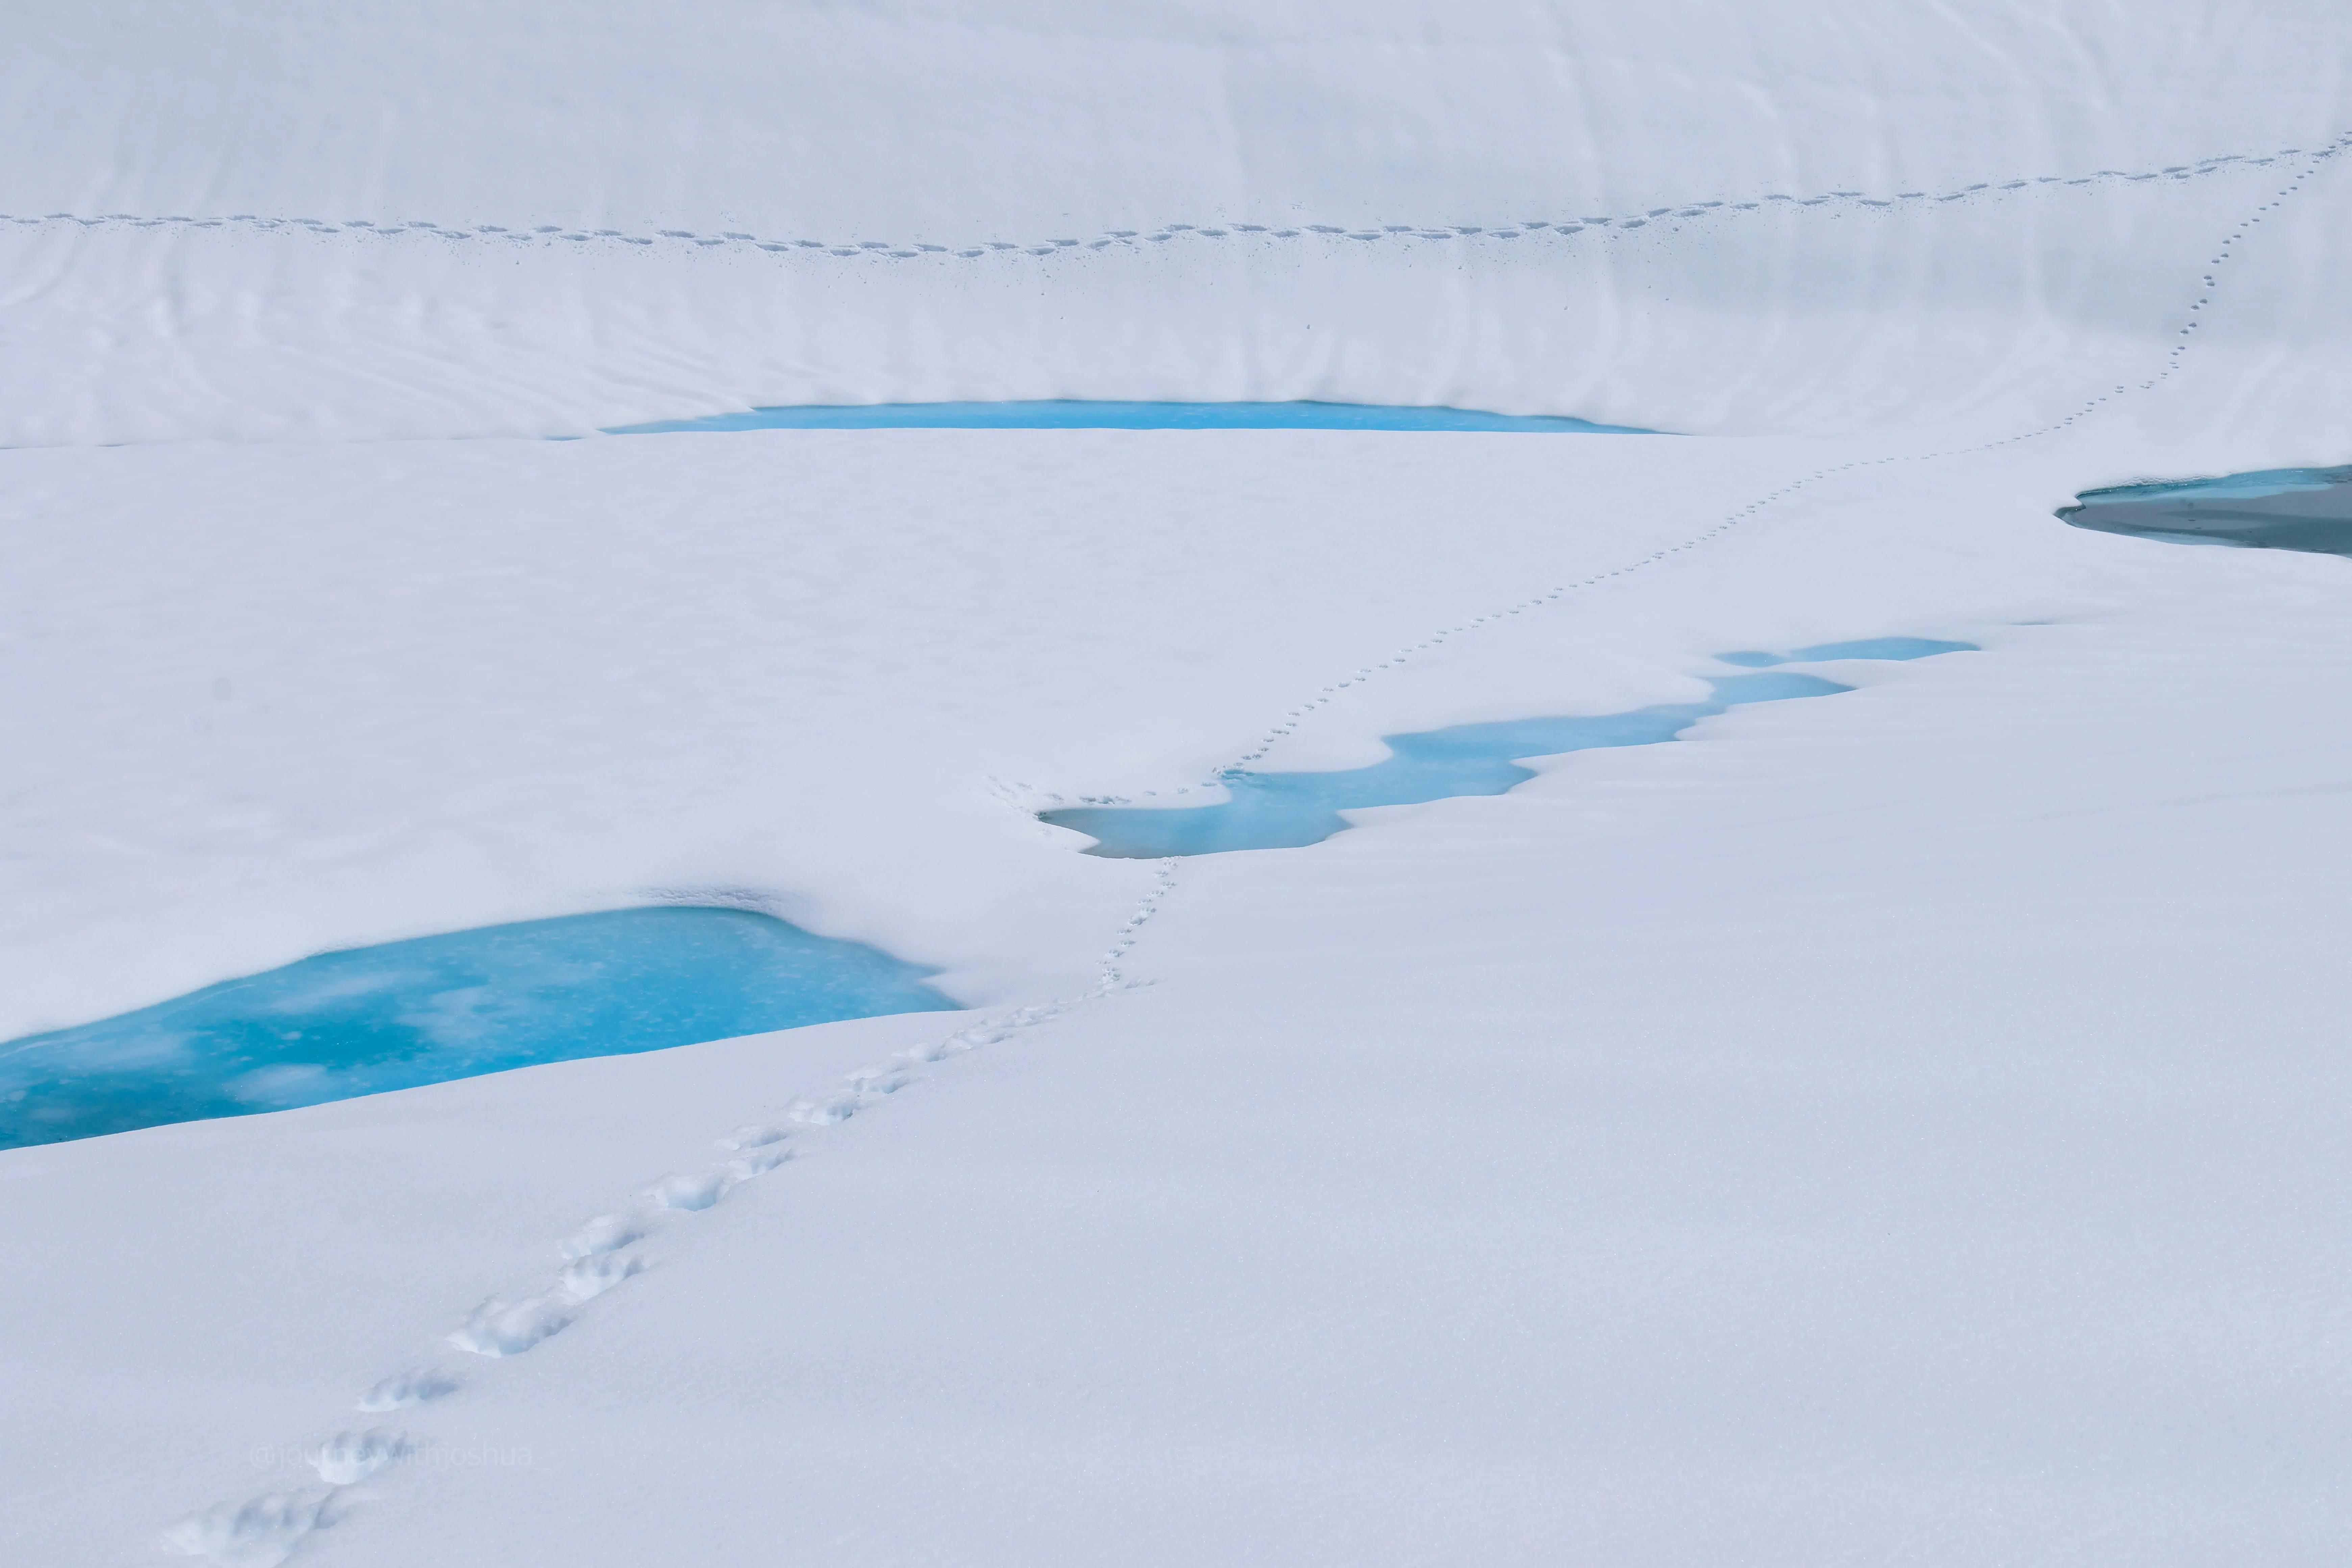
Fresh bear tracks crossing the lake and heading straight up the peak above camp. No furry visitors, thankfully.
The snow firmness was great… until it wasn’t. I punched deep a lot. Rope leaders stepped in somewhat cyclically, but we were getting exhausted overdoing it. Lesson learned here: cycle conservatively through the whole team on crappy snow ascents. It’s not worth part of the team being smoked for hours. At any rate, we had some fun navigation choices to make in the dark. We eventually opted to stay right of the upper lake, and then cross left in front of the cliffs up towards the cirque. We maintained a far left, and made the straight shot from here up the gully. Do be cautious, we saw lots of evidence of avalanche slides, and this area is prone to them.
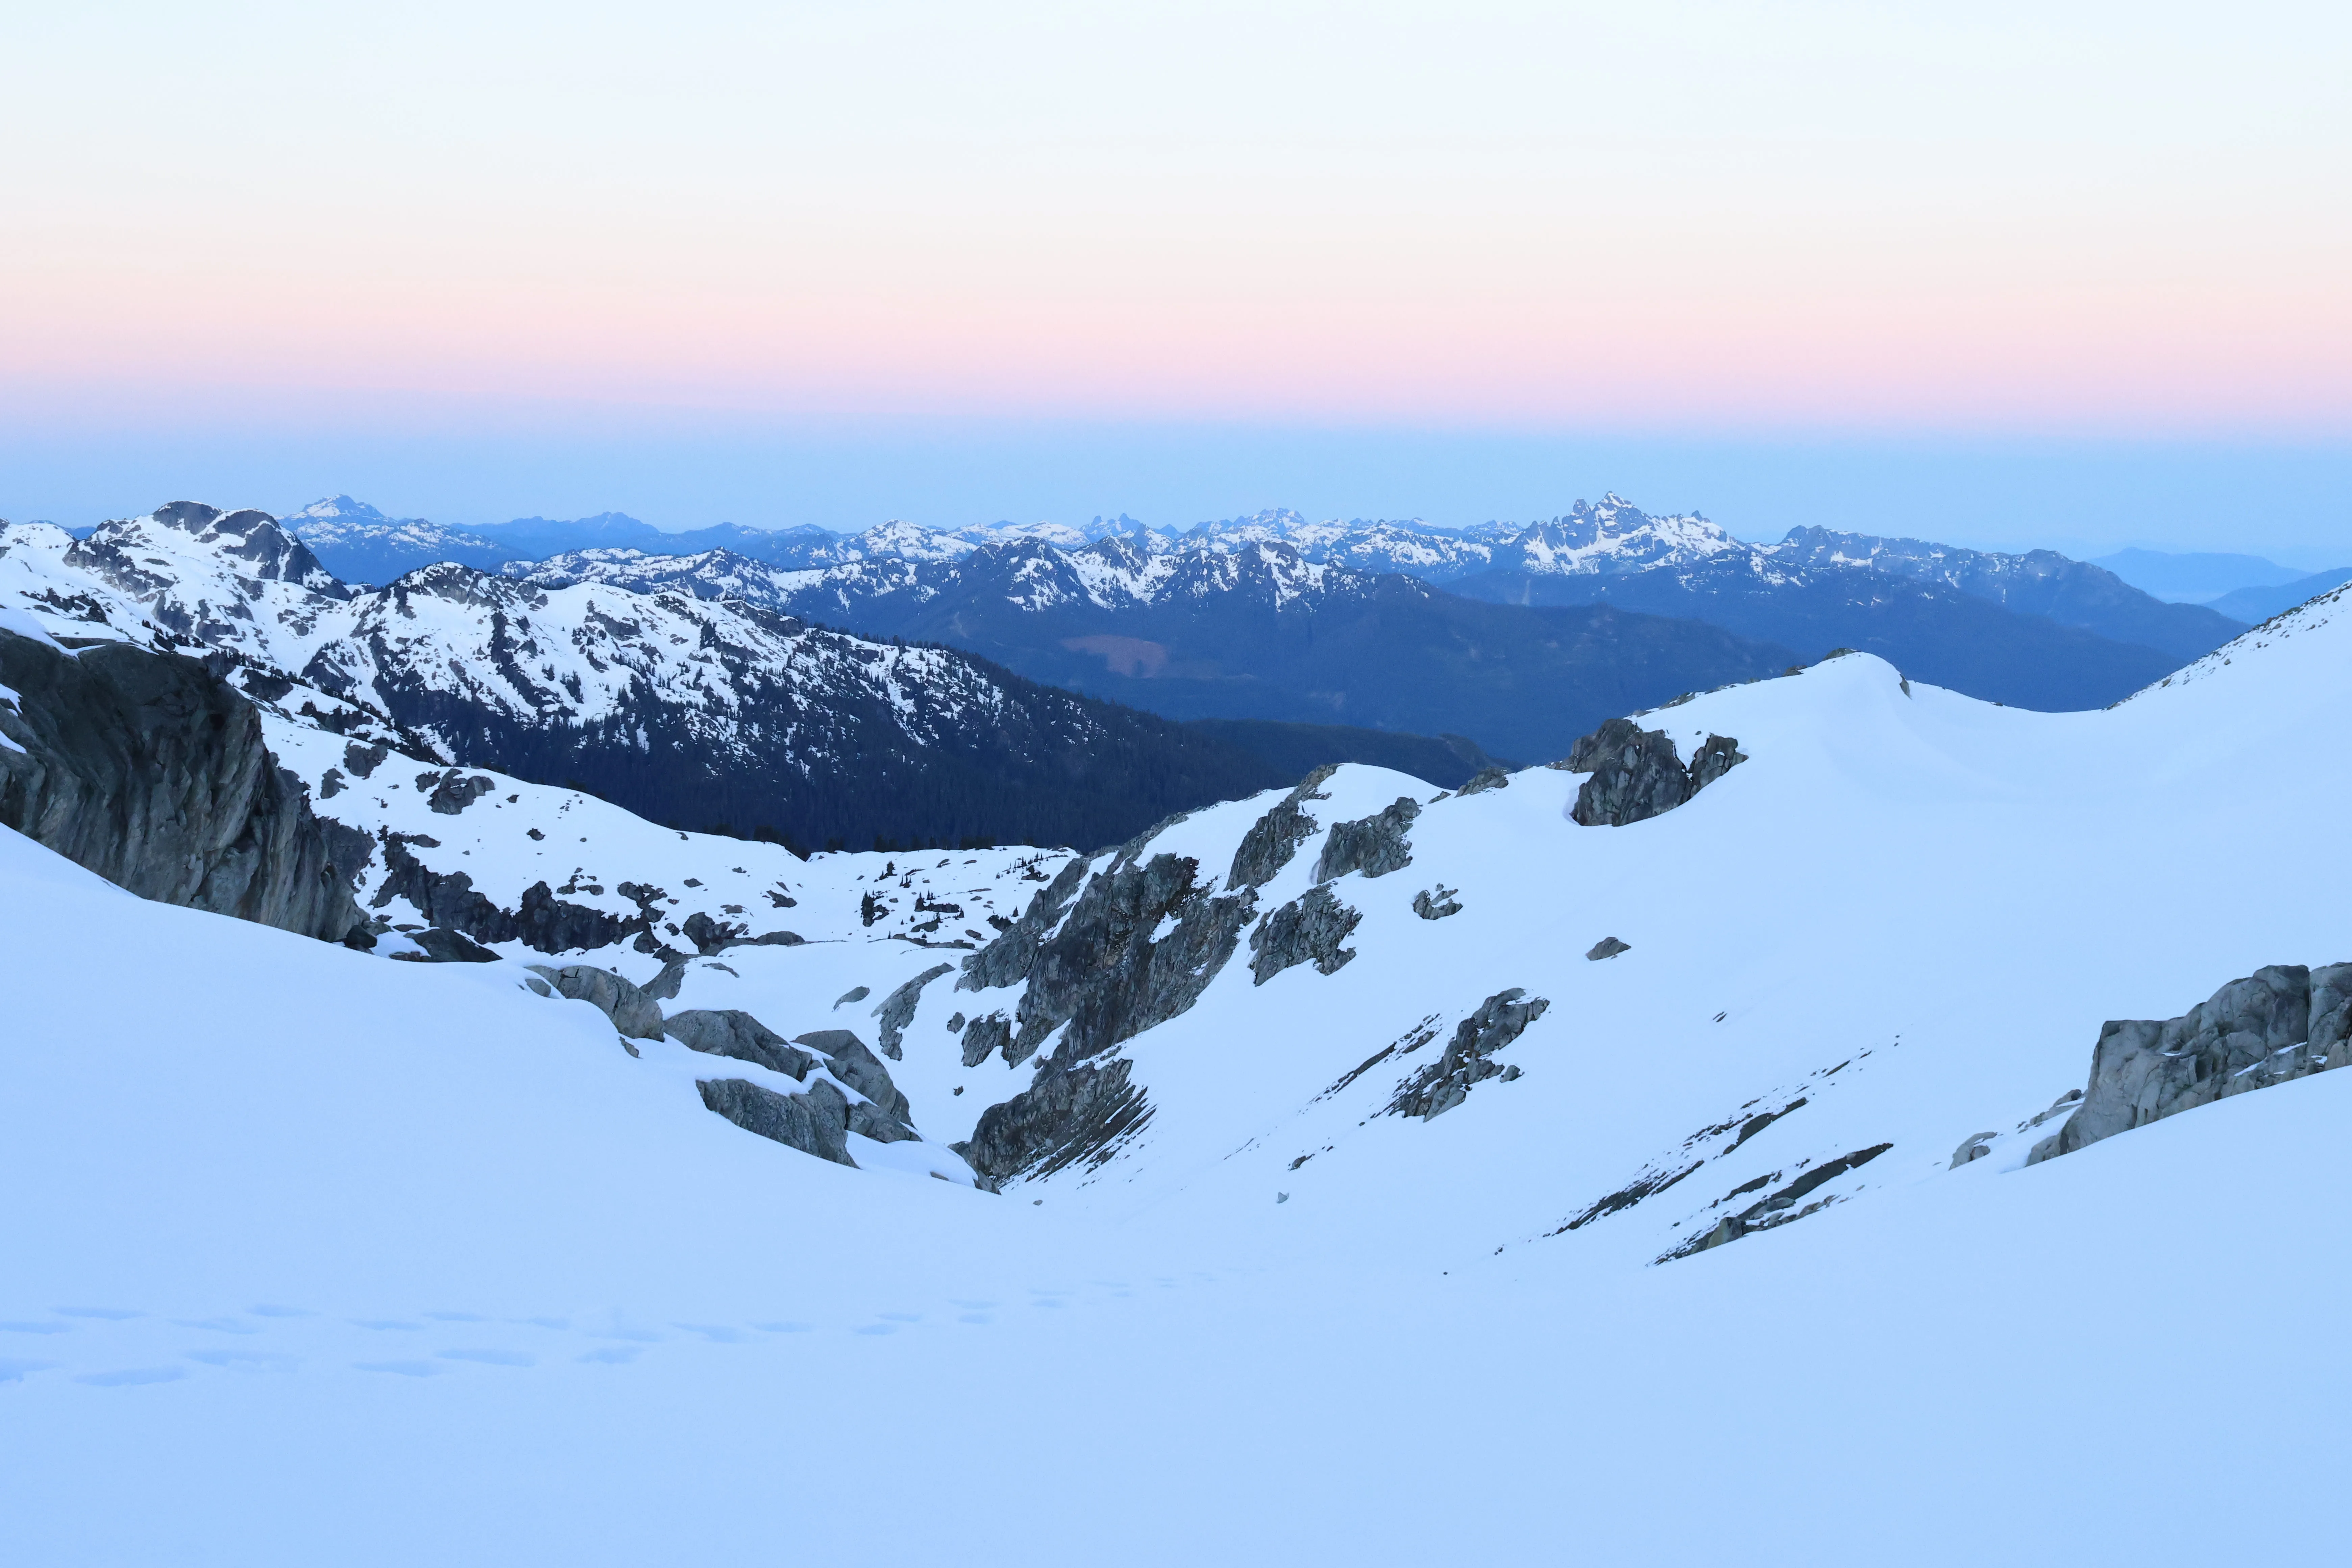
Sunrise breaking over the cirque
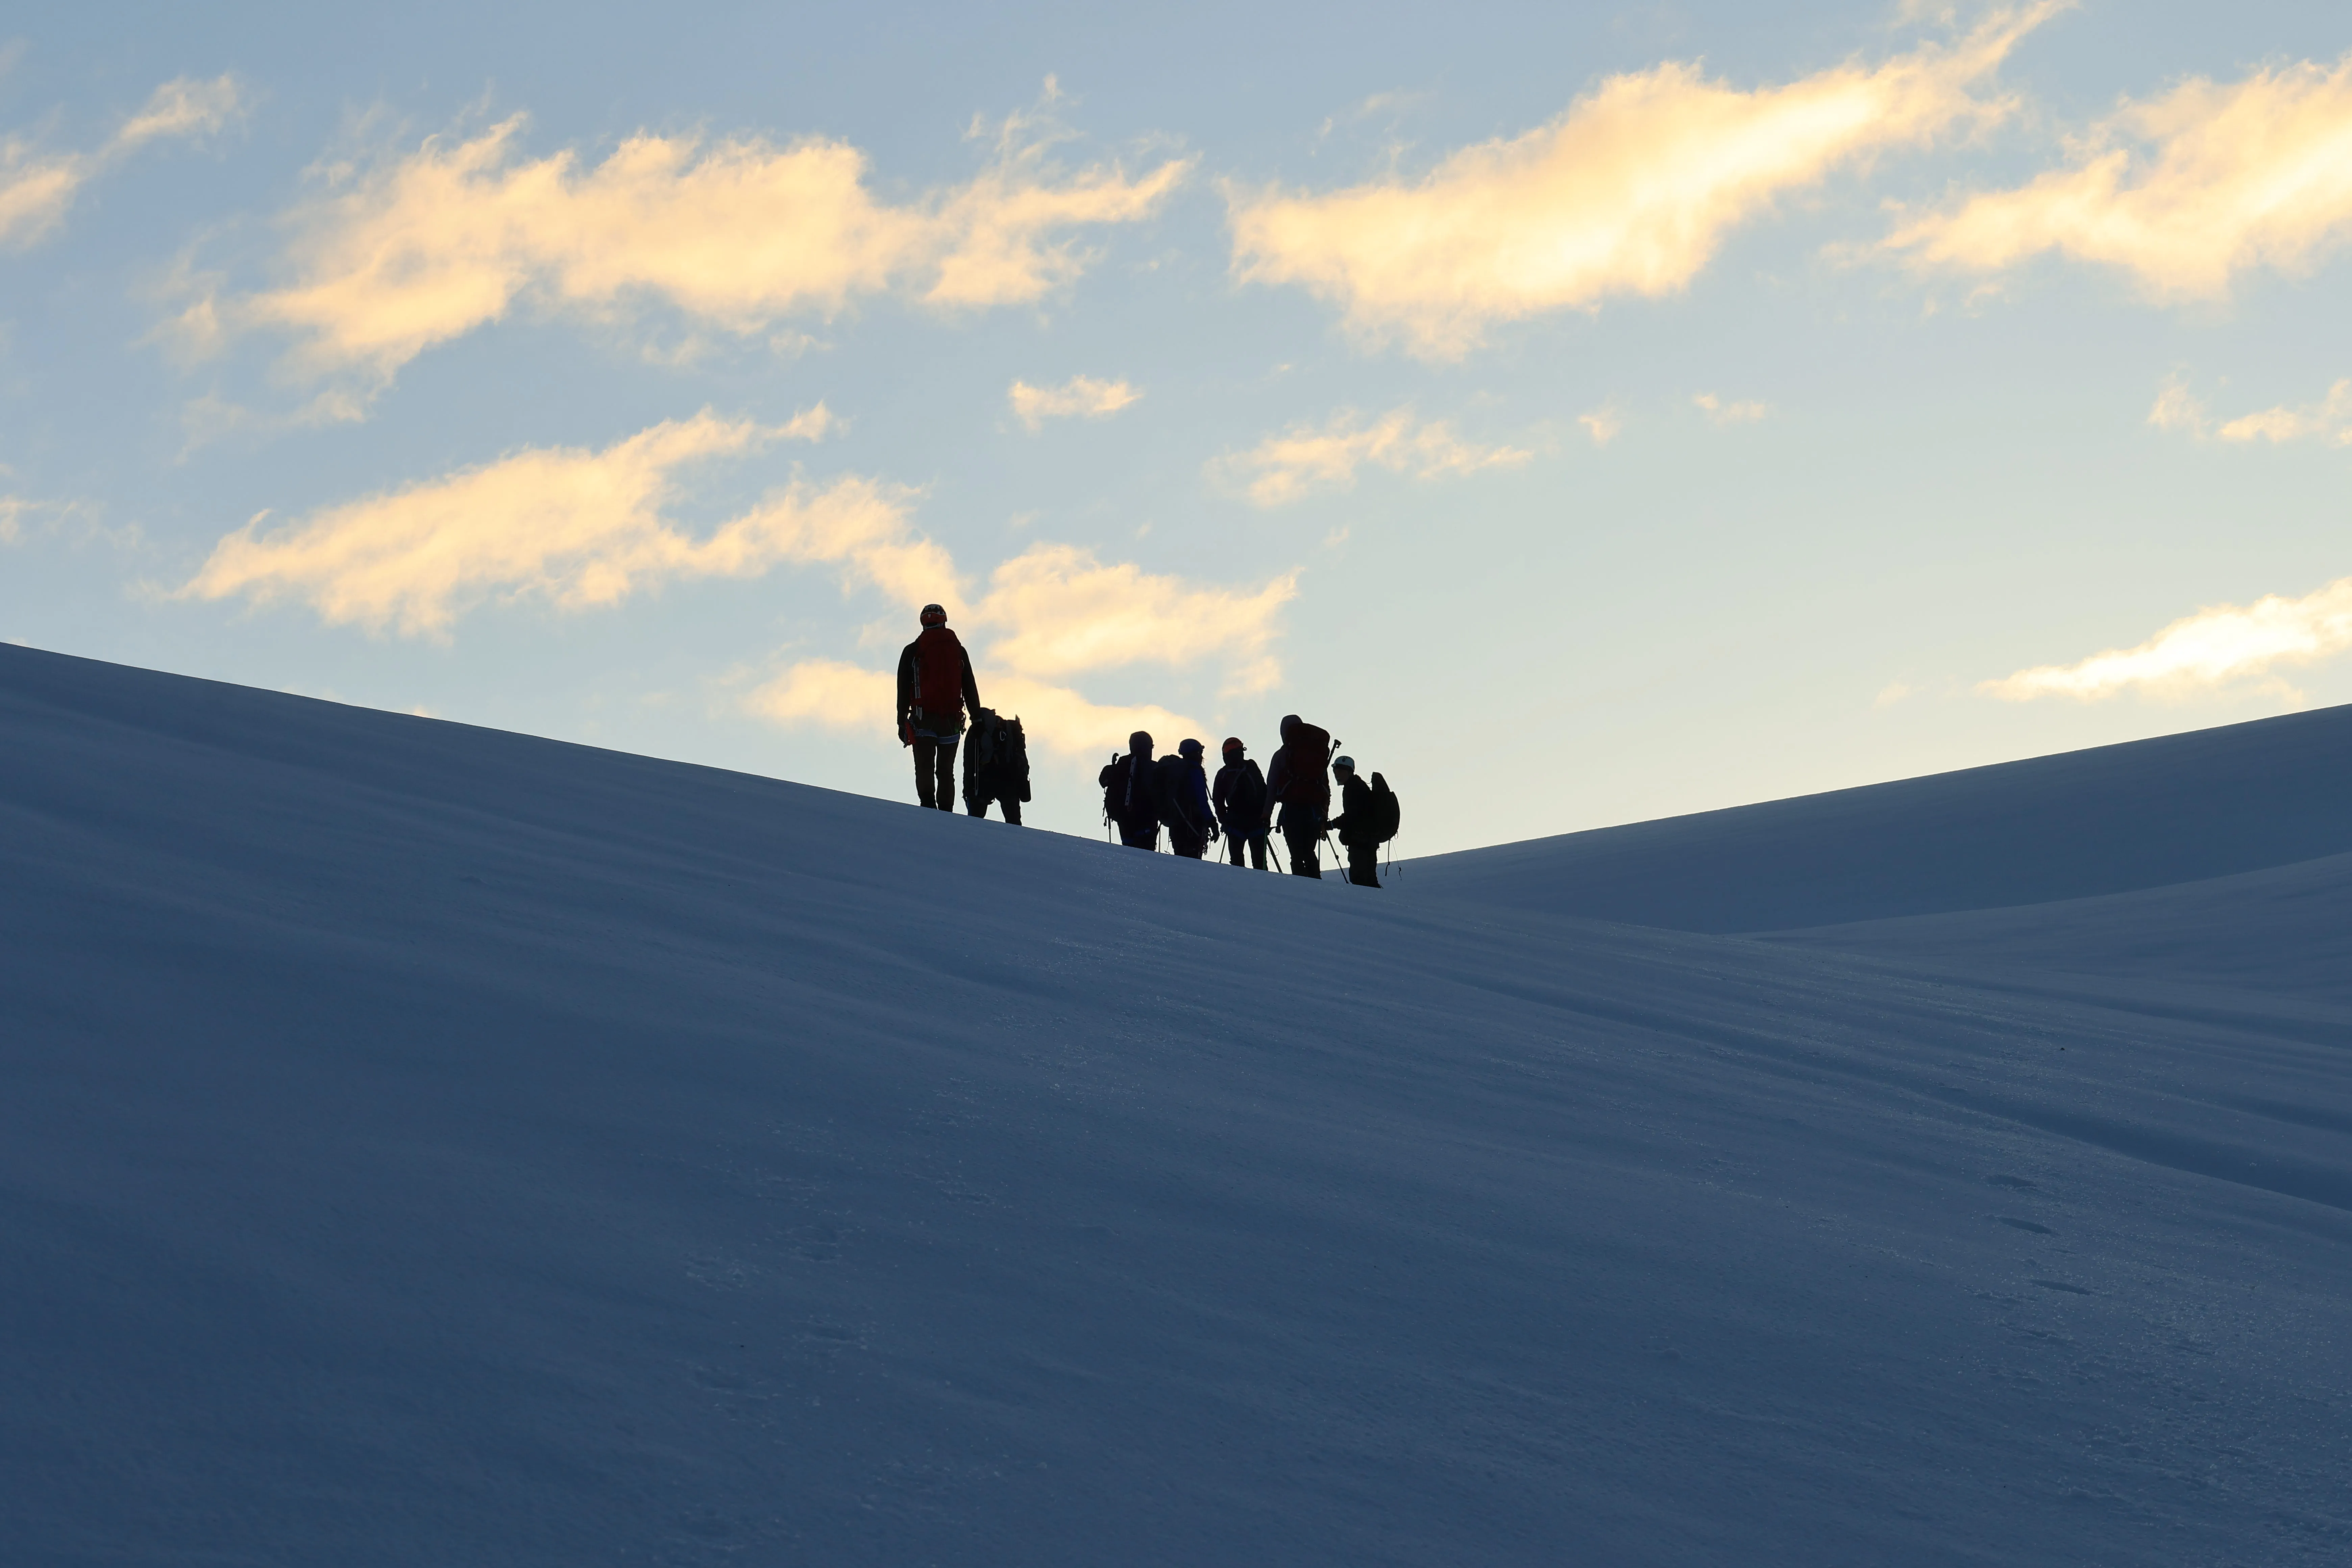
Silhouettes topping out onto the icefield at sunrise
The Mamquam Icefield
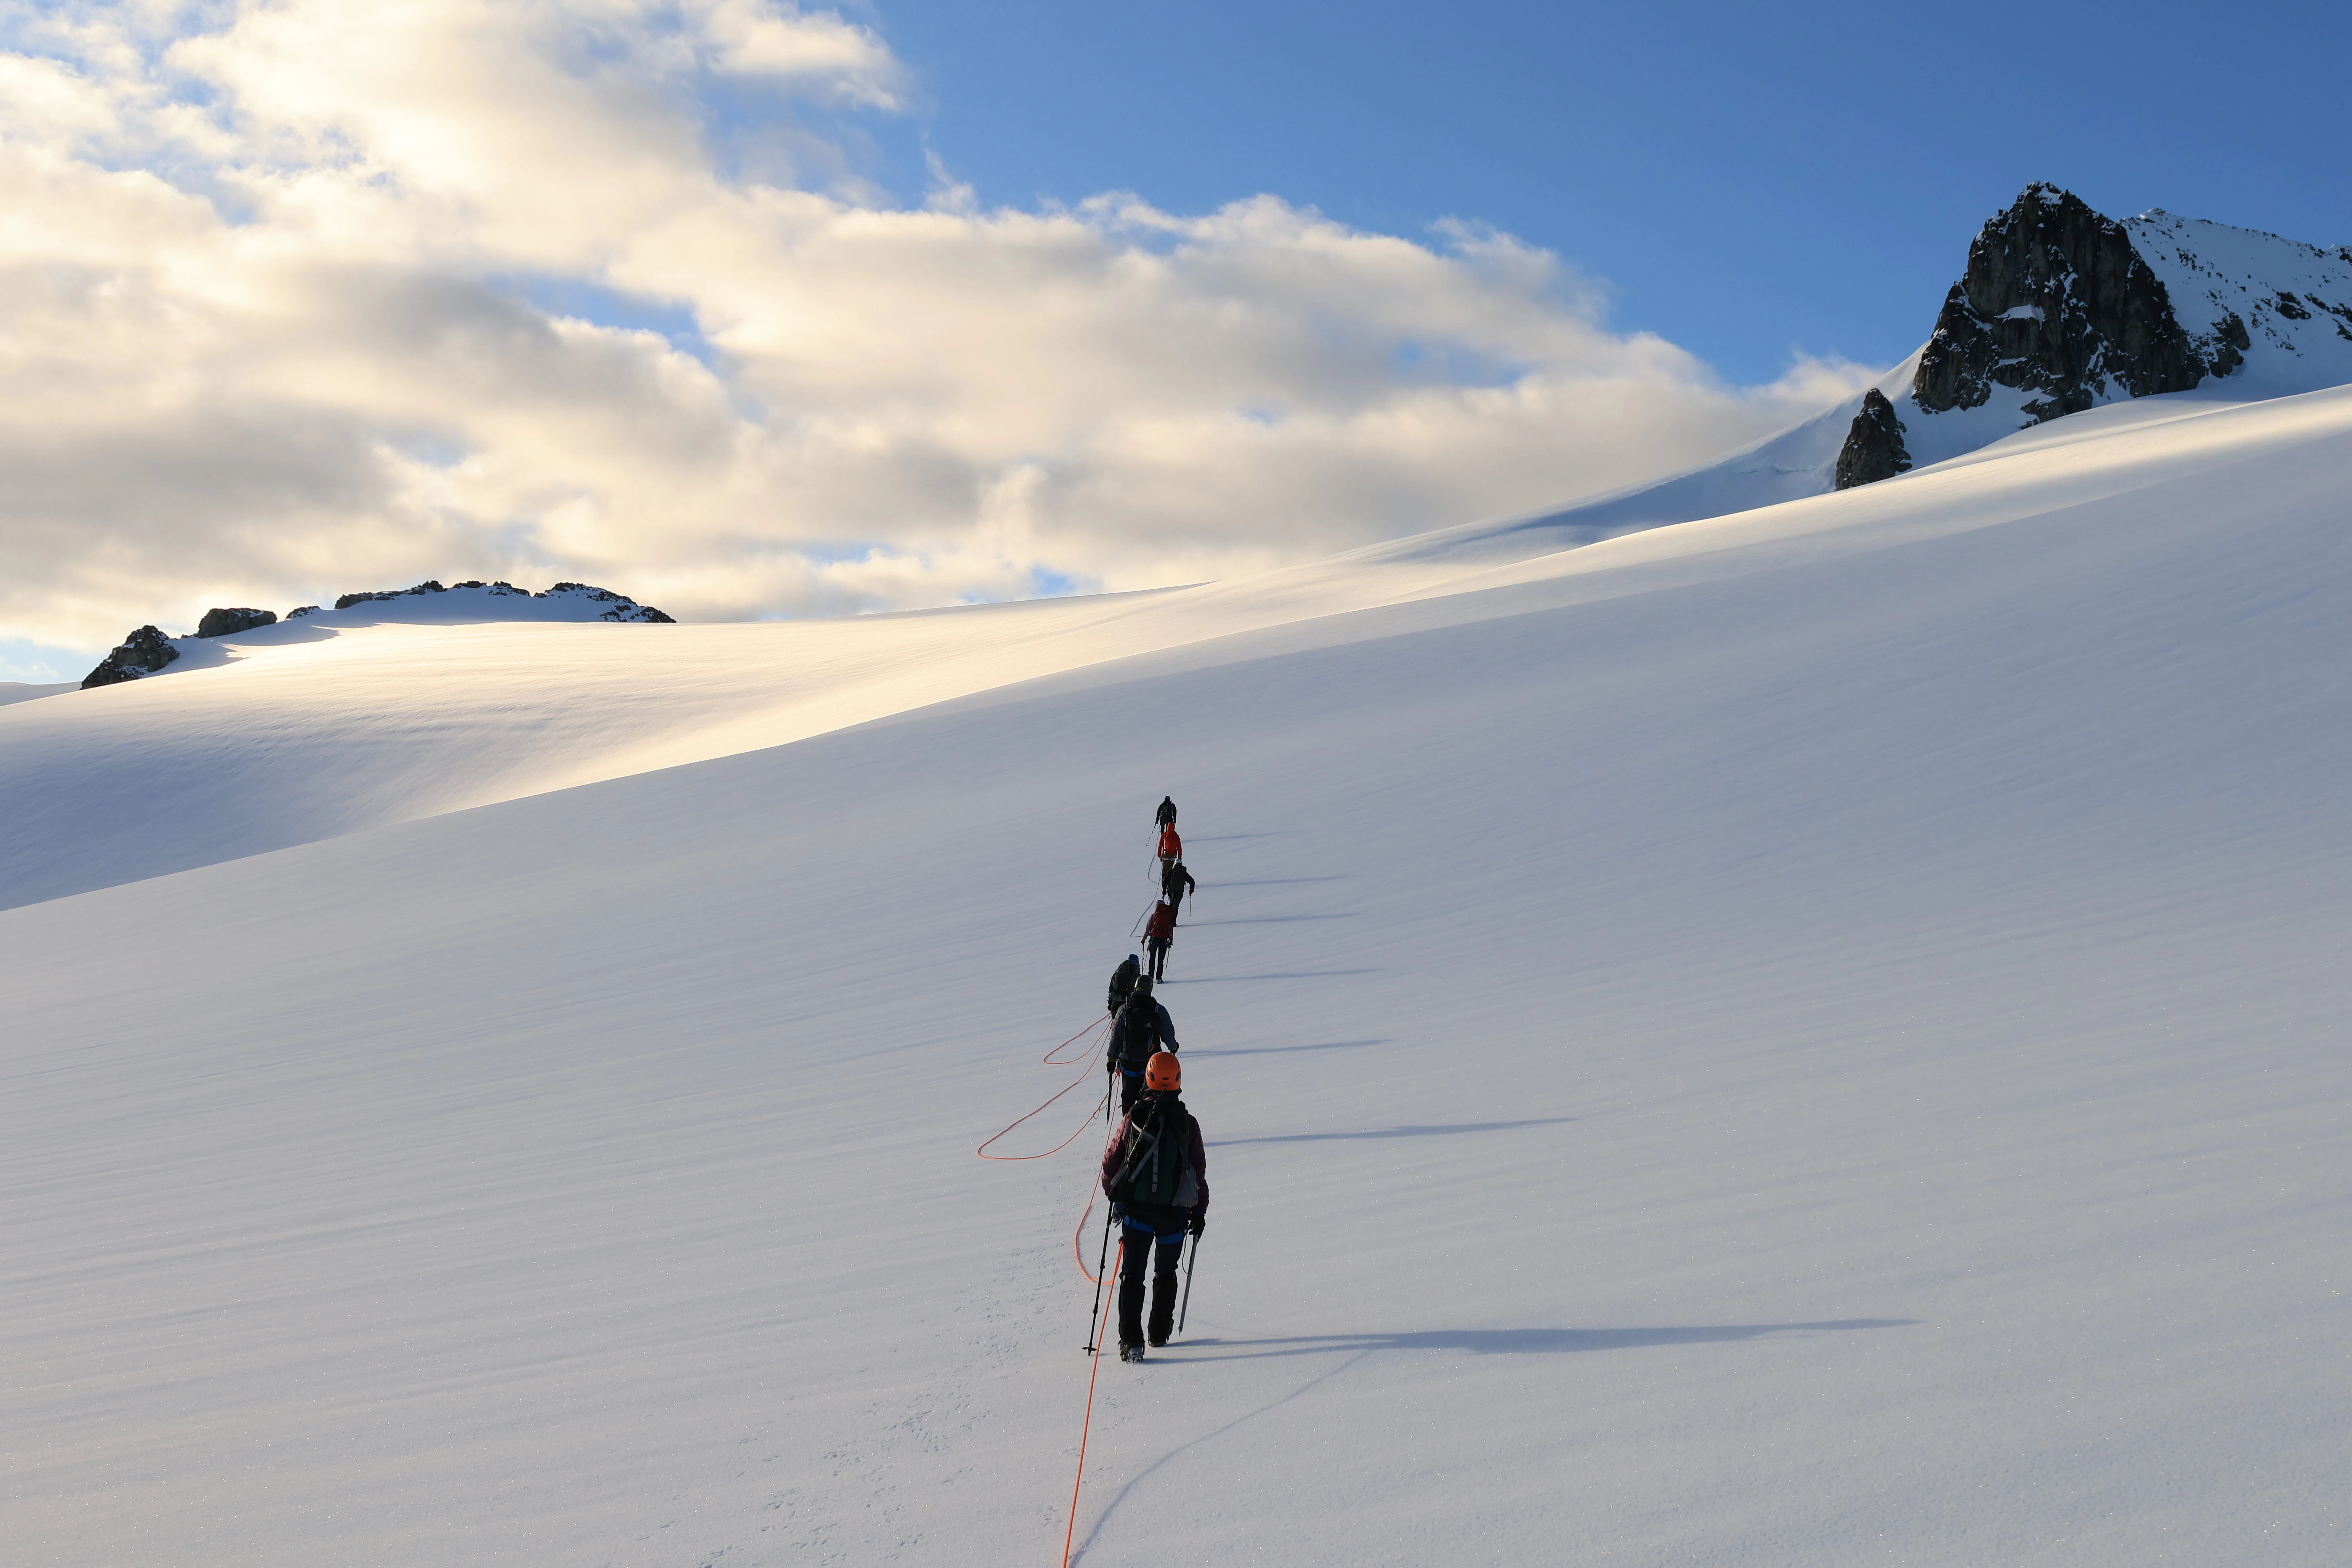
Finally, as we made it up during a colorful sunrise to the top of the gully, the flowing, smooth, flat surface of the Mamquam Icefield emerged. Now we were getting somewhere. There was a glorious overcast creating incredible ambient light conditions on the icefield. We prepped the ropes and assembled our teams around 7,100 ft (2,164 m). I opted to take the caboose so I could get some stellar team photos. I had strong rope leaders who could navigate this section with no problem. We didn’t see Mamquam for quite some time, which was surprising because the icefield seems so flat. But don’t be fooled. You still have 1,400+ ft (425+ m) of elevation to go before you reach the summit.
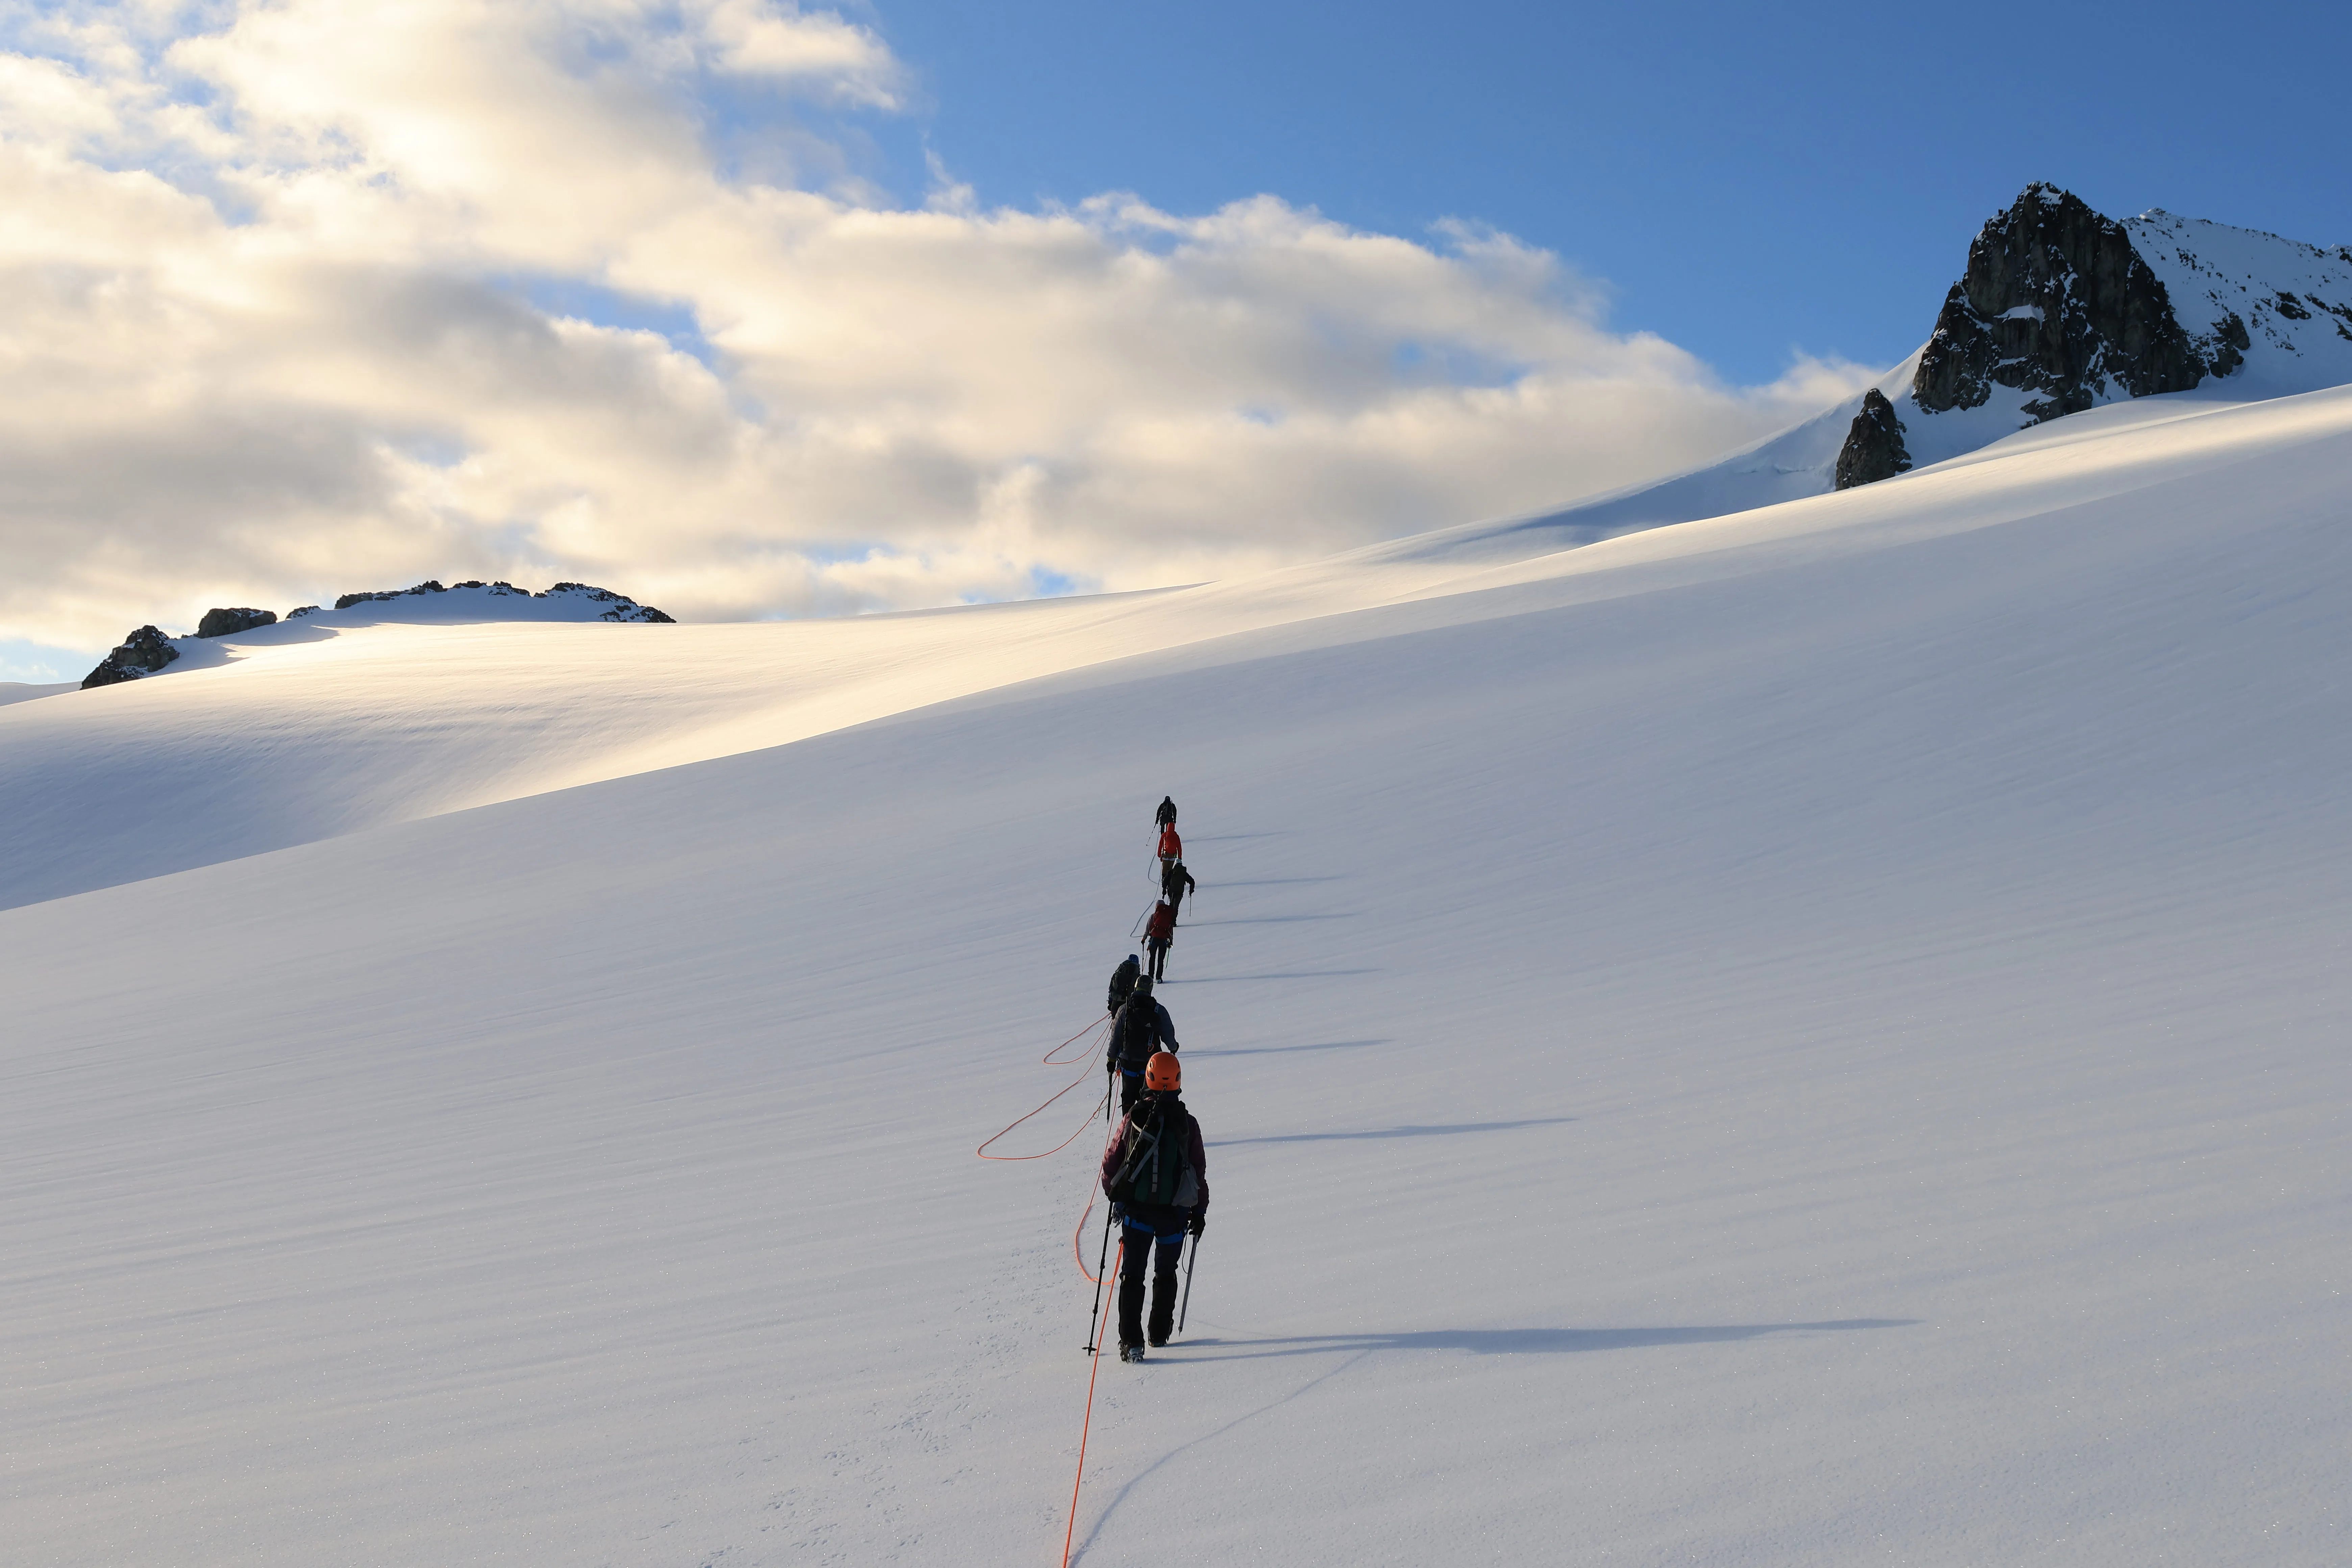
The full team roped up on the Mamquam Icefield
This was one of the most enjoyable couple hours I have spent in the outdoors. To boot, it was truly ice up here. Not even our crampons could cut through. A welcome surprise. It was one of those incredible moments where I kept asking myself where are we?! It truly felt like we were on a different planet. It’s quite an incredible sight to behold. Not another human in sight. No disturbances. No tracks. Spearheading the objective with a strong, confident team. Sunrise and the clouds putting on a show over the hundreds of Canadian peaks in the distance. Garibaldi out in all its glory watching our progress.
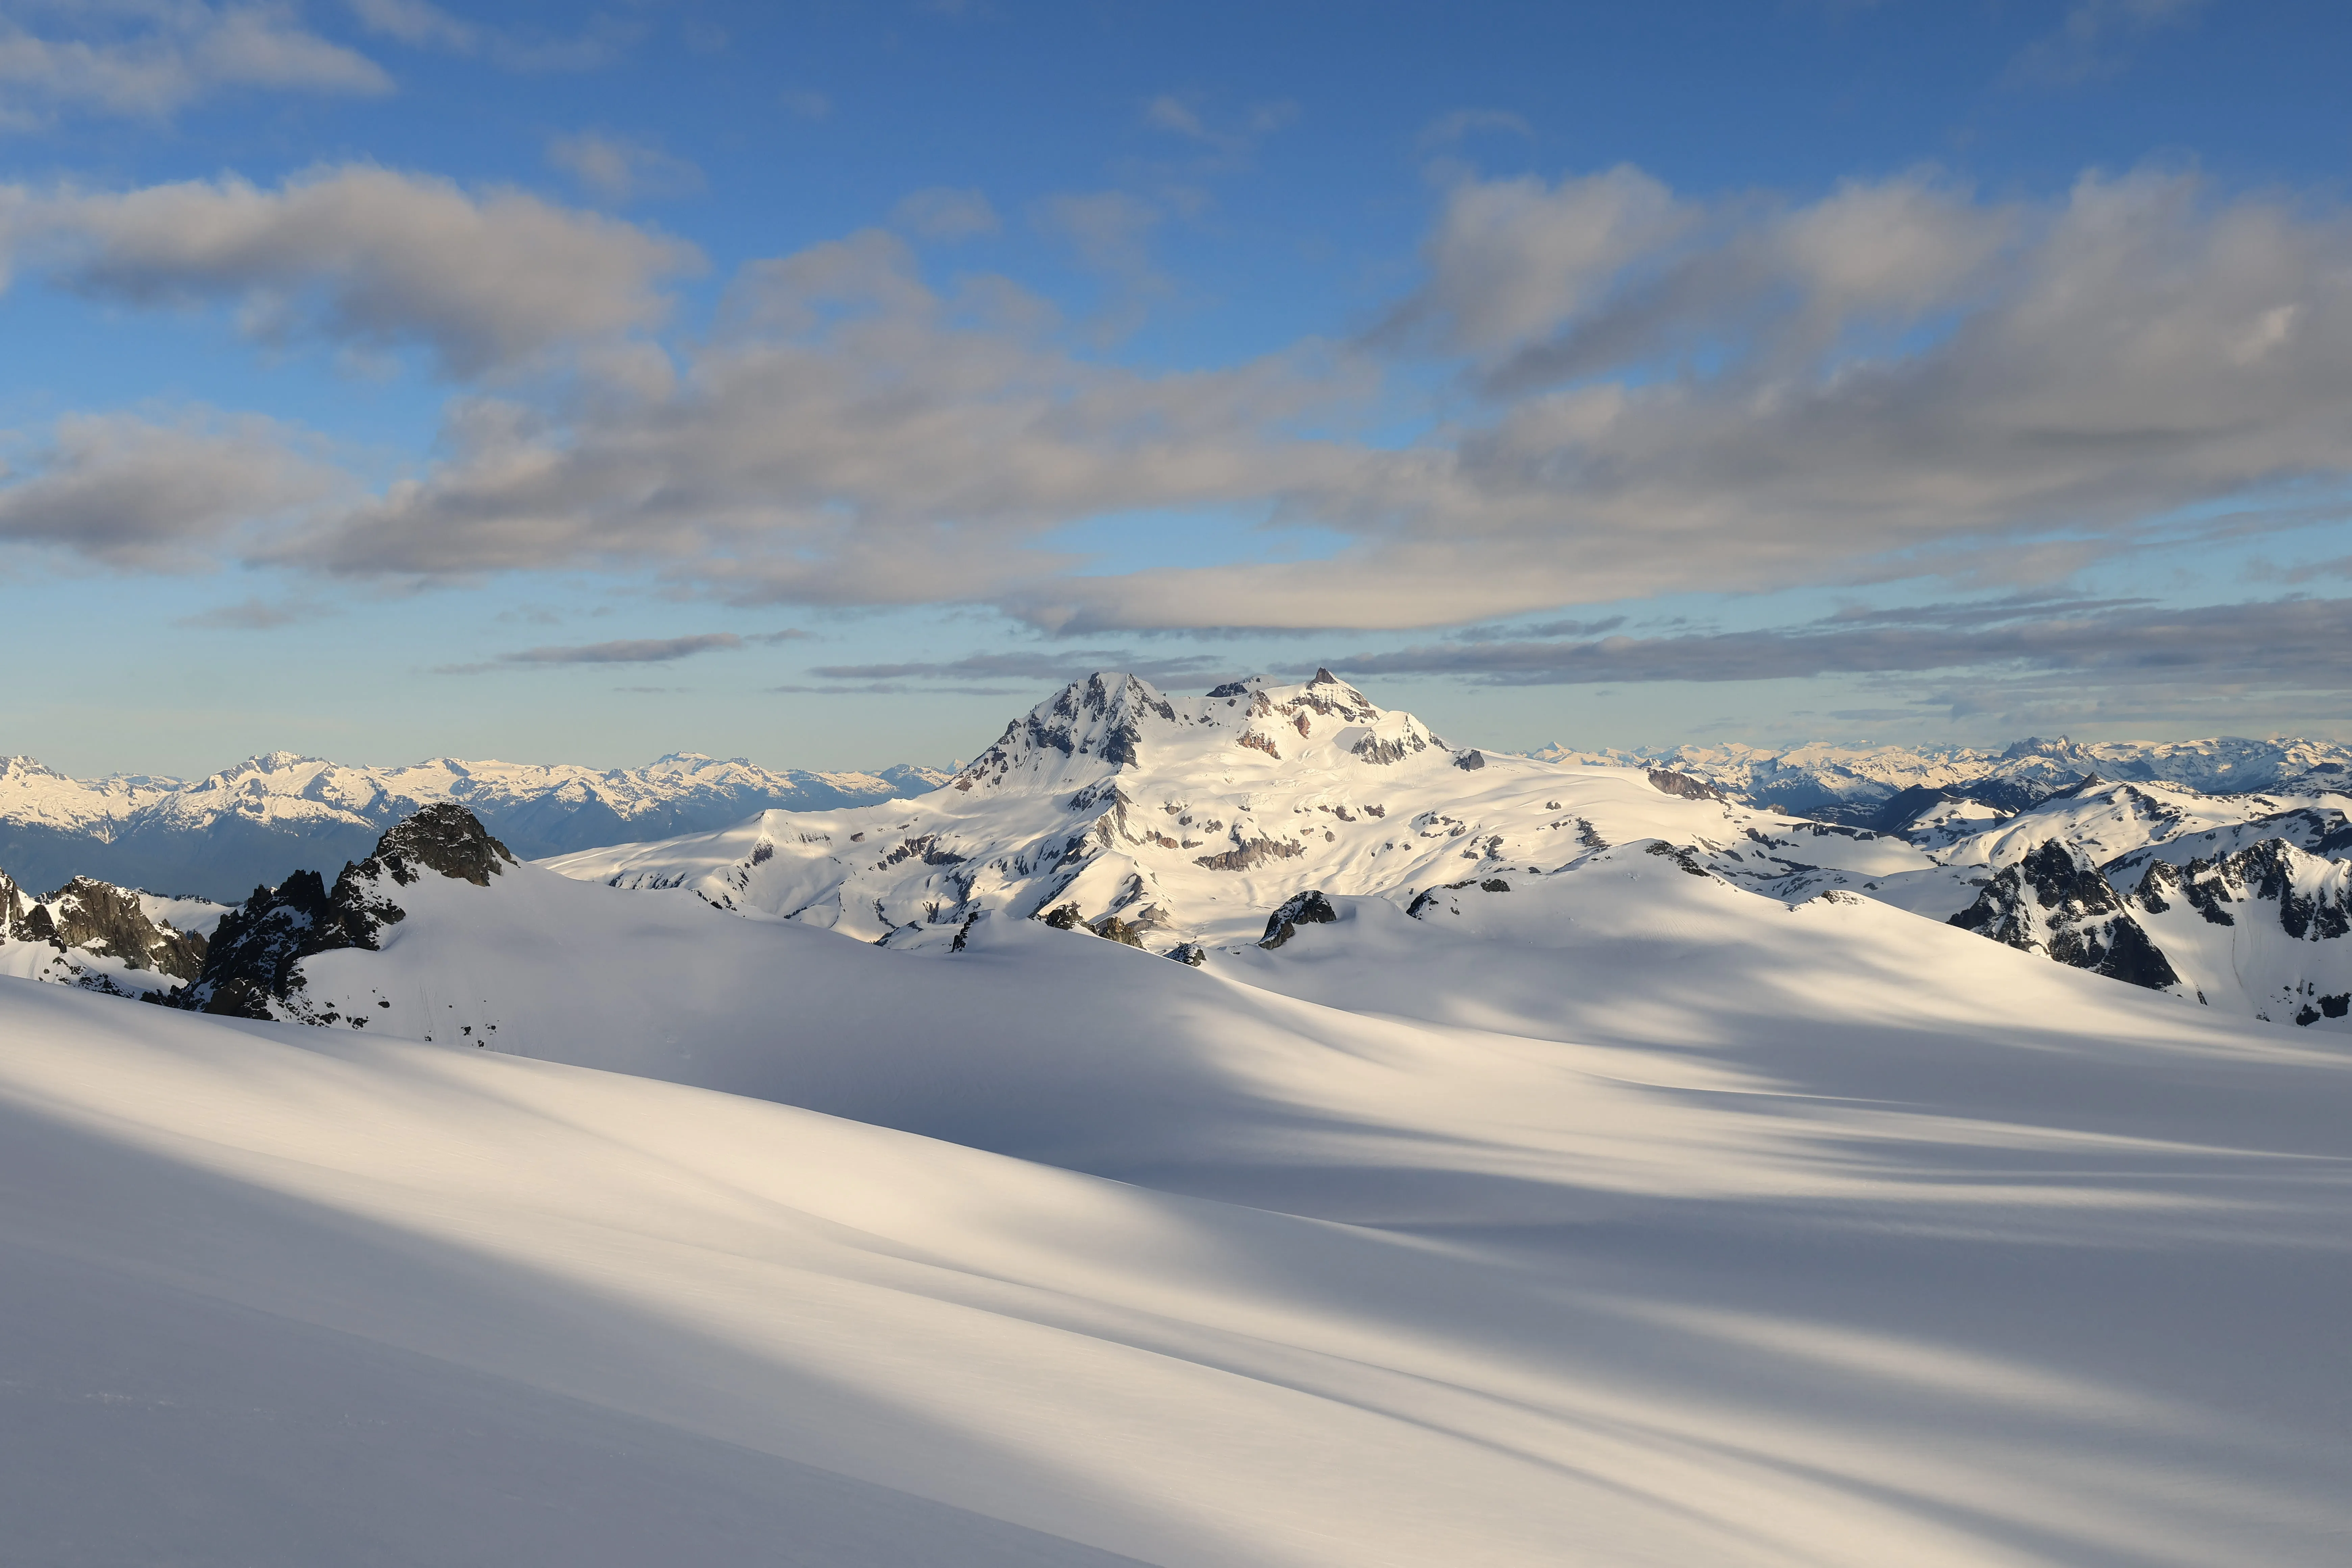
Garibaldi watching over the icefield at sunrise
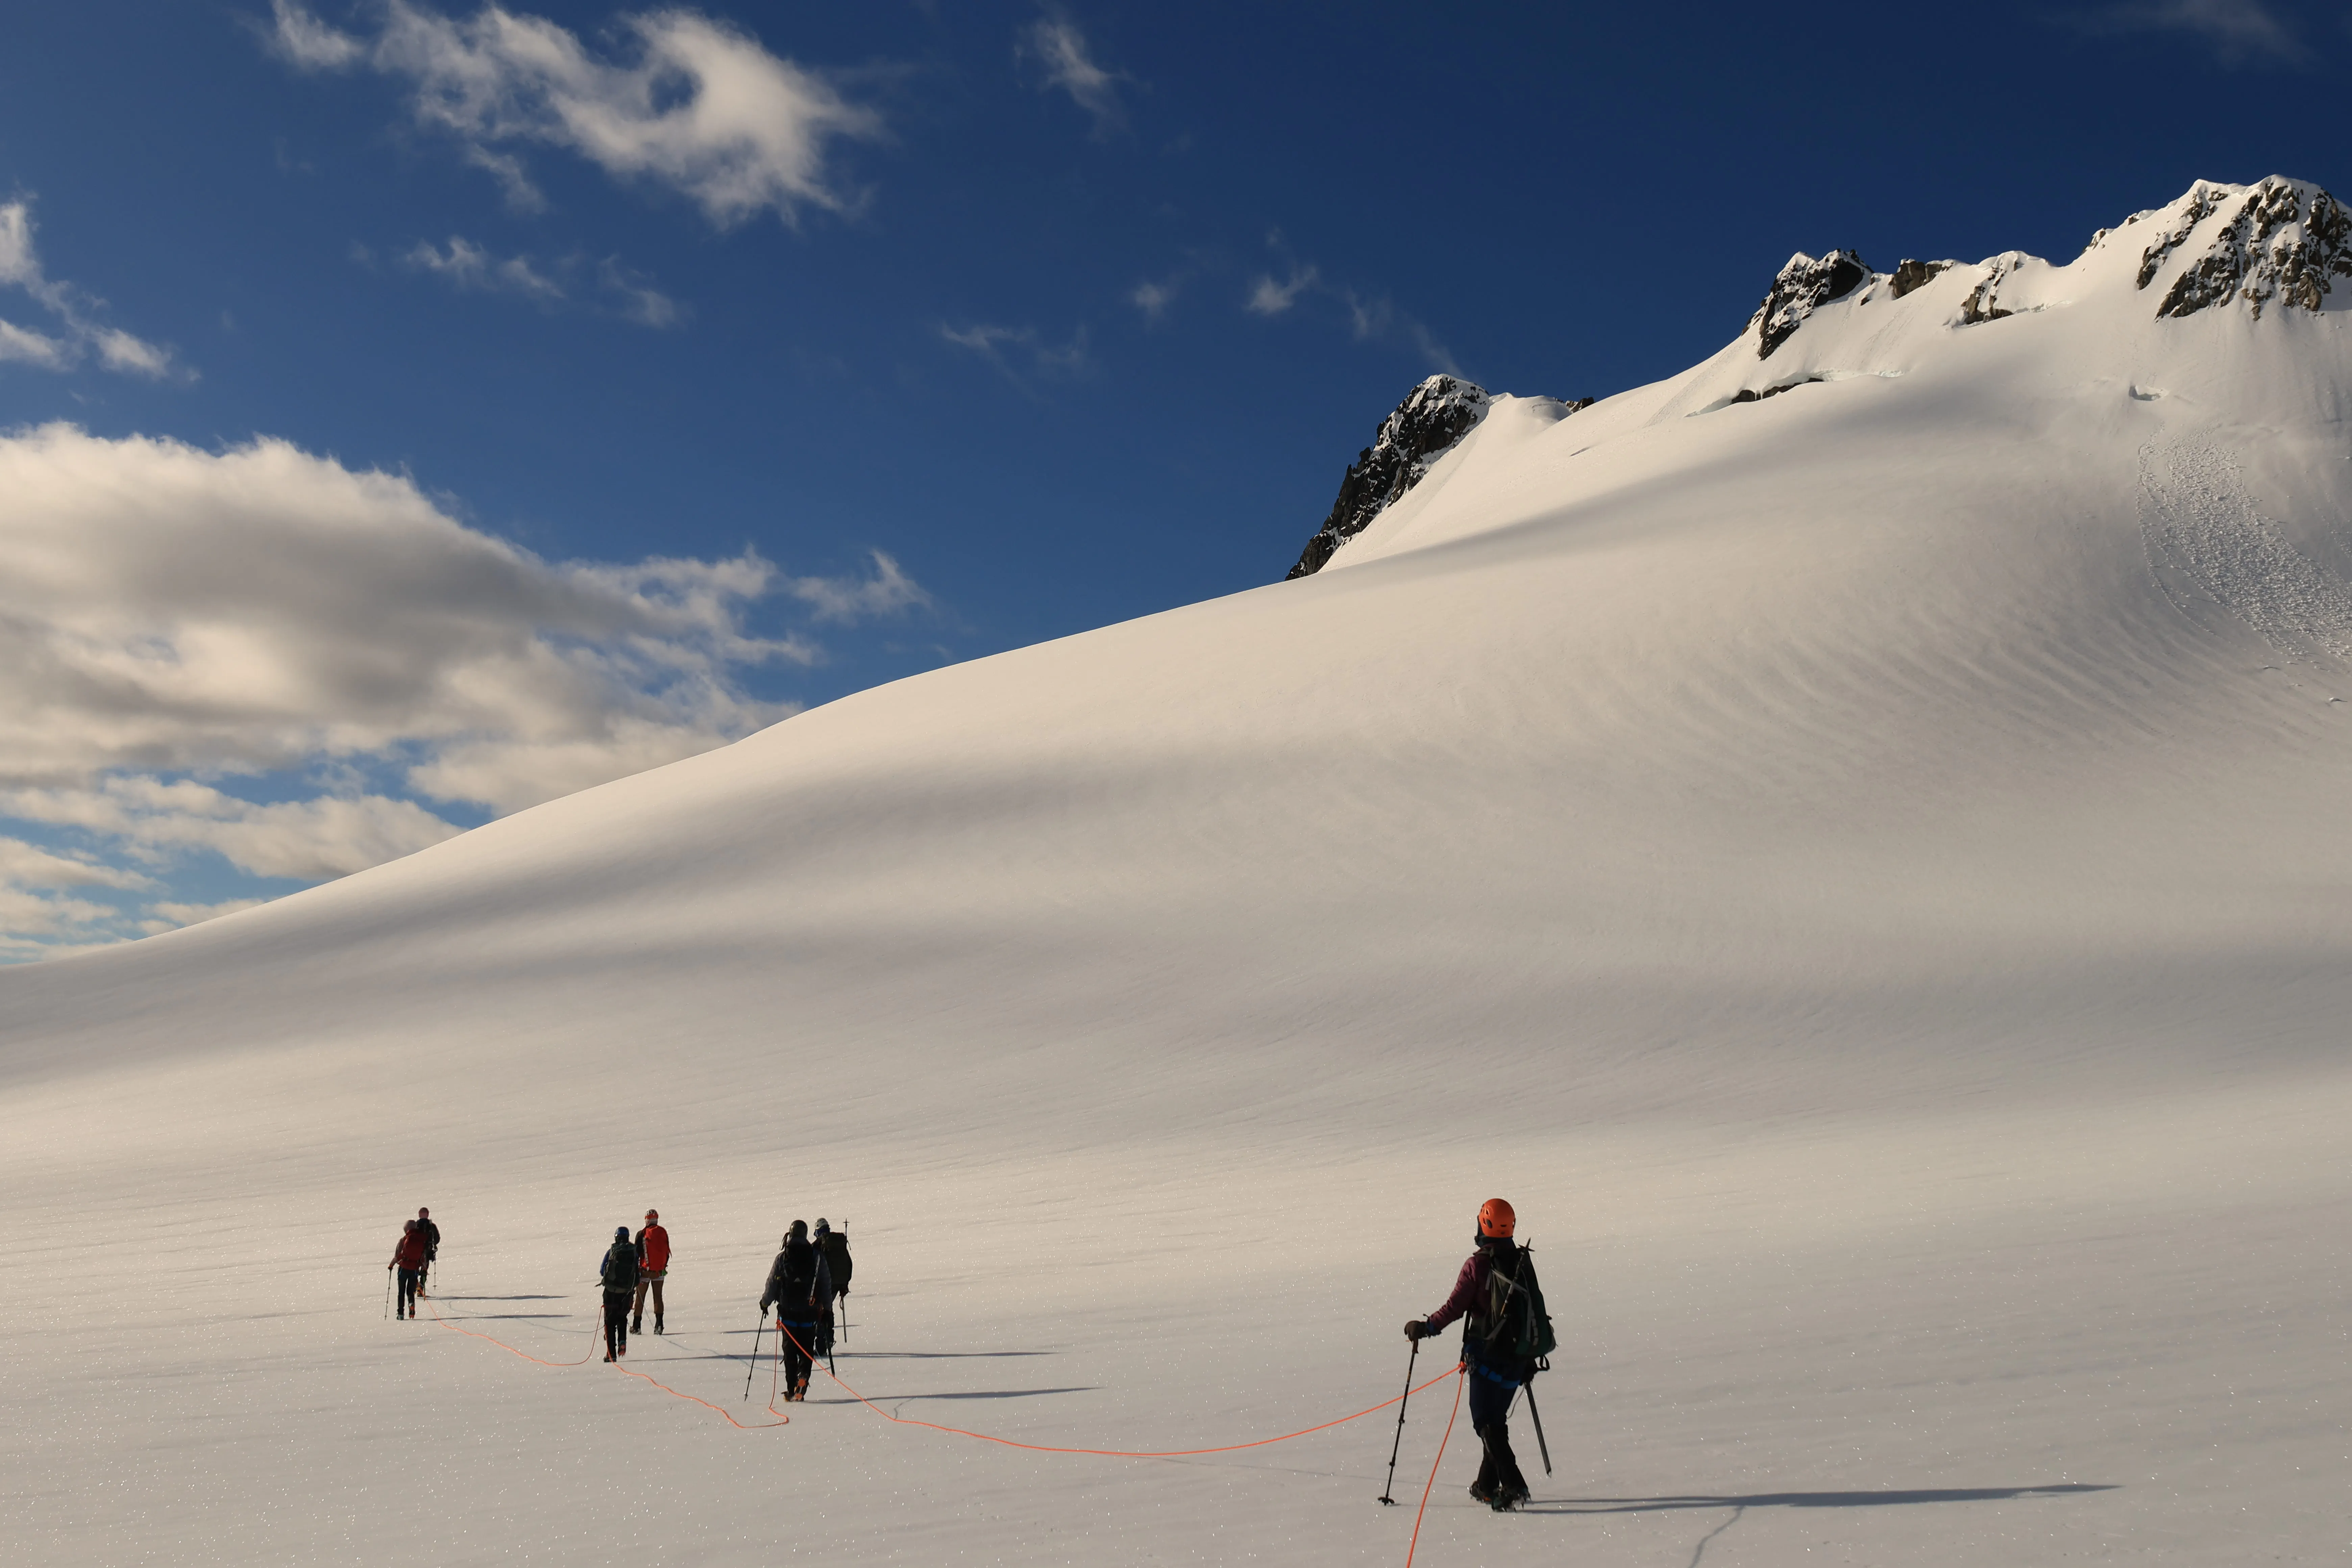
The flat, lunar expanse of the Mamquam Icefield
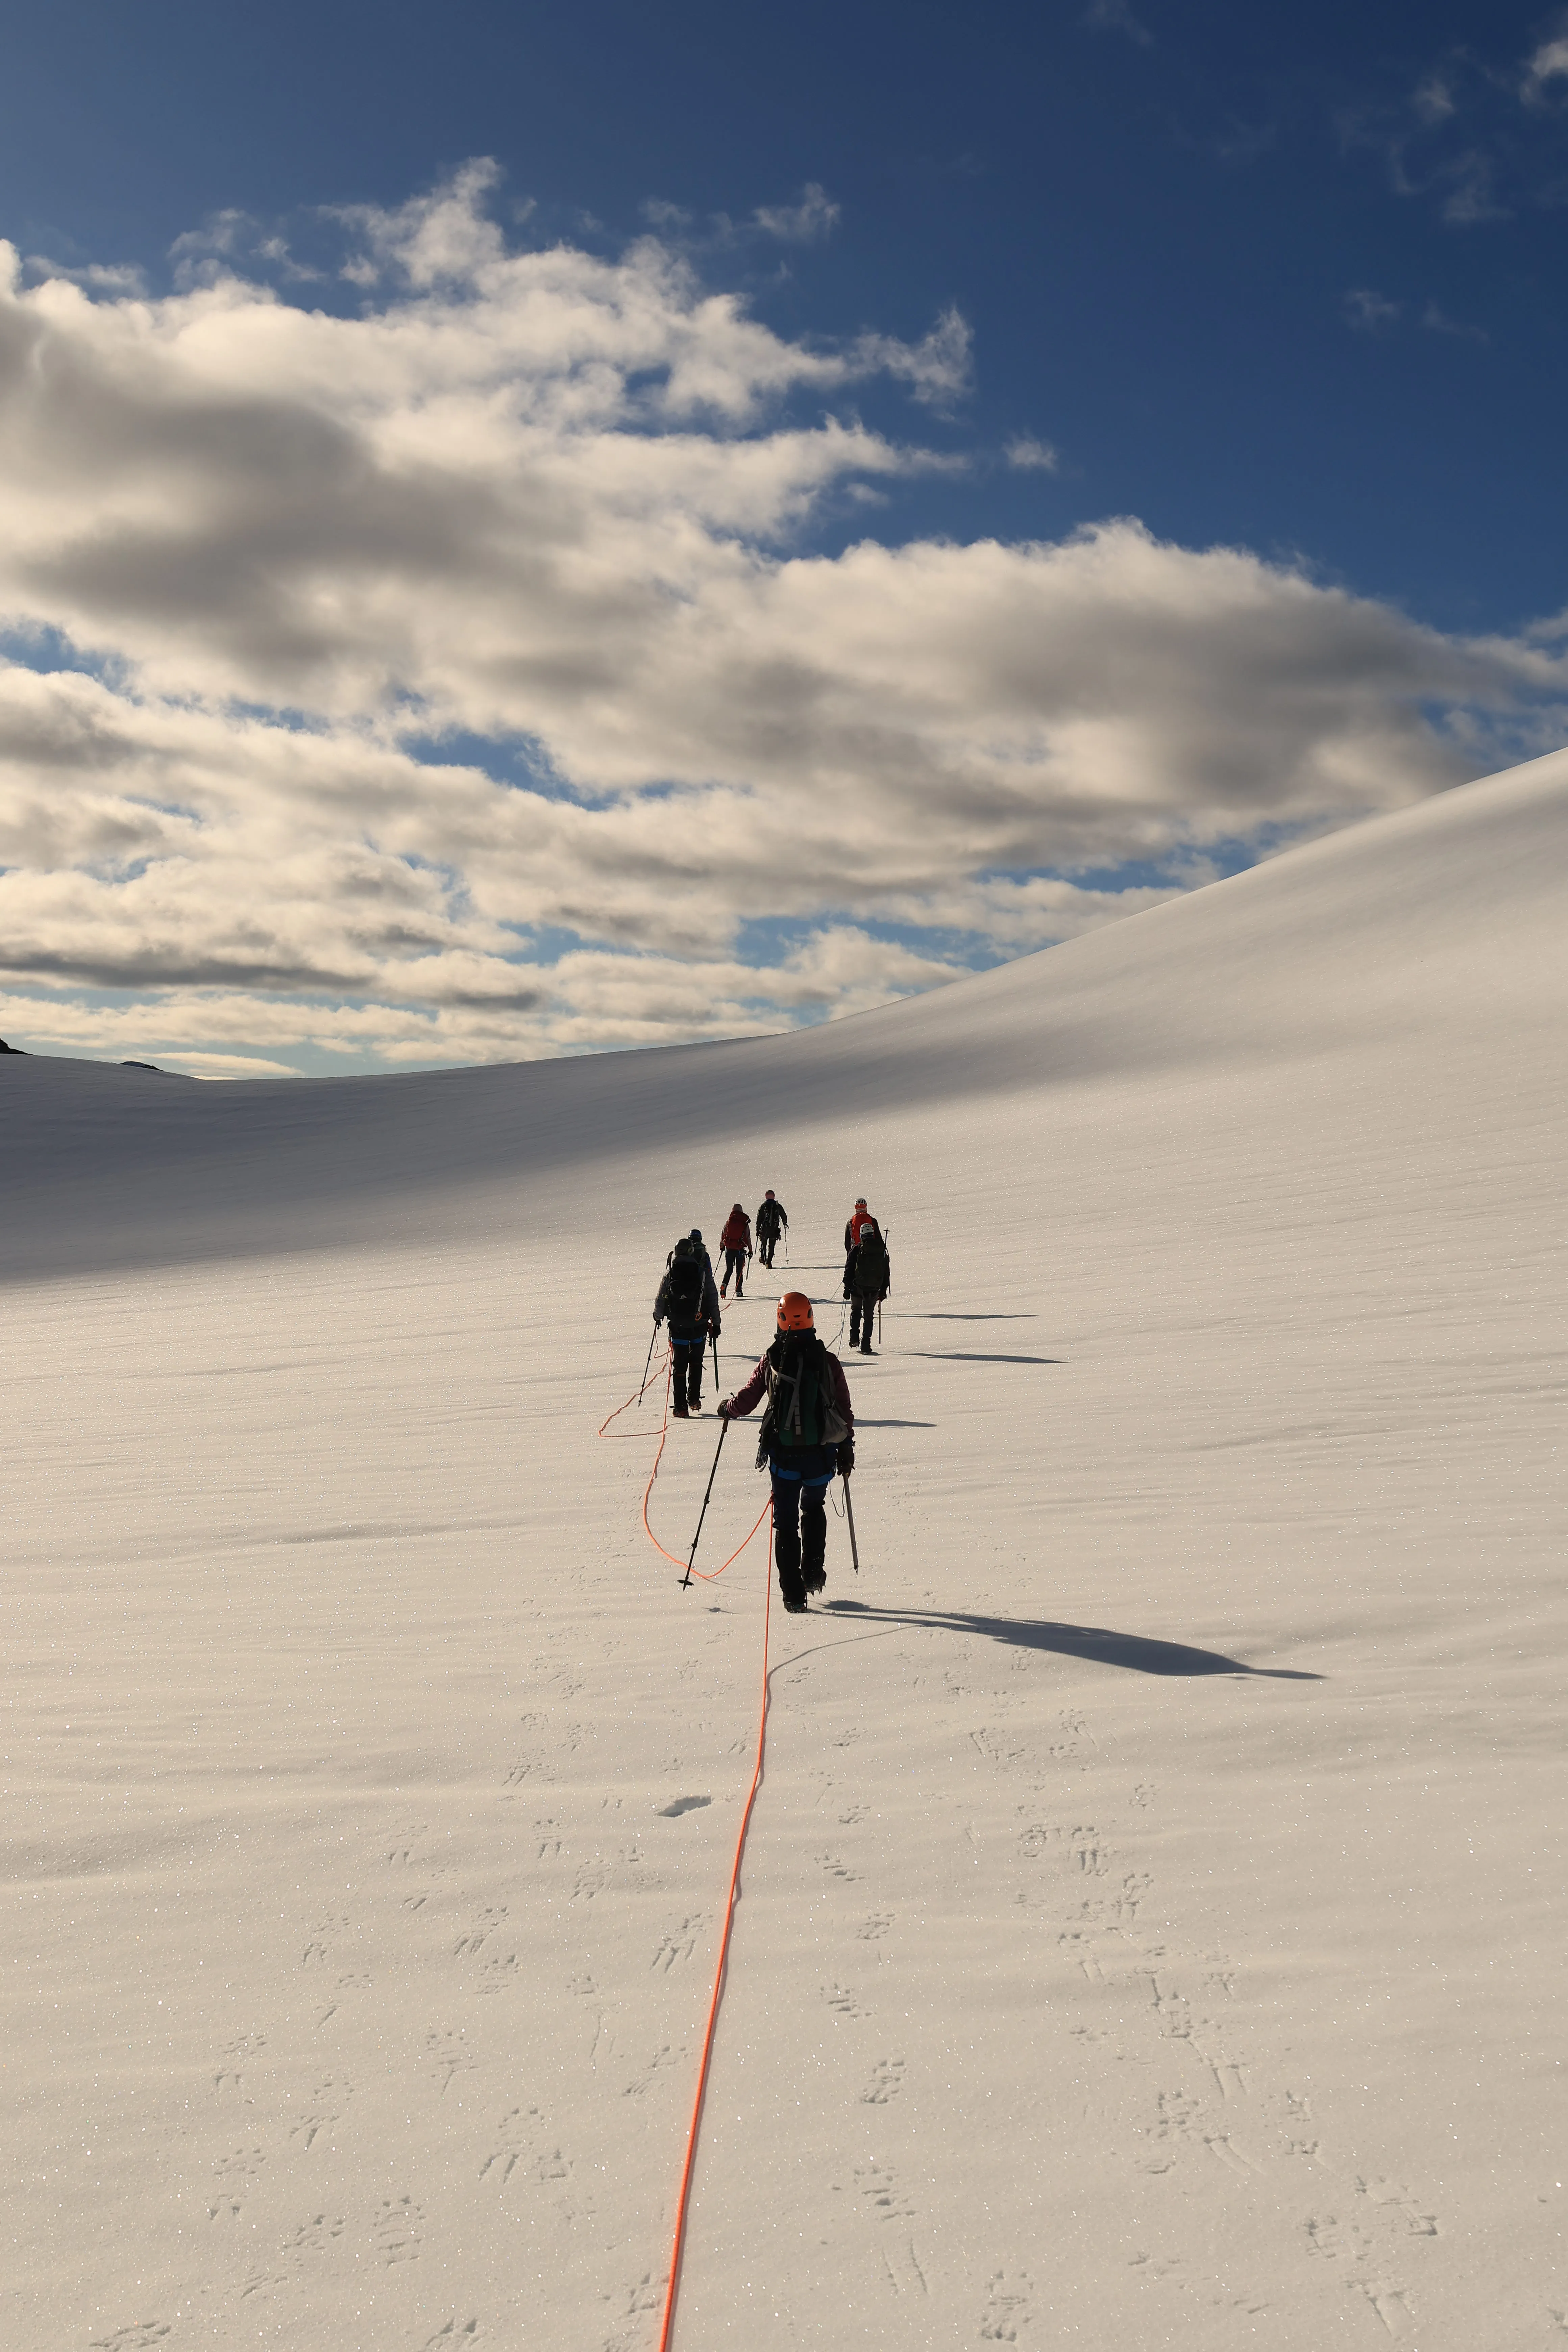
Another planet. No tracks but ours
The Summit
We finally got eyes on our objective and, woah, that looks a little spicy. No matter, we would carry on until we couldn’t anymore. We proceeded with full stoke. We arrive to the steep snow peak, and the smaller rope team began to place anchors for a safe approach up to the small, somewhat fragile looking saddle. From here, we placed two more anchors. This would give someone a belay and some confidence to approach the steep ice/rock steps, and corniced snow summit. Peter opted to free climb the summit without hesitation. He made the line look easy and placed two anchors at the summit, one ice ax and one picket. This allowed us to set up a fixed line. Peter descended back to Dan and I. I talked with Peter and we decided it only made sense for folks to go one at a time.
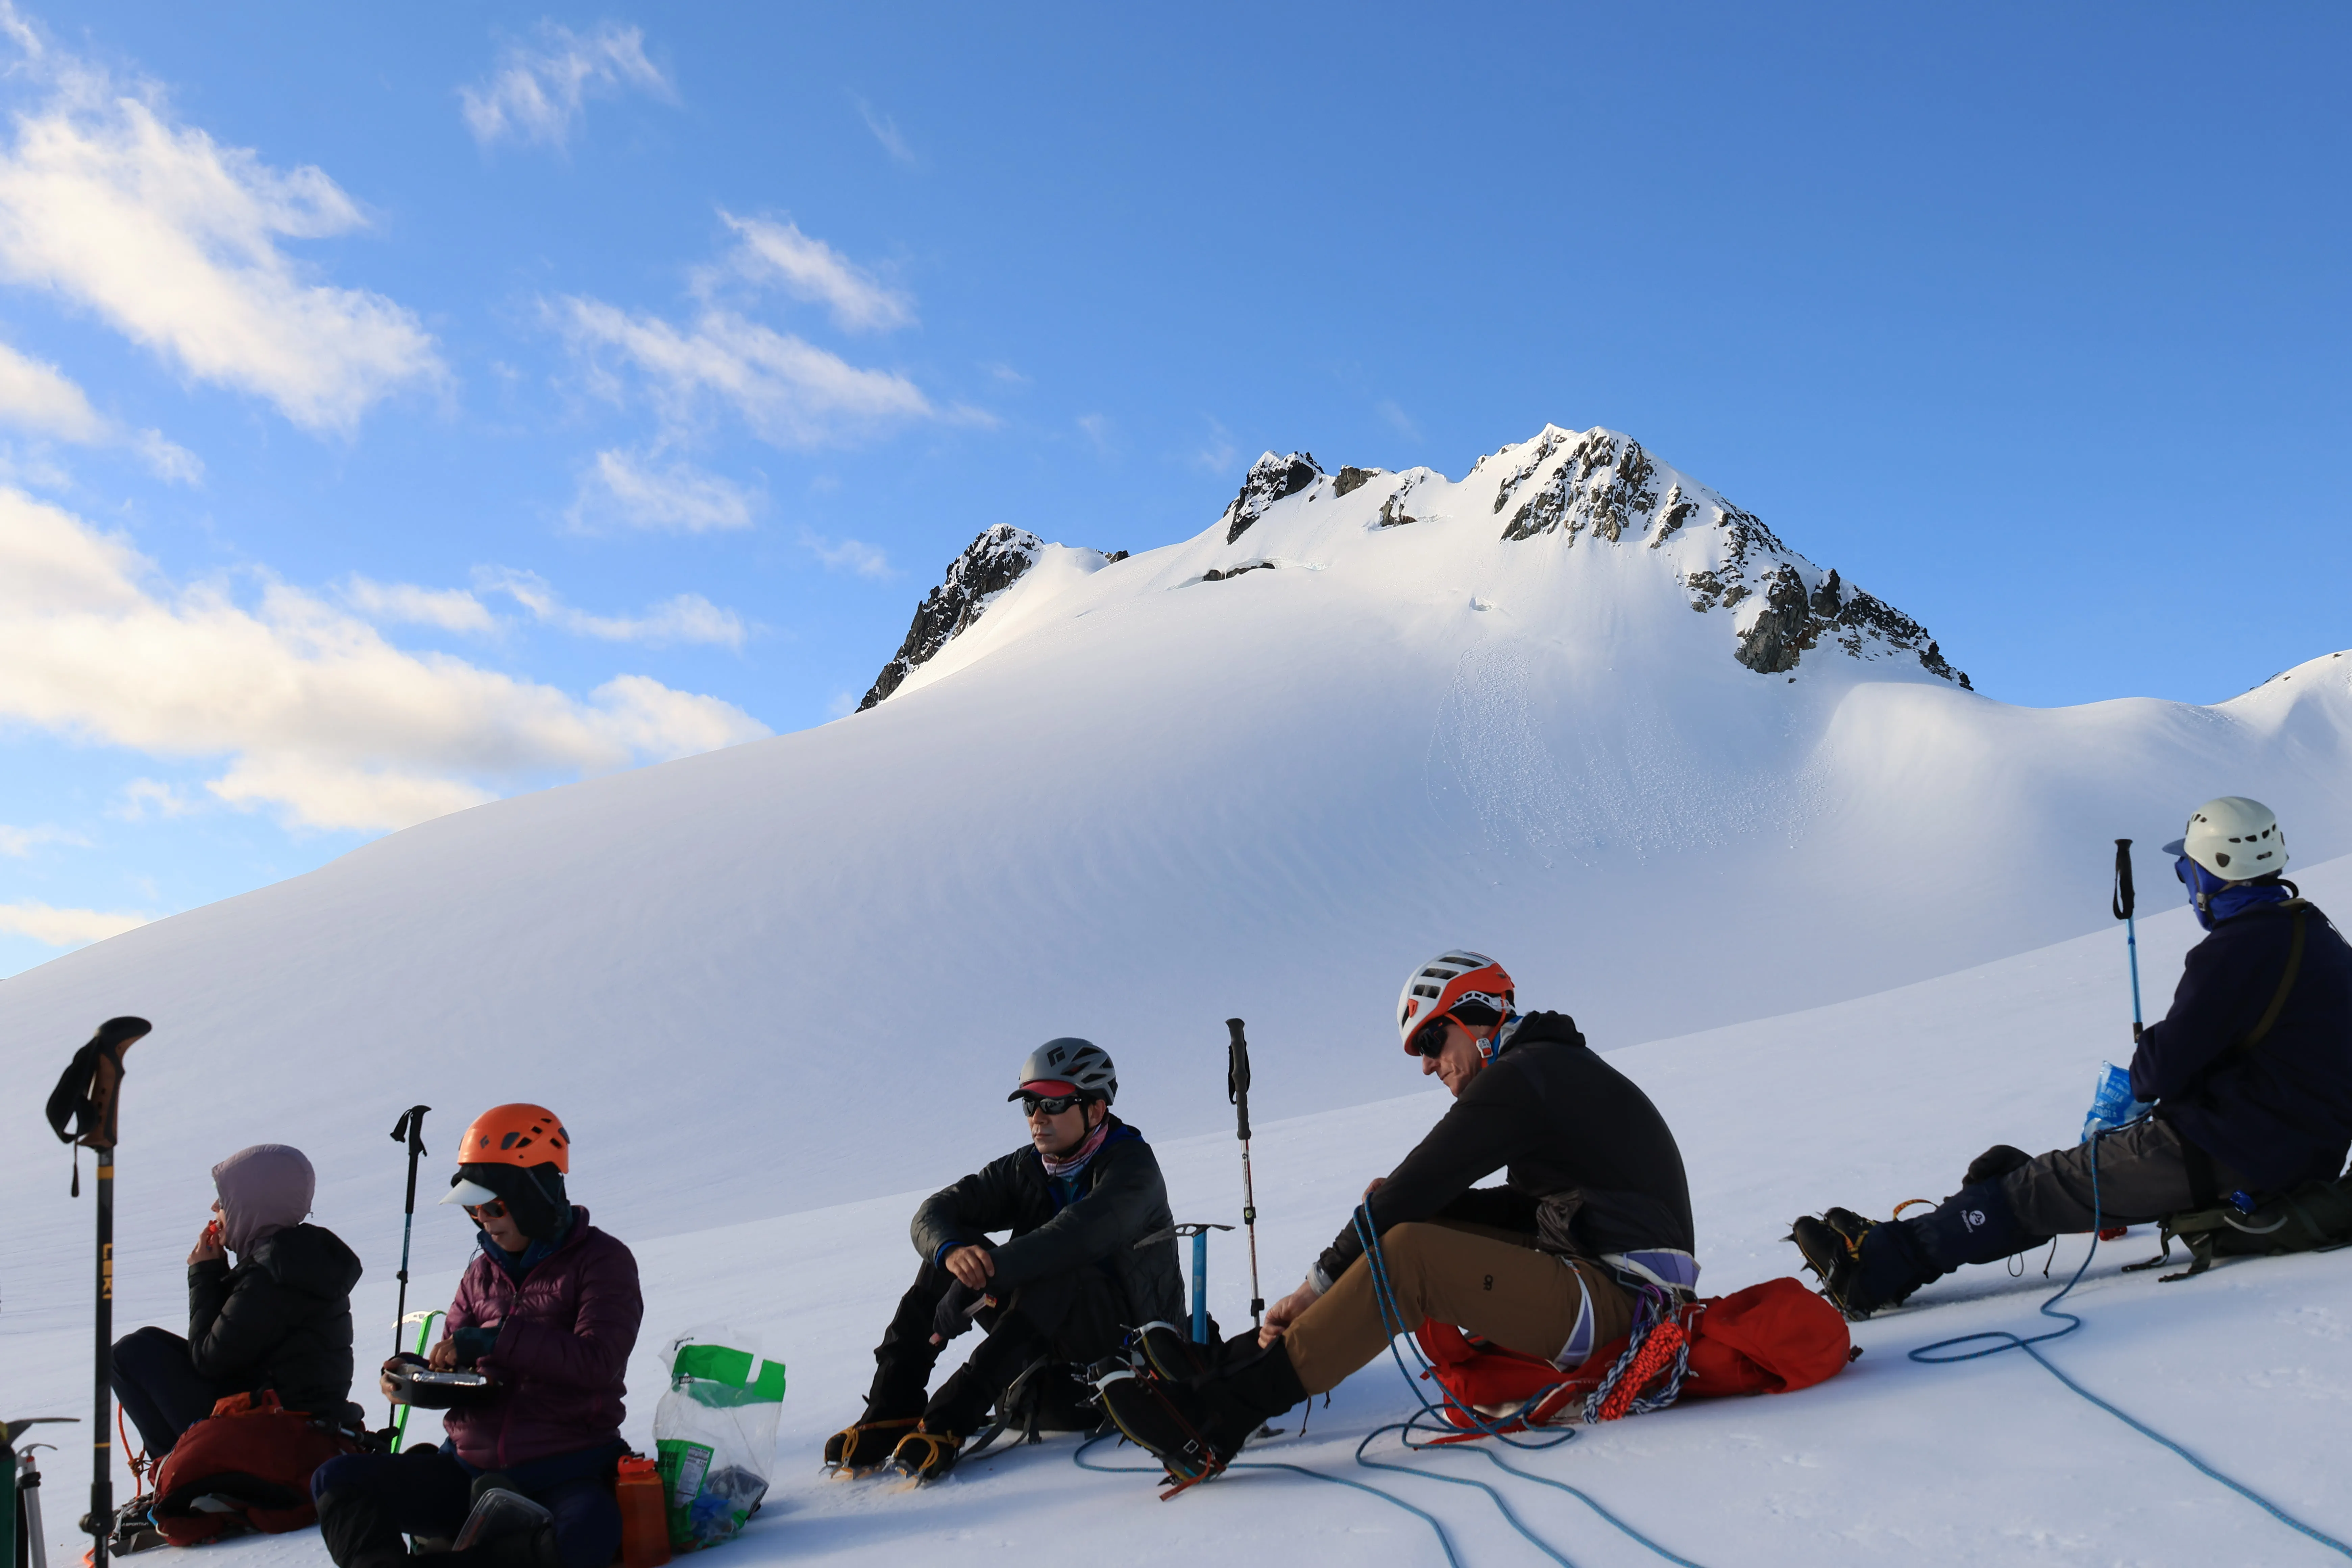
Gearing up for the last push
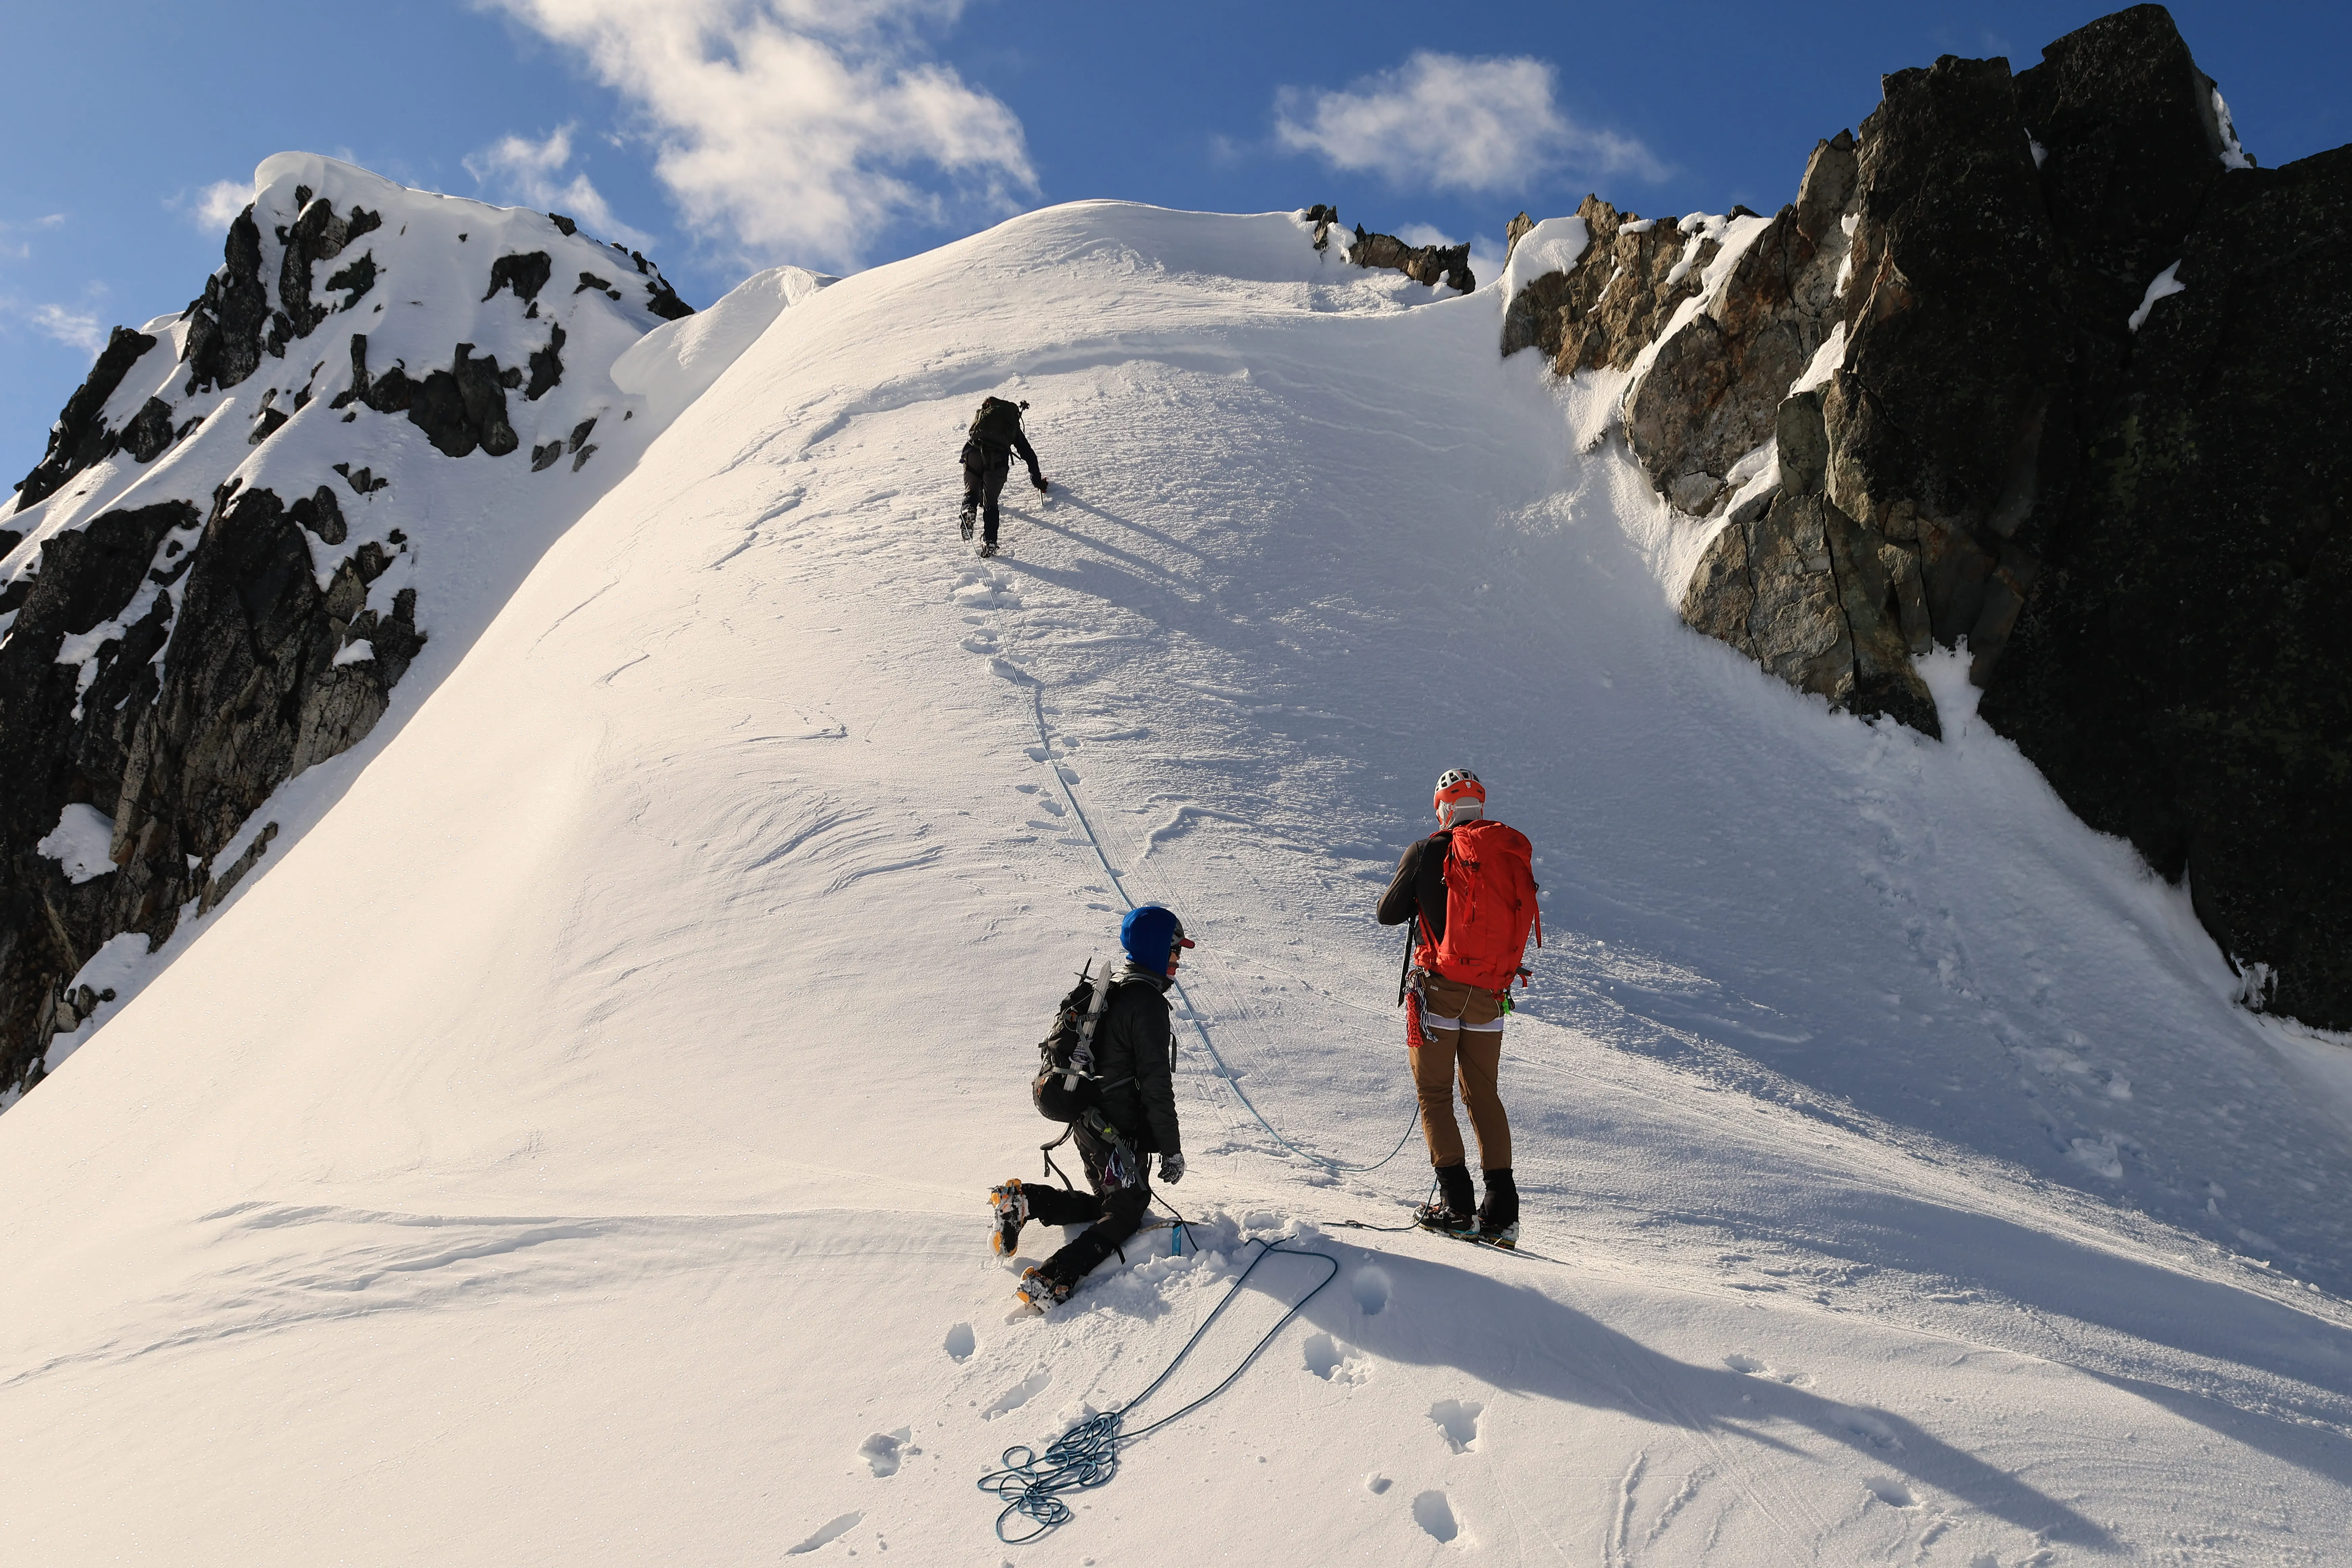
Ascending toward the small saddle below the summit
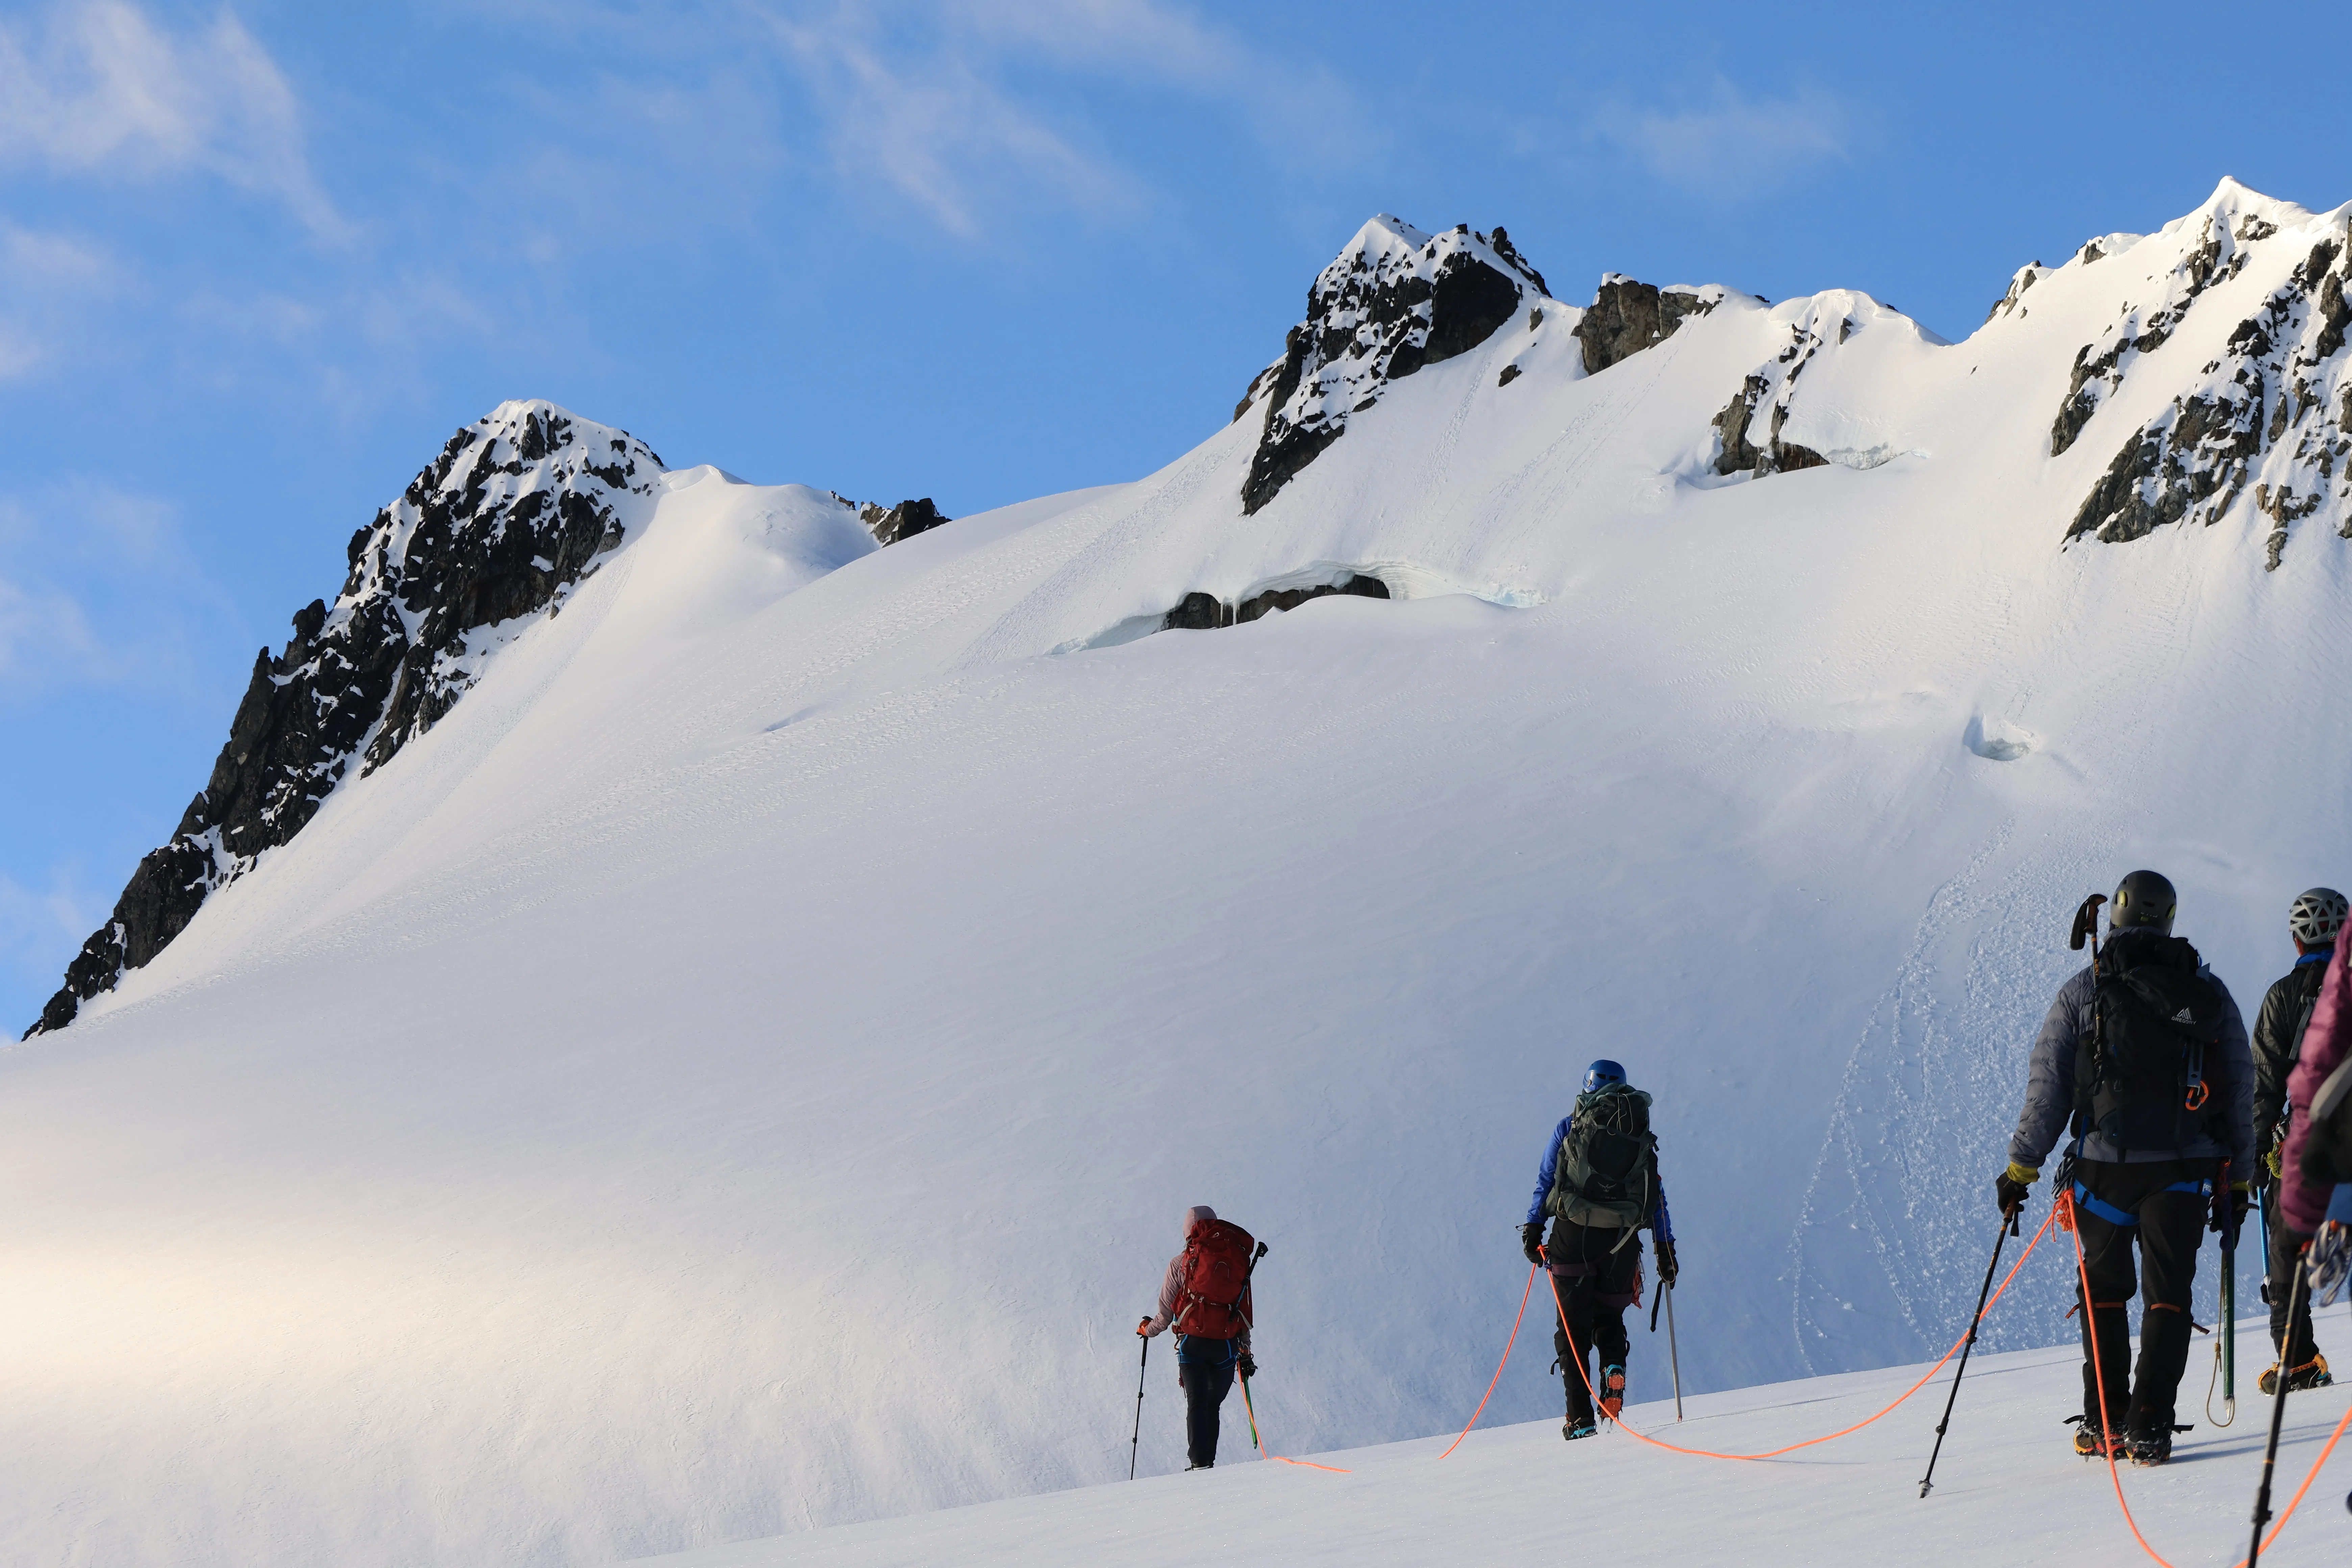
The spicy summit block, seen from below
We had made good time. We were on the saddle by 0900. Our “wow we are taking way too long” turnaround time was 1200, so we had some flex. One by one our climbers ascended the sheer, exposed scramble, prusiked to the fixed line, and tagged the 8,491 ft (2,588 m) summit. One by one they succeeded. I closely watched the time. We were averaging 15 minutes per climber to bag it. Who cares, worth every minute to see the smile go across their faces. I was up last, and I was to follow in the legend’s footsteps of free climbing the summit. Admittedly, I was hungry for the challenge. It would be required that I leave my ice axe, ascend with the fixed line, deconstruct the anchors for the fixed line, and free climb down those same rock/ice steps with Peter as my belay. A fall here would mean a pretty exciting swing on a sheer face, and a lot of trust that those pickets (and Peter) would hold me. Smell the roses, blow out the candles. If I’m ever a little heady, I just focus on my breathing. That can carry you through.
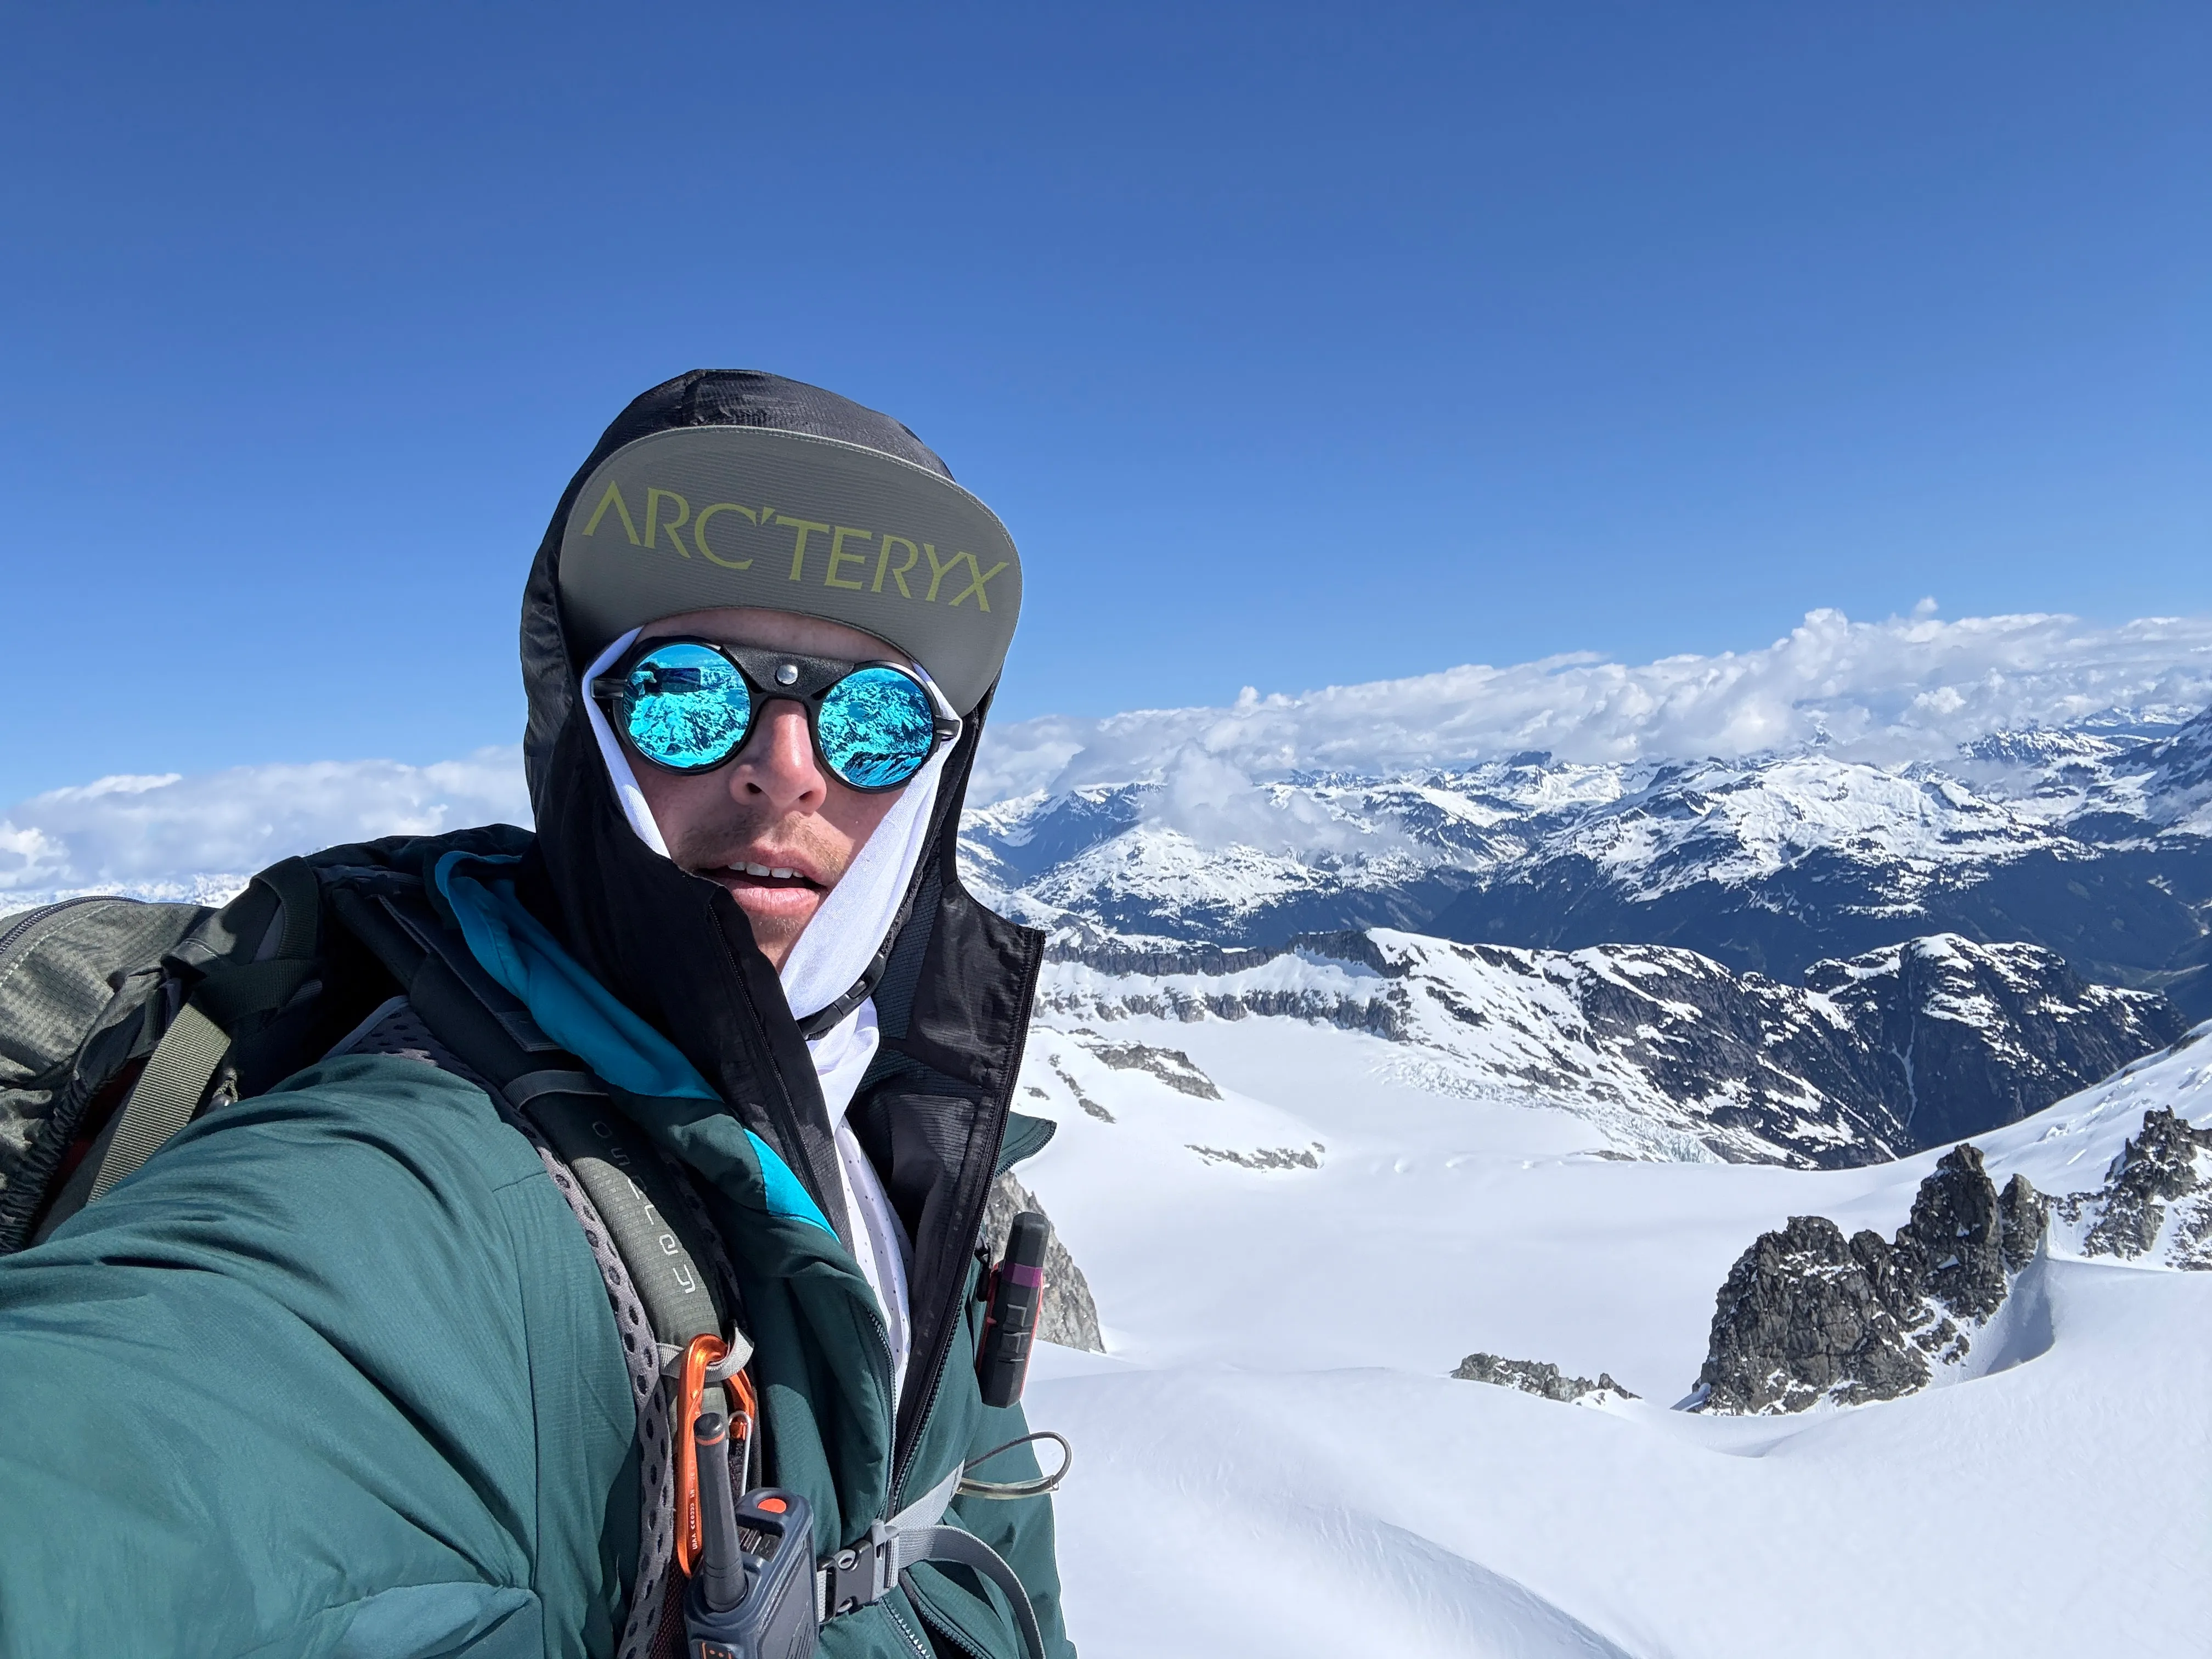
On the 8,491 ft (2,588 m) summit
I found a trustworthy crack that the side of my crampons pierced right down into. The rock didn’t budge. Trust your feet. I scaled down, kicked into the ice where I needed to for a foothold, and trusted some generous jugs. Before I knew it, I was back in the saddle with Peter. The rest of the team had already begun their descent to the larger, much more stable saddle. Peter and I deconstructed the remaining anchors. I had noticed on my down climb that the snow was softened by the sun. It was 1030 as I descended, and I was glad to be the last of the team on the summit. With a slight cornice and our repeated weights on it, I felt she might be ready to go sometime soon. The ice axe I recovered (anchor) was basically falling through snow near those edges. Spooky!
The Descent
Fun exposure and free climbing complete, we rejoined the team. We returned the same way we came, across the beautiful and bright Mamquam Icefield. Our luck ran out on the ice here, and we were starting to plunge now. This slowed us down a bit, but the veteran teams slogged through back to the rope-up point. We sat for a deserved rest and snack break. The team split here into fours and began slowly filtering back into the gully. We plunged deep into the cirque and upper lake snow. You’ll see in my GPX that I went on a little exploration route around the other side of the lake. I figured why not, and it was right there. To my surprise, I ran into more bear tracks that crossed right over the lake (with little concern it seemed), and straight up the face of an unnamed peak. That bear seemed to be in its element.
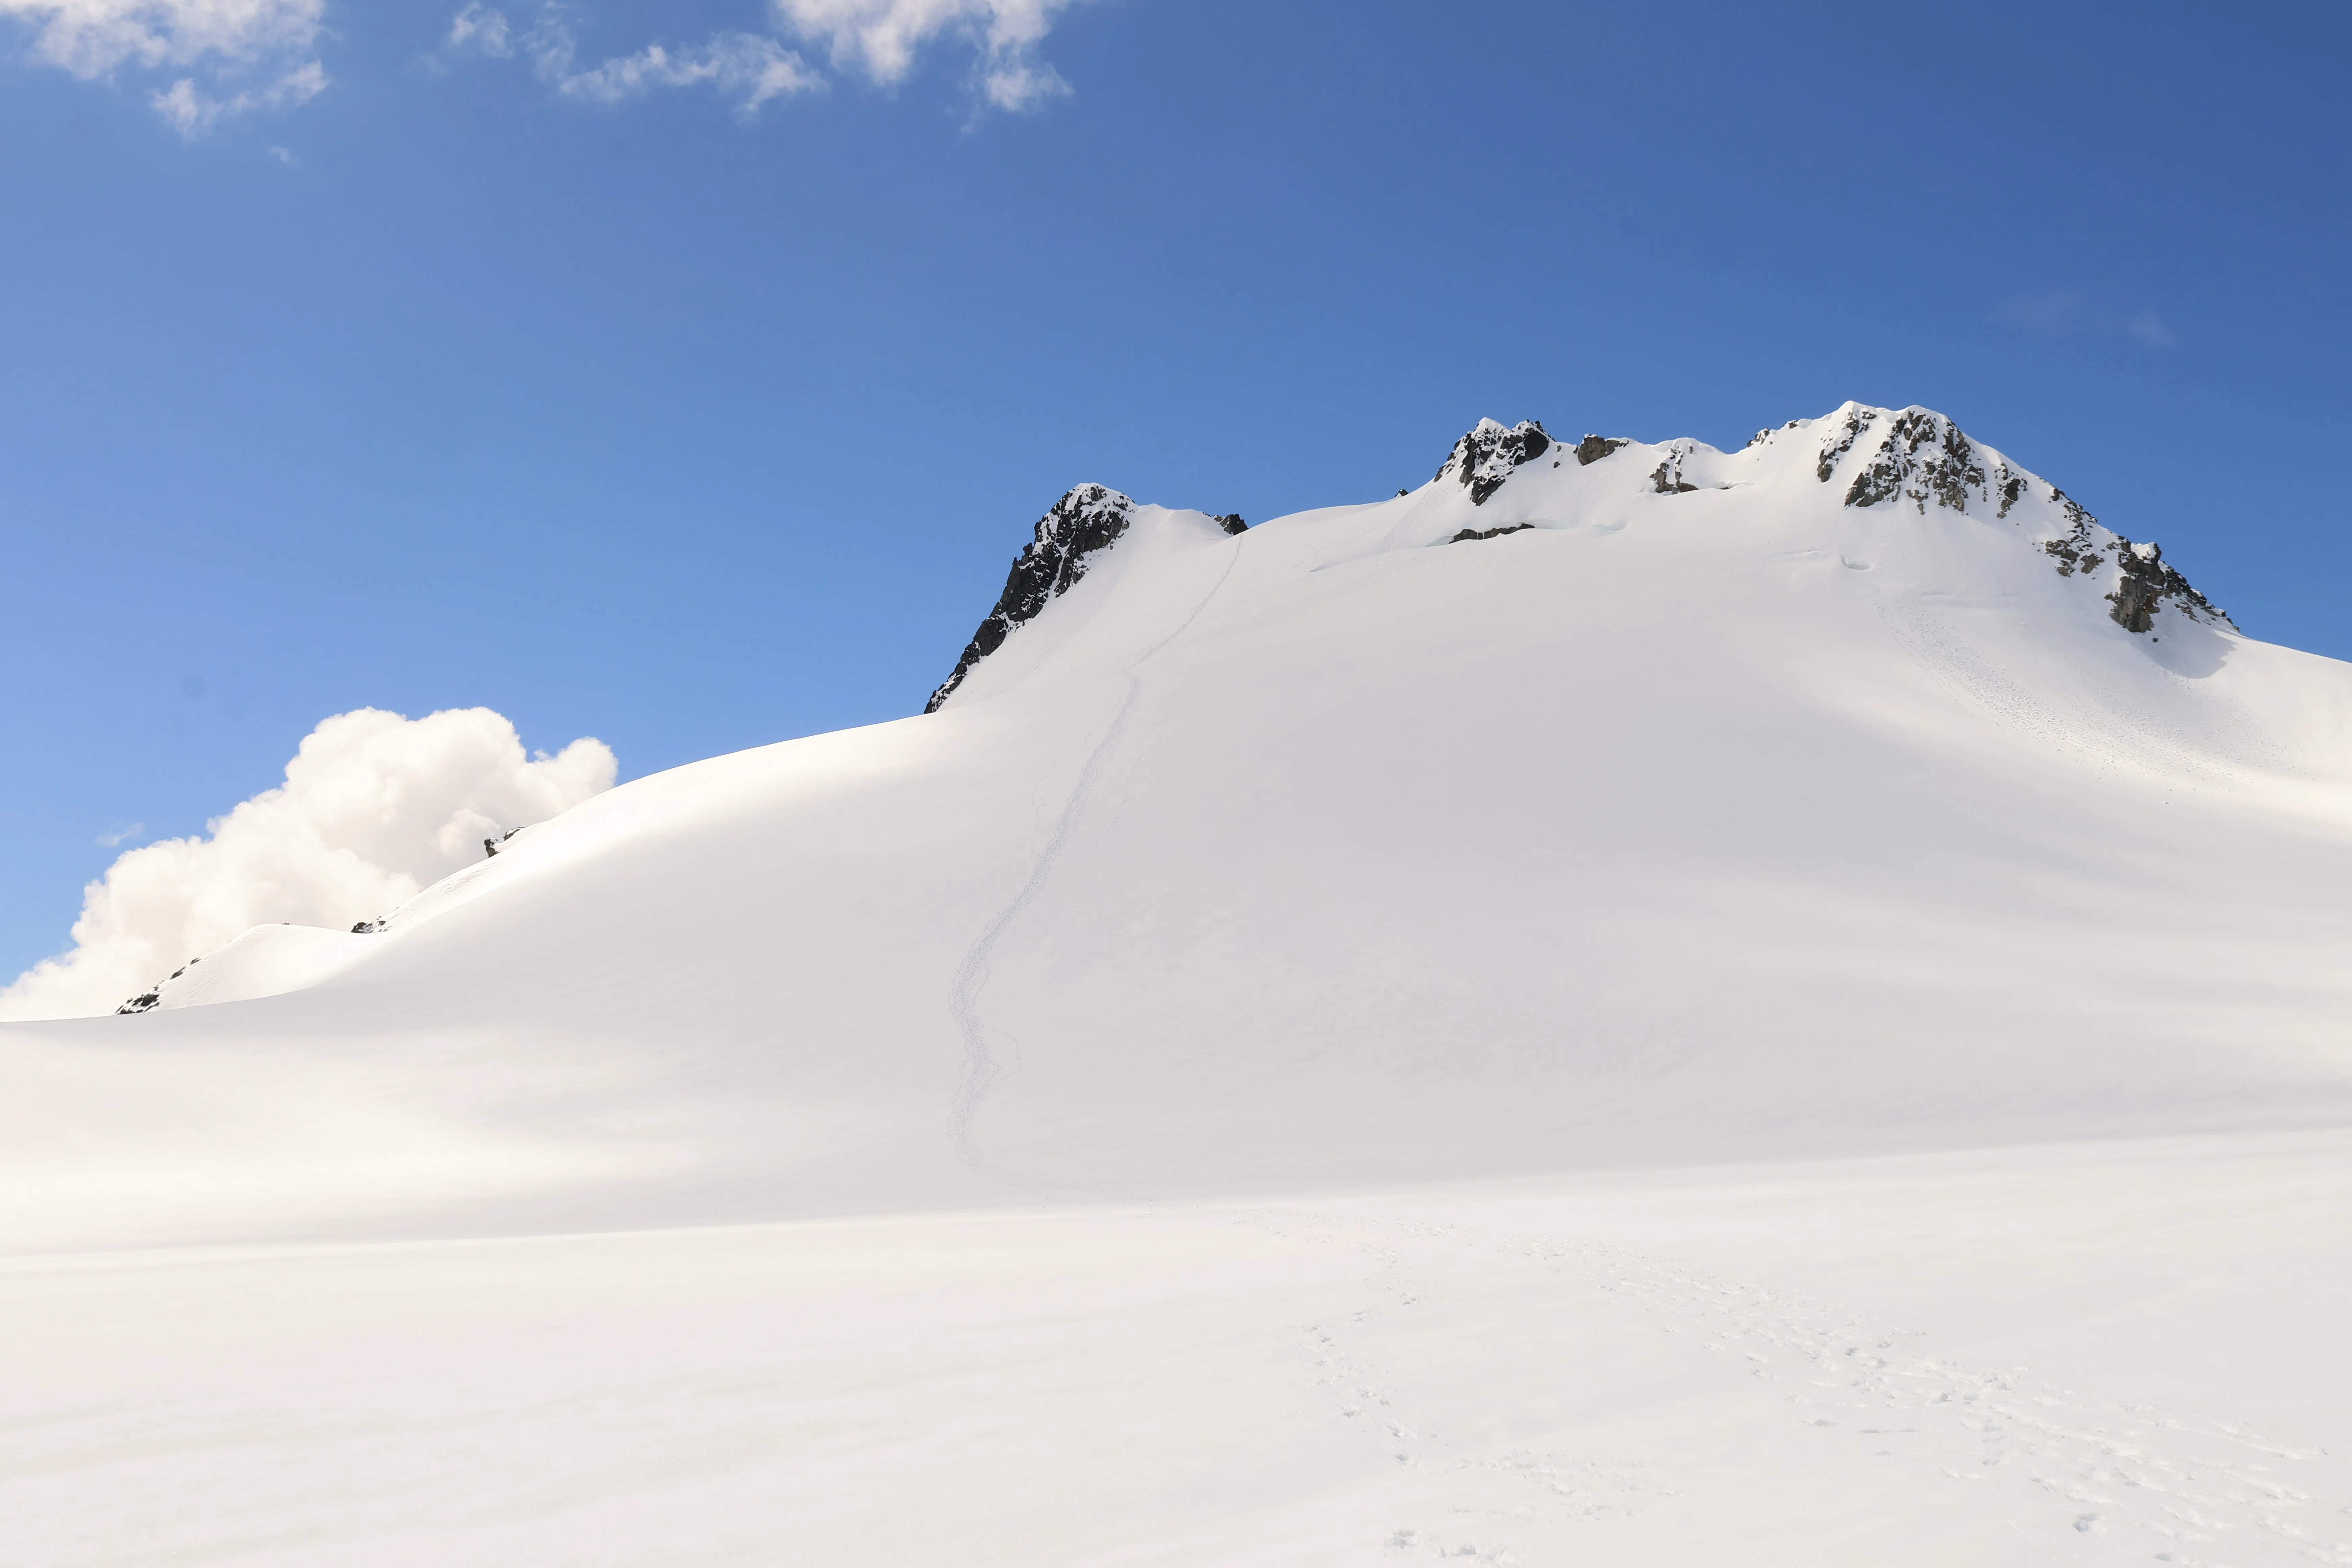
Our tracks across the icefield on the way down
We returned to camp and got some real rest here. We took 30+ minutes to recover. Well worth it as the upcoming steep, forest descent is a quad destroyer. As is my typical tradition, I took a dip in the alpine lake after our glorious summit. With soaked boots and cold hands, it hardly felt that cold on the dive in. A short few seconds changed my perspective on that. After a few splashes and hair dunks, I swam back over to my bivy site near the shore. This extreme temperature shock seems to always be a lasting memory wherever I do it. I think it’s the amygdala or something. I’m sure some neuroscience nerd out there knows the answer. At any rate, I highly recommend this as a final sendoff to the Mamquam adventure.
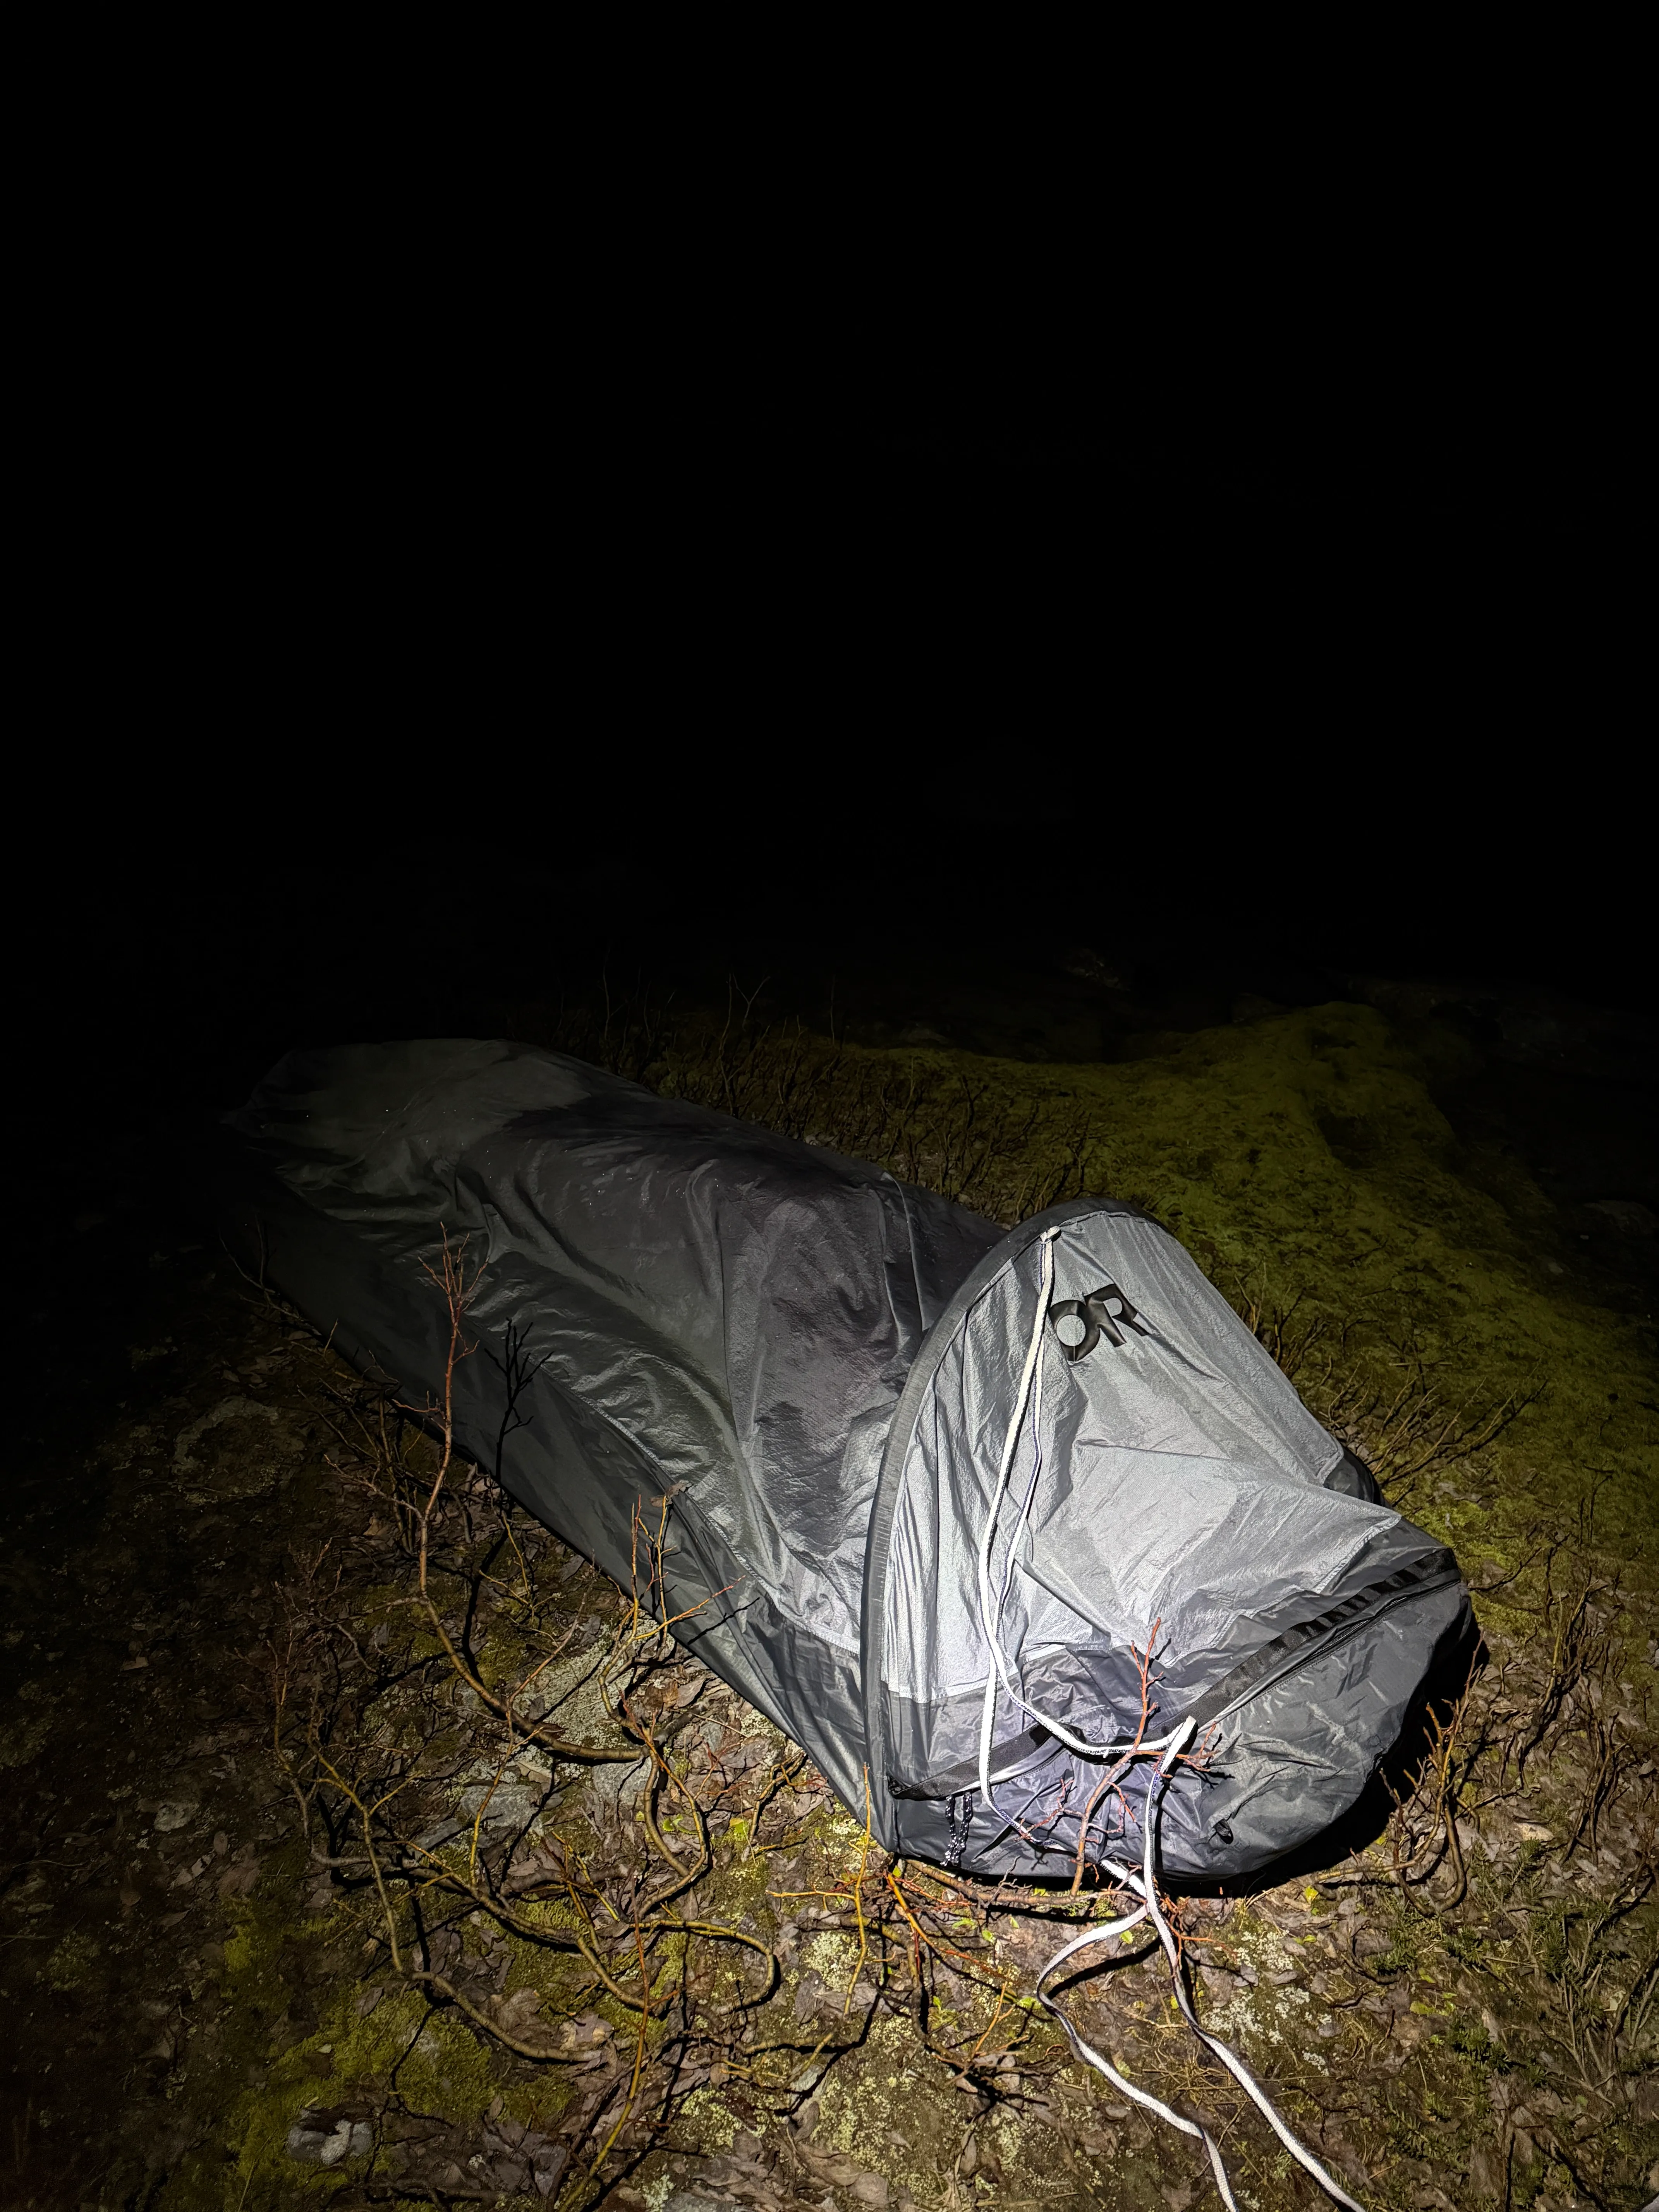
My bivy site by the shore
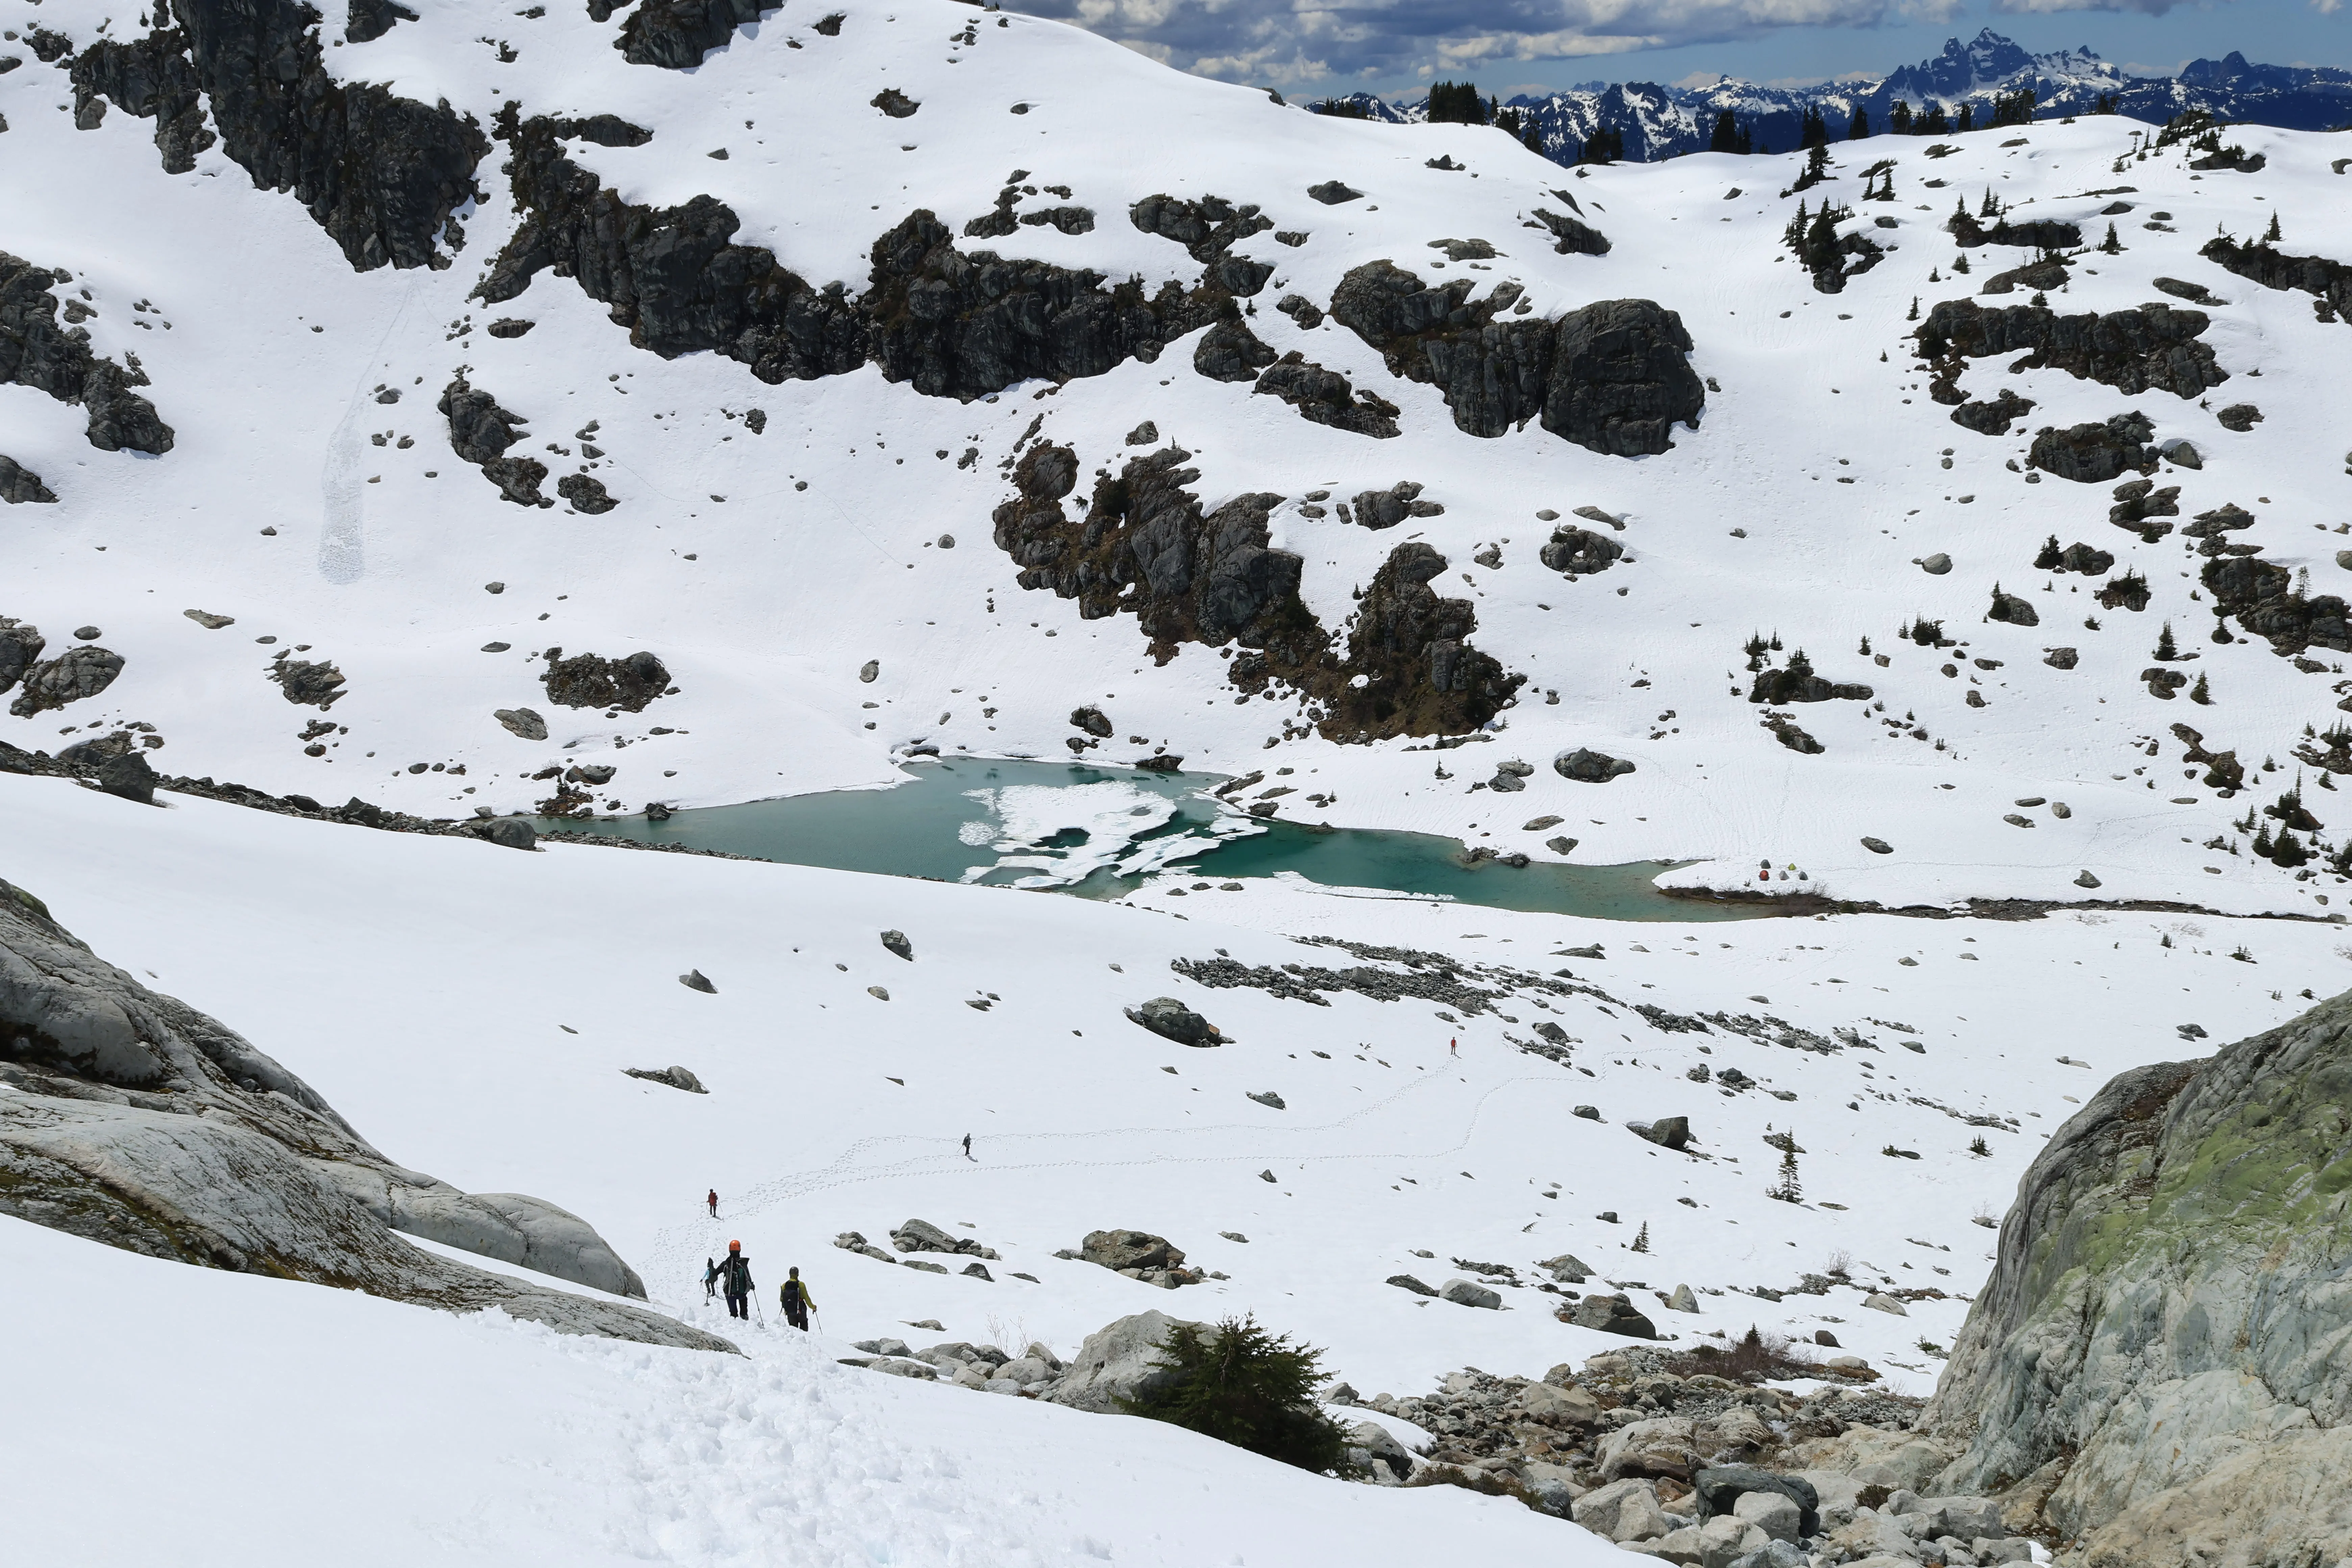
A last look at Darling Lake on the way out
The team was packed and looked ready. I started the walk out. On we went. We stayed on trail and took the same route down. It was rather uneventful. The log scoot is a little tricky since you don’t want to 180 and go backwards the entire length to return. Everyone did something a little different. Just remember those packs make you top heavy again, and you’ll feel a lot weaker on this go than you did on the ascent in.
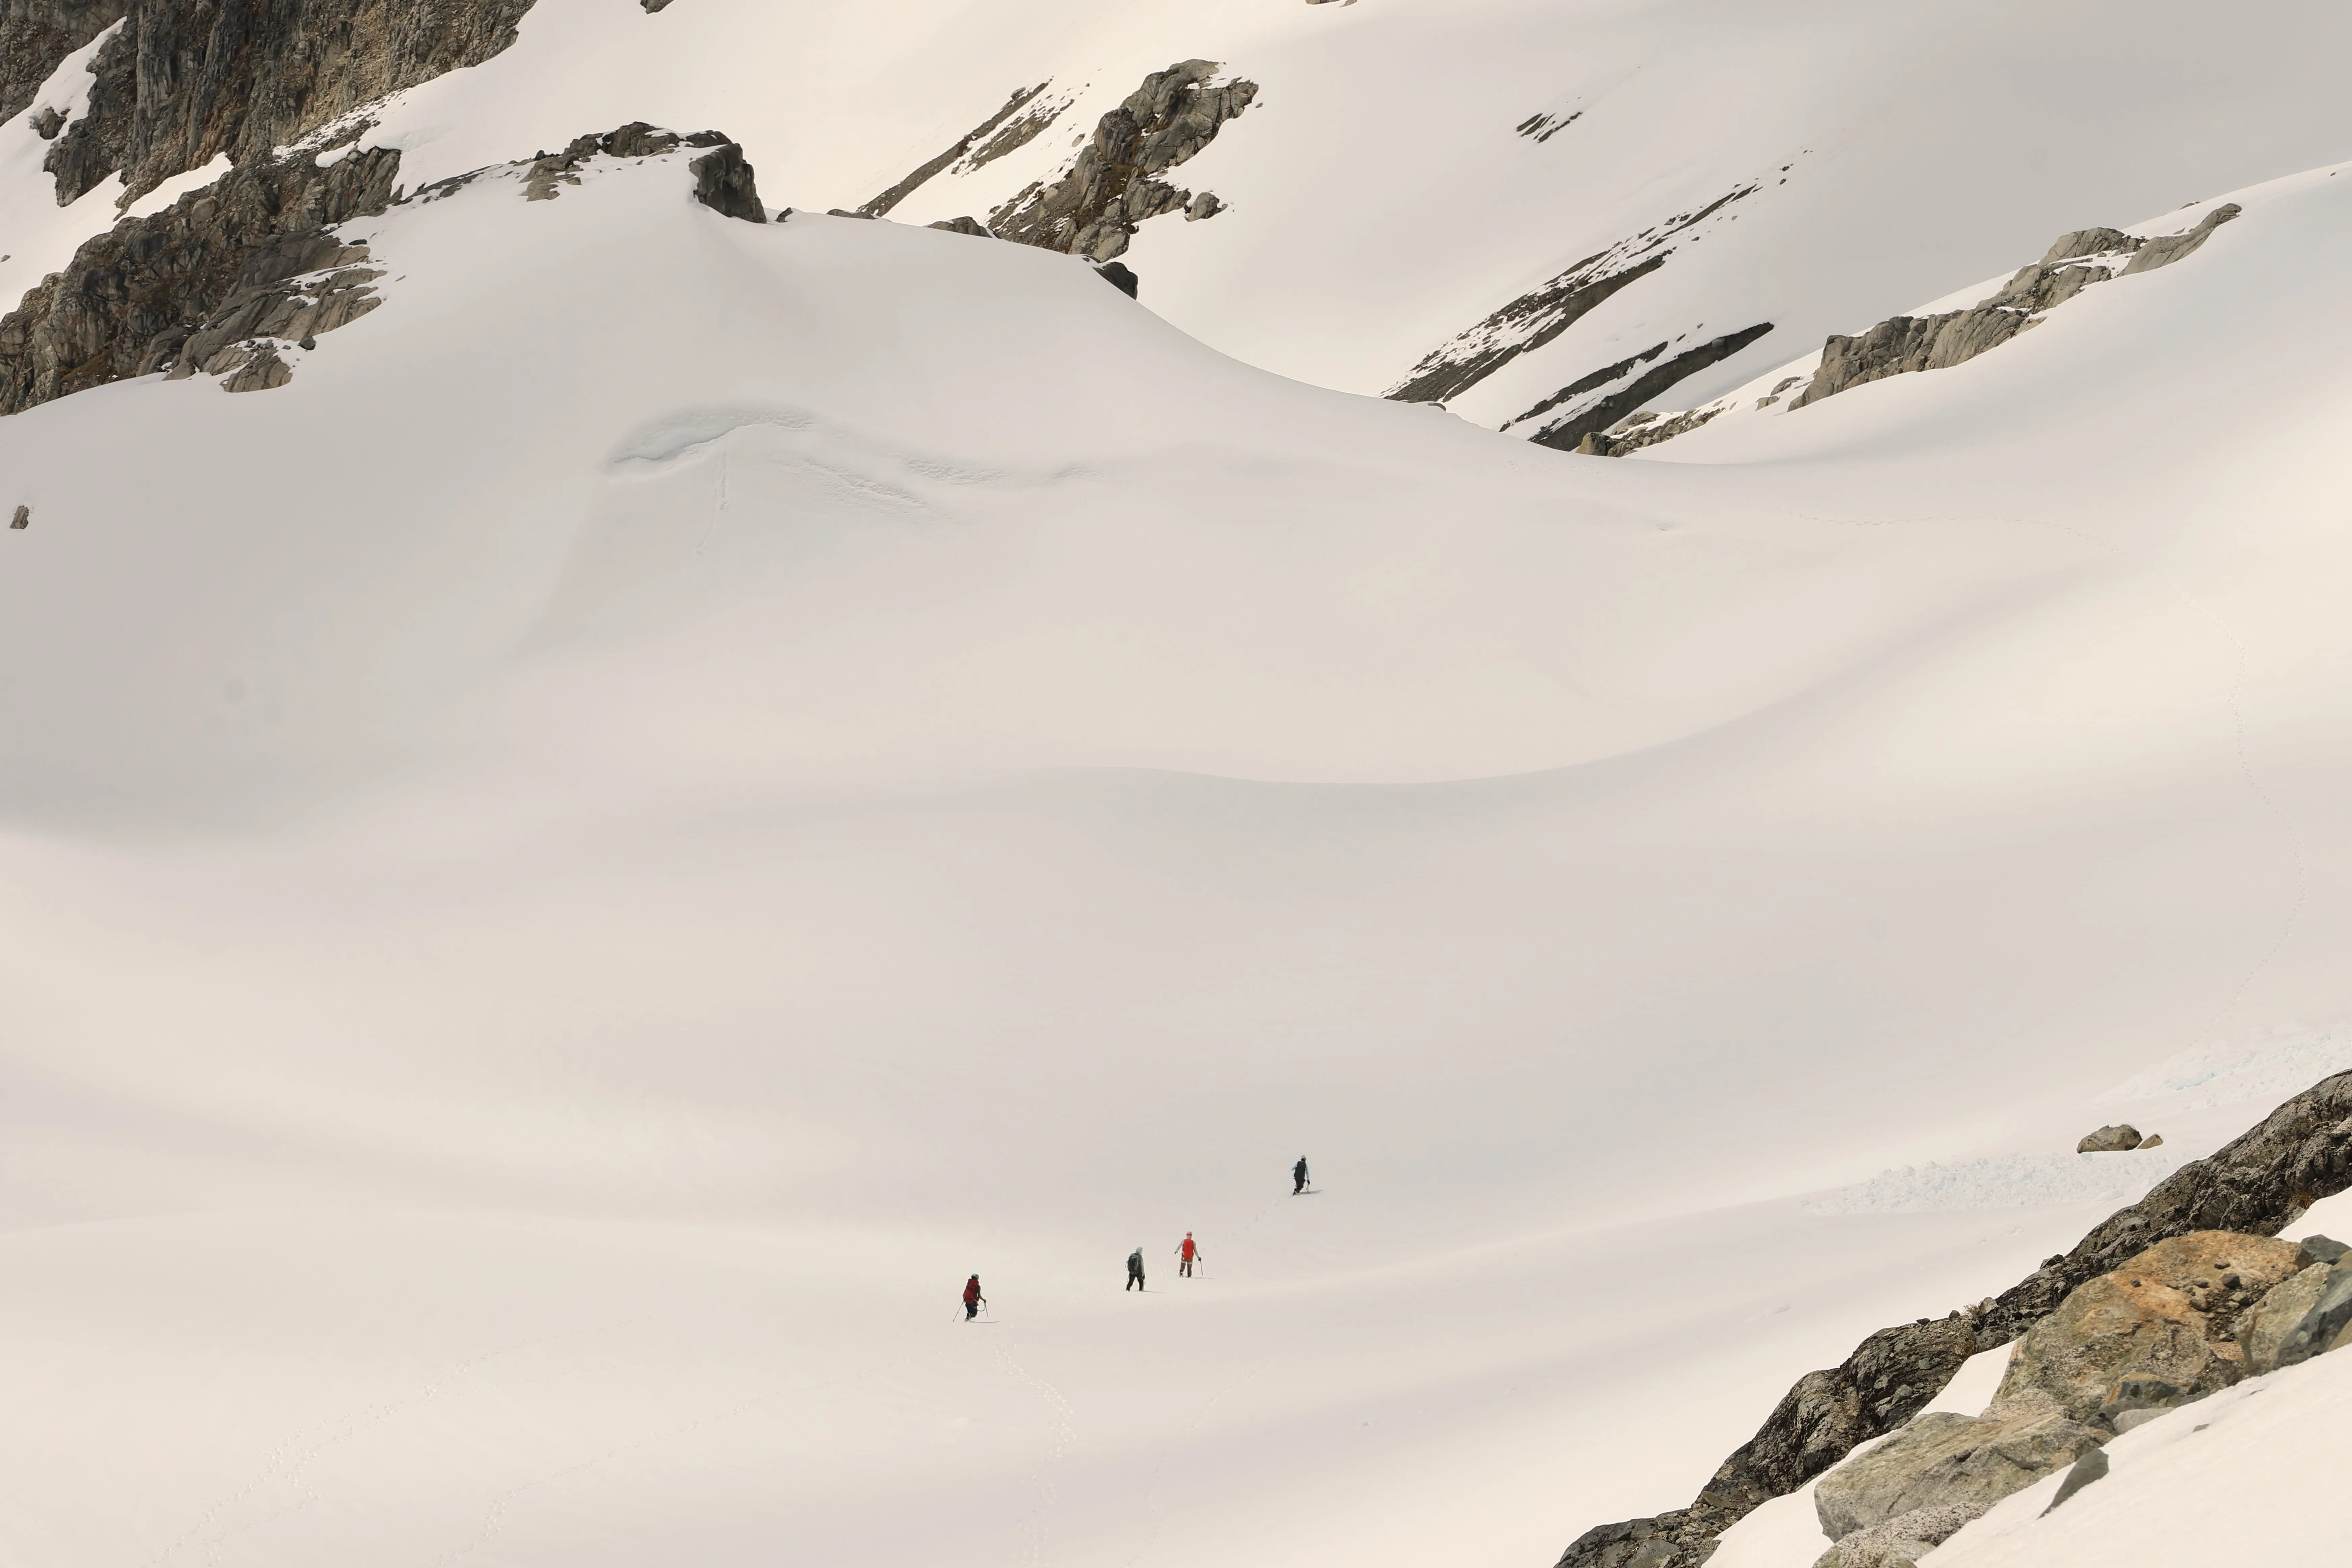
Dropping back through the cirque
Onward
This was one of my favorite glacier climb leads. It was truly remarkable terrain and a lot of fun elements. The exposed log crossing over Paranoid Creek, steep approach, night under the stars, glacier blue alpine lake, bear friends visiting, icefield sunrise, and spicy summit really made every second of this trip memorable. I was blessed with an experienced, strong team that knows how to get the job done. I am always learning and being humbled in the mountains. It is even better when the team by your side is continuously teaching you too.
Another successful trip with the full party punching their summit ticket. I’ll be looking at these pictures for a while. Onward.
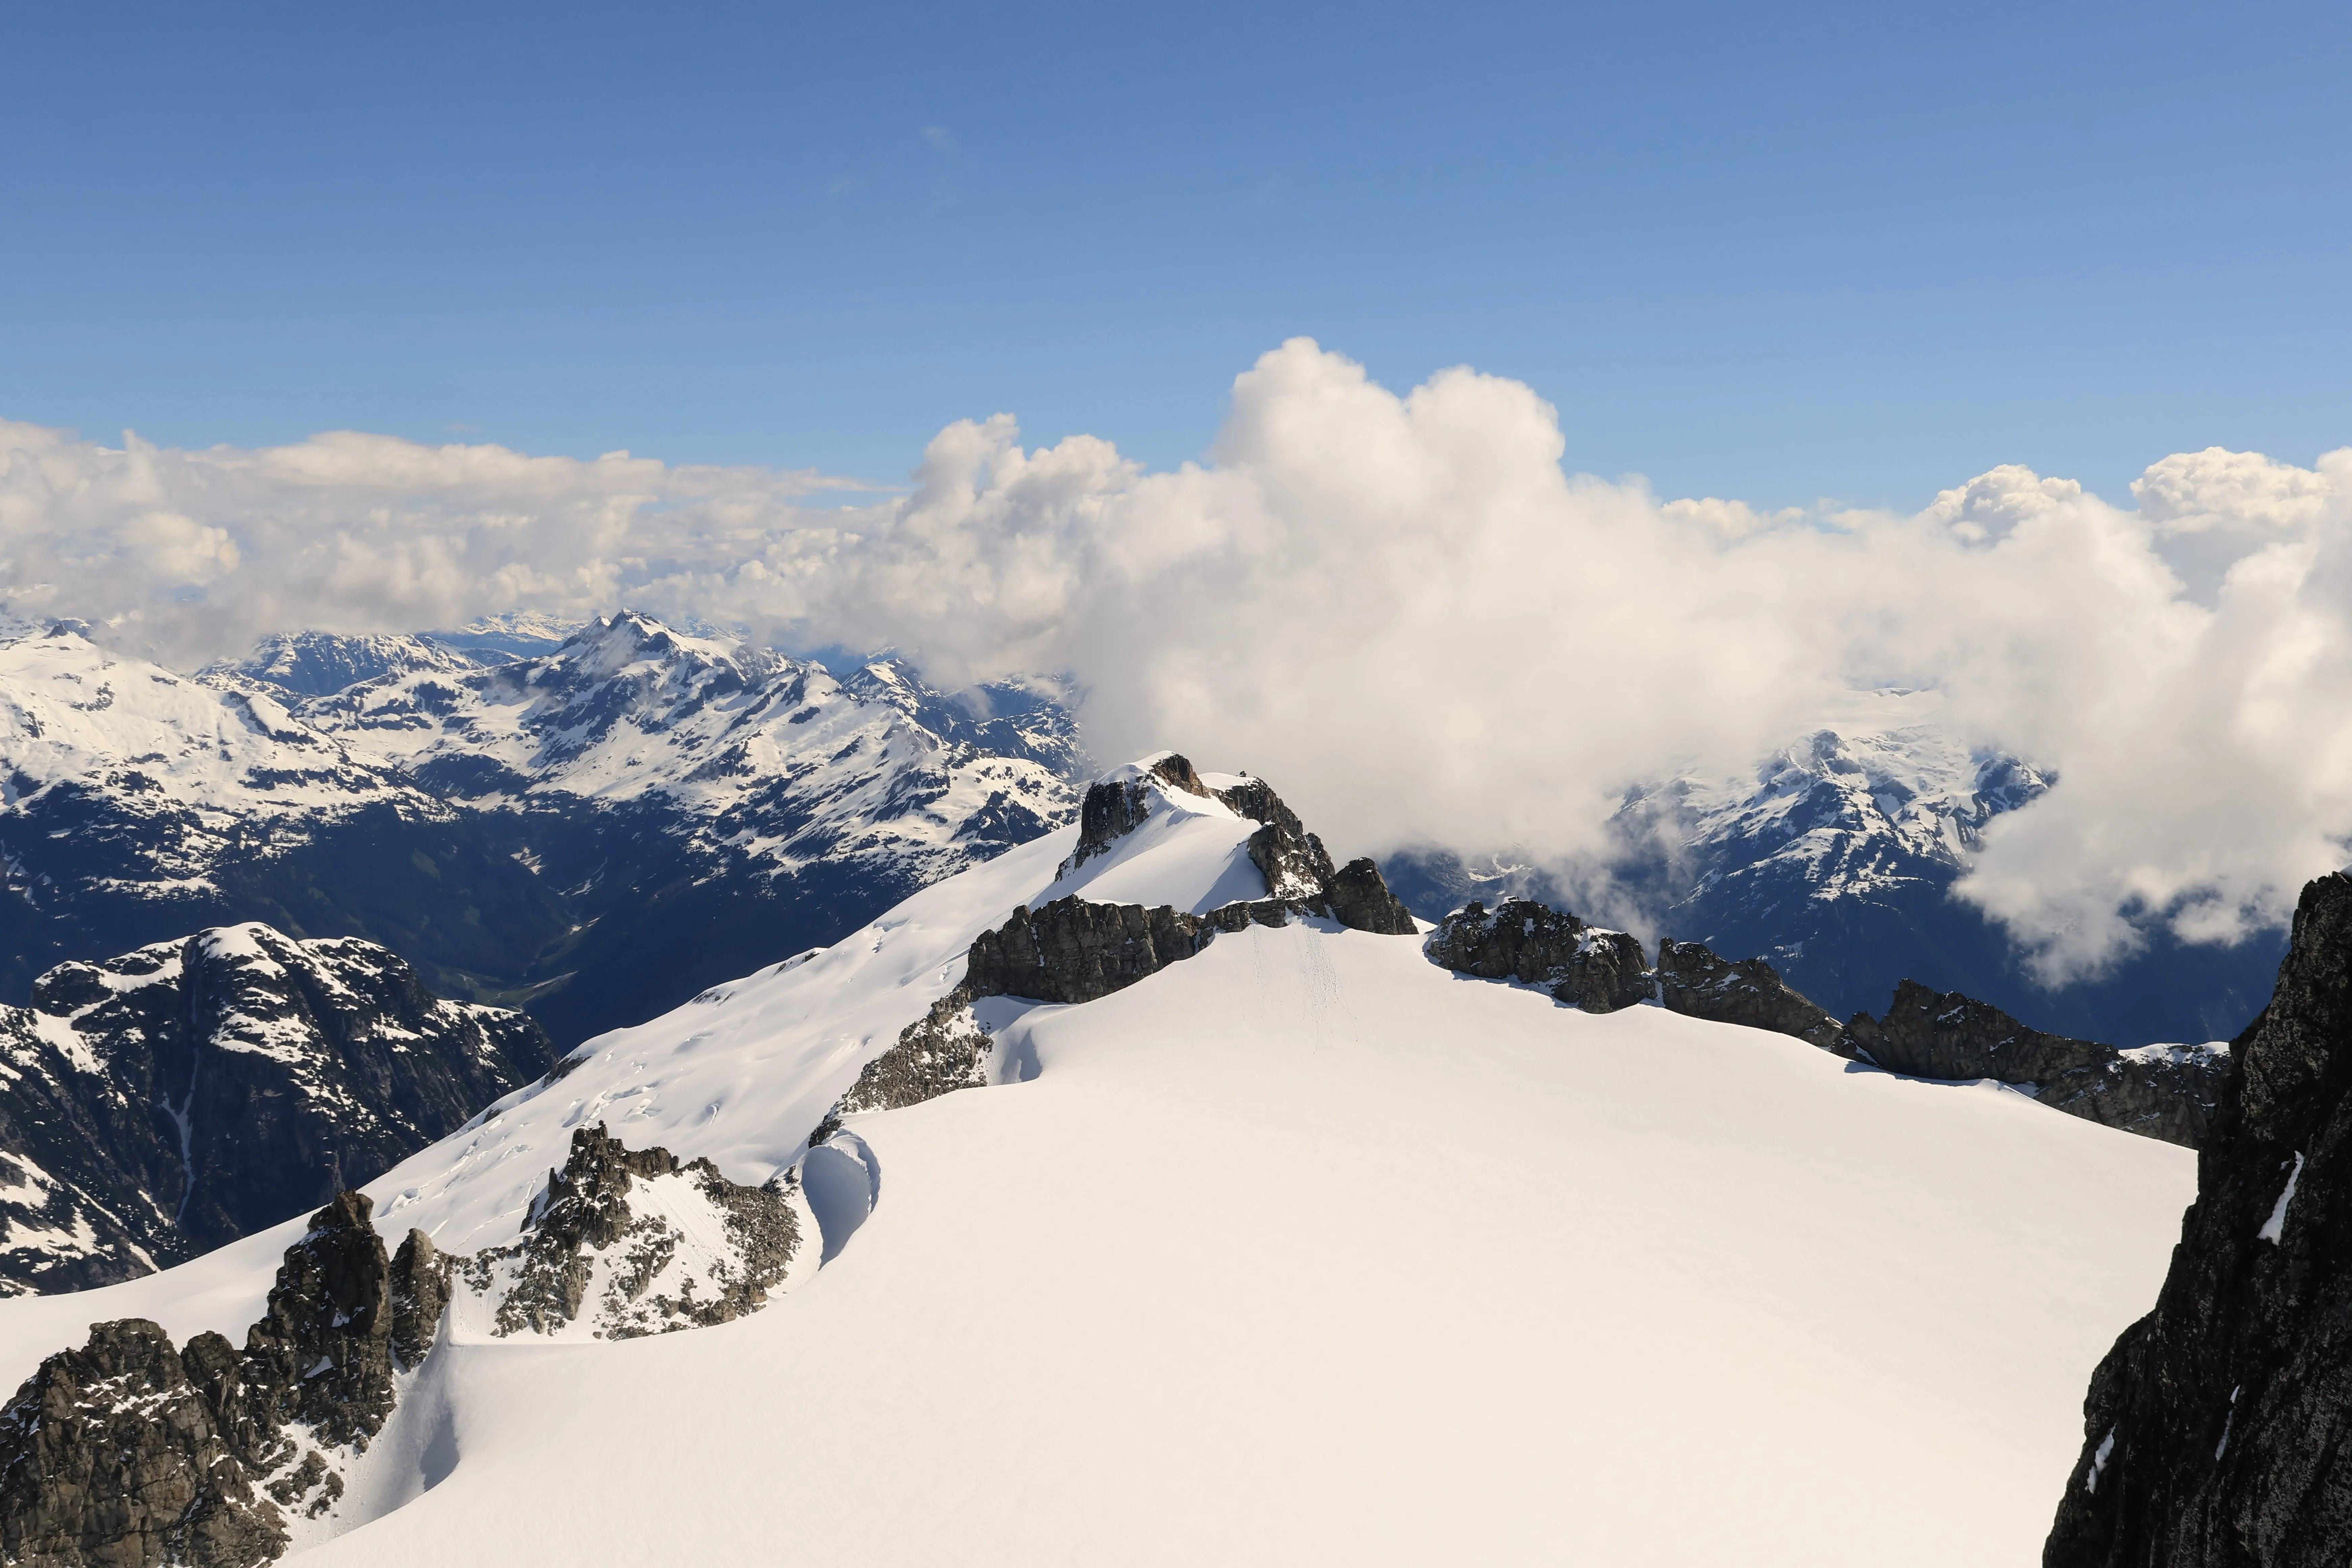
Clouds over the Canadian peaks from the summit saddle
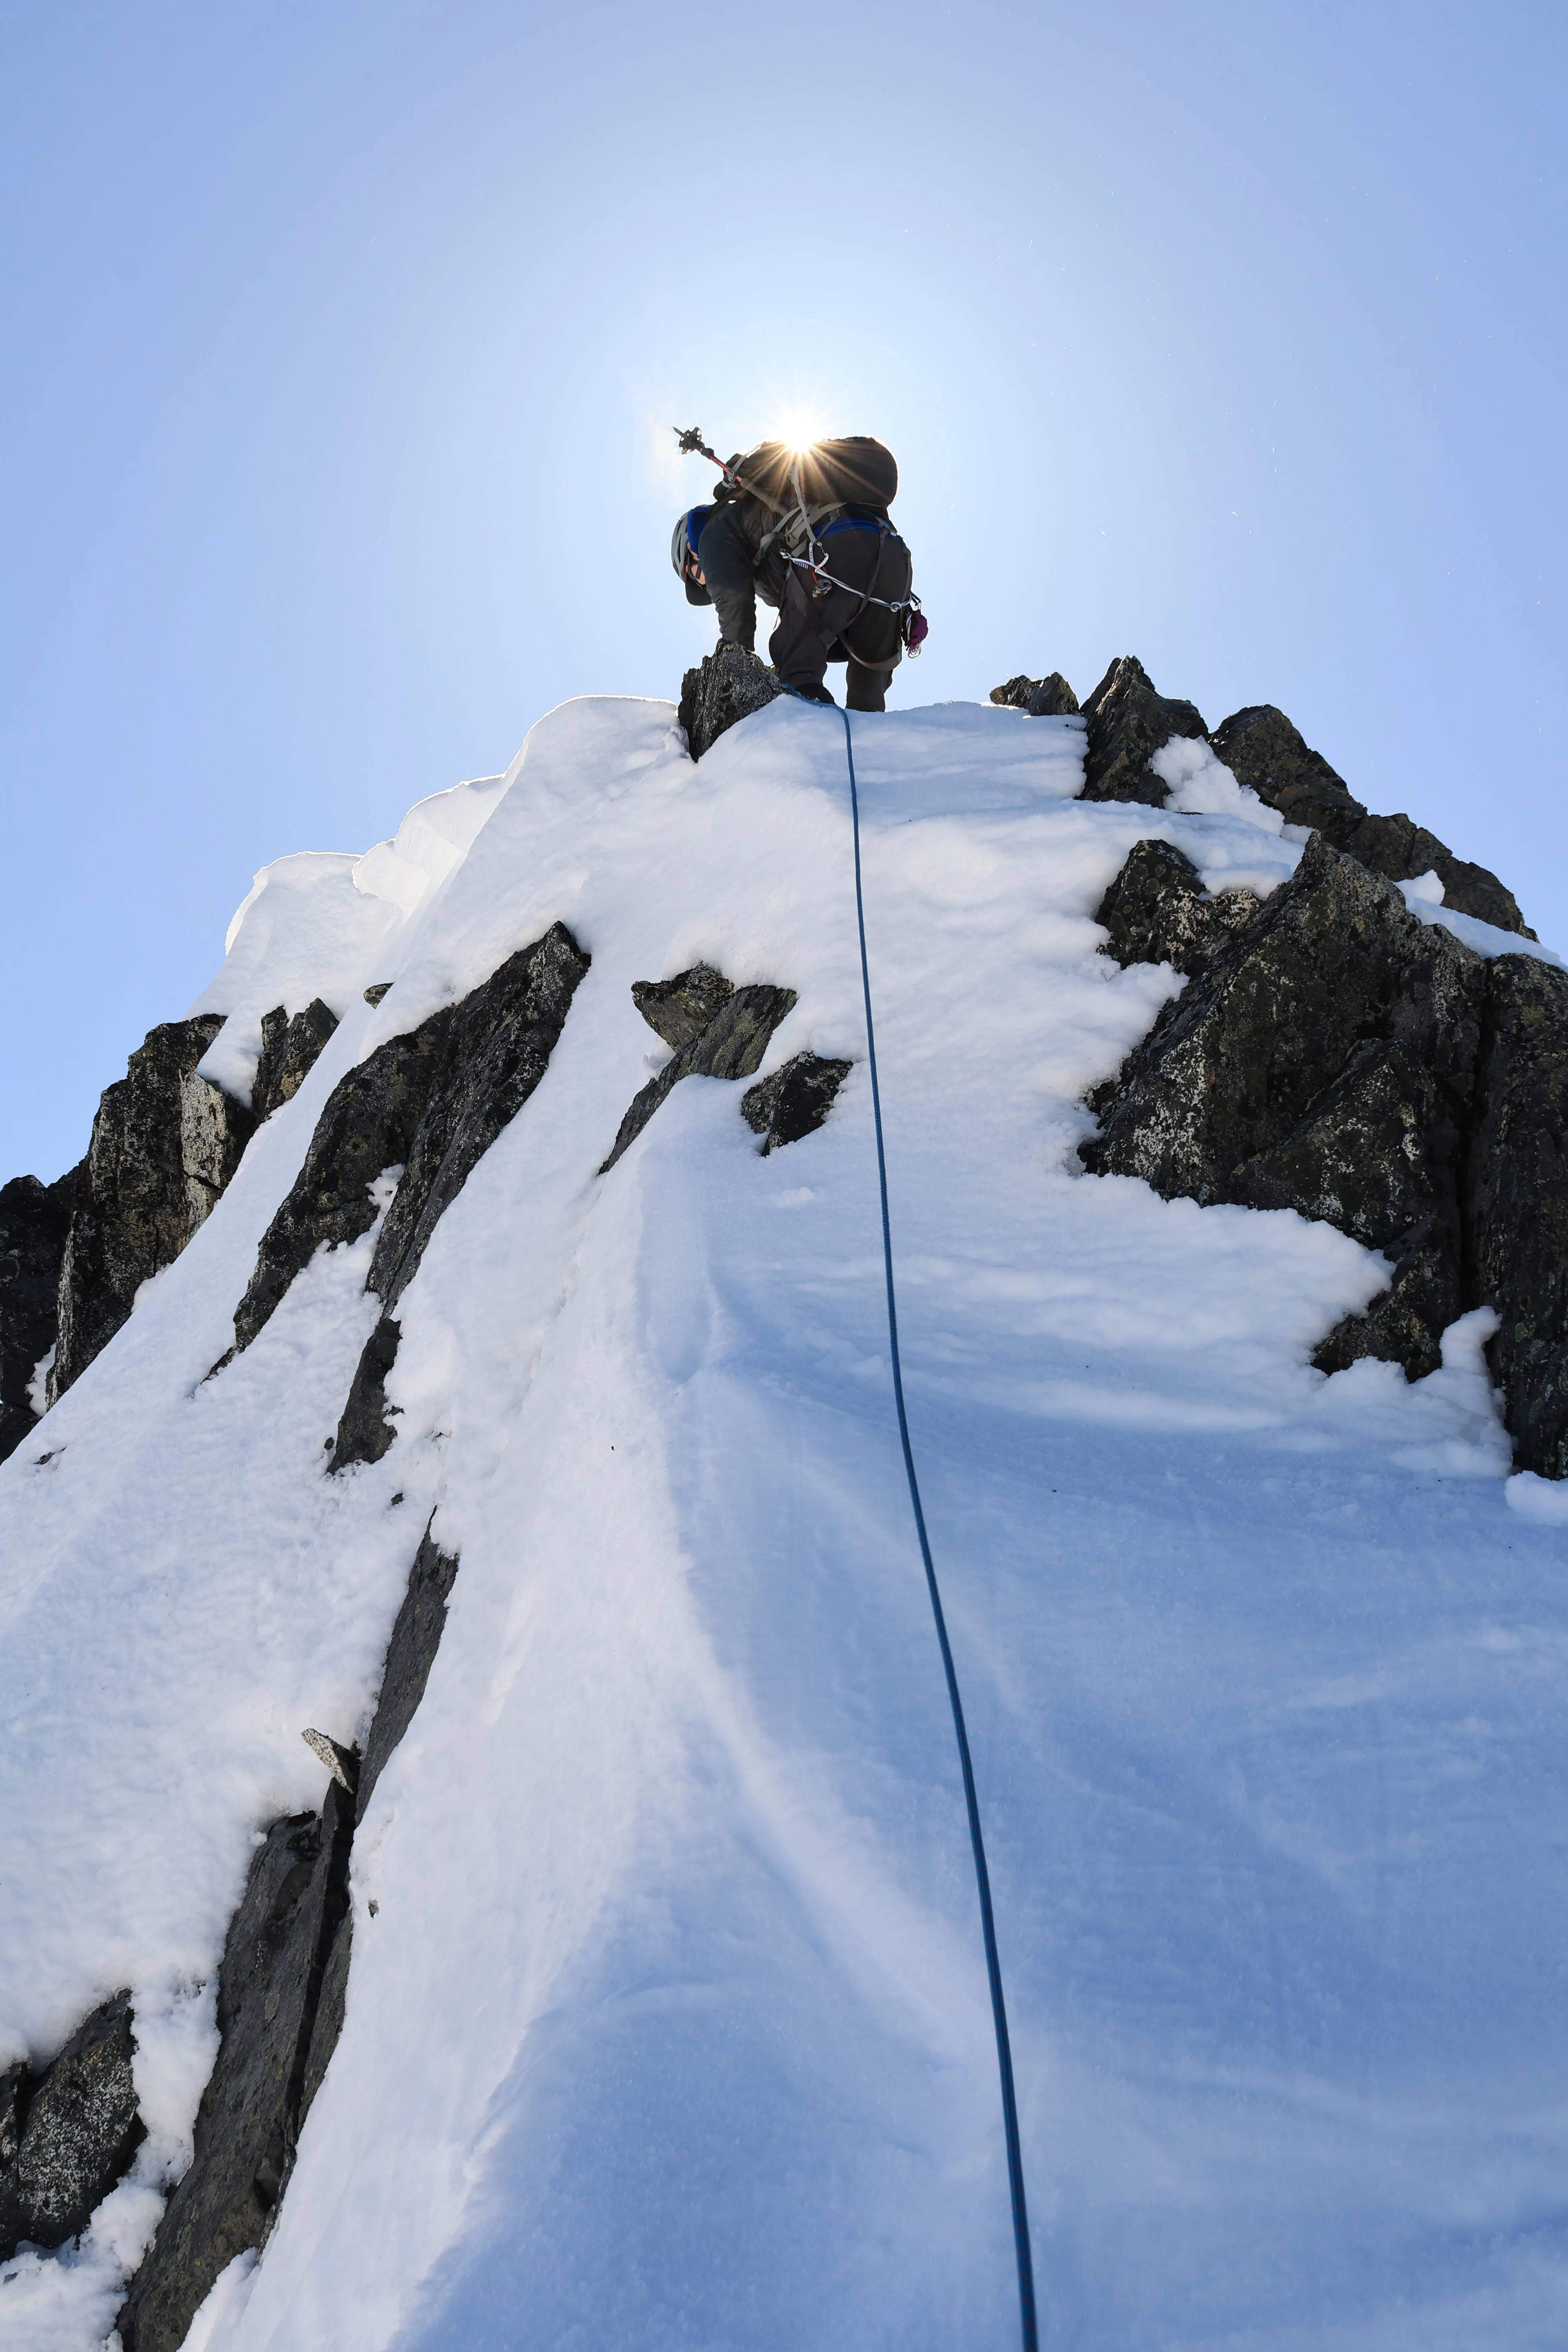
Scrambling the summit block at sunrise
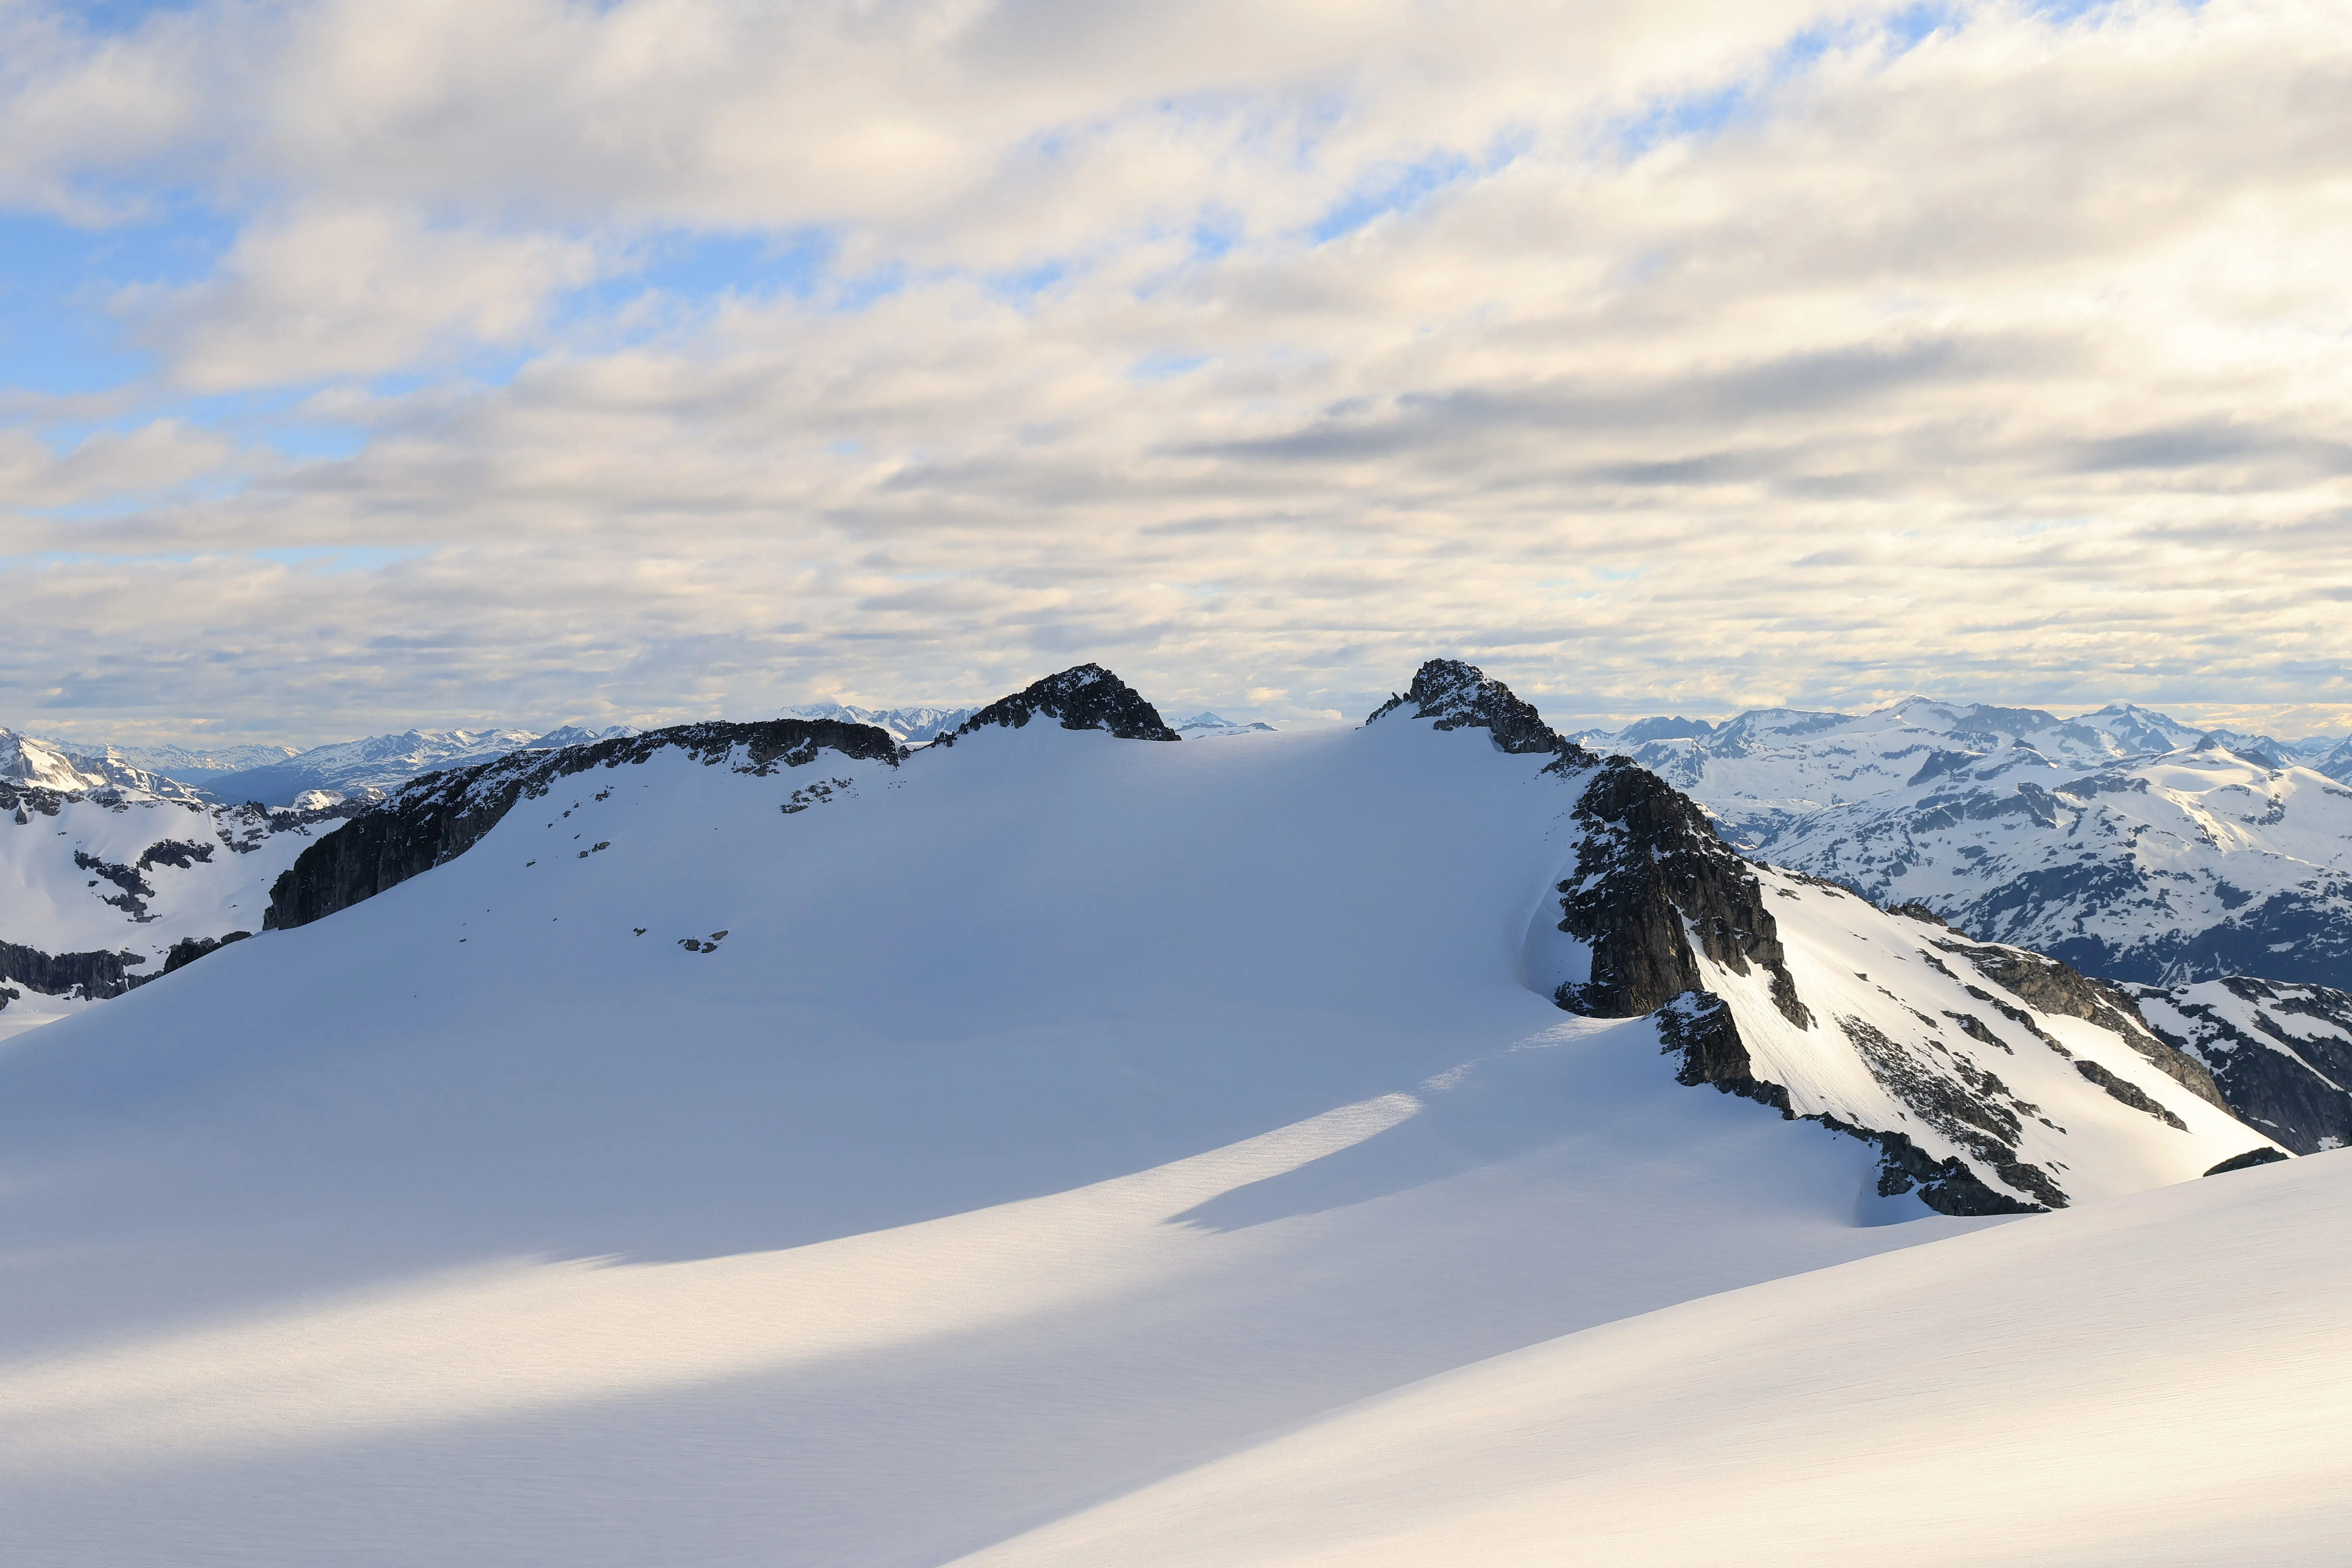
Peak sunrise light
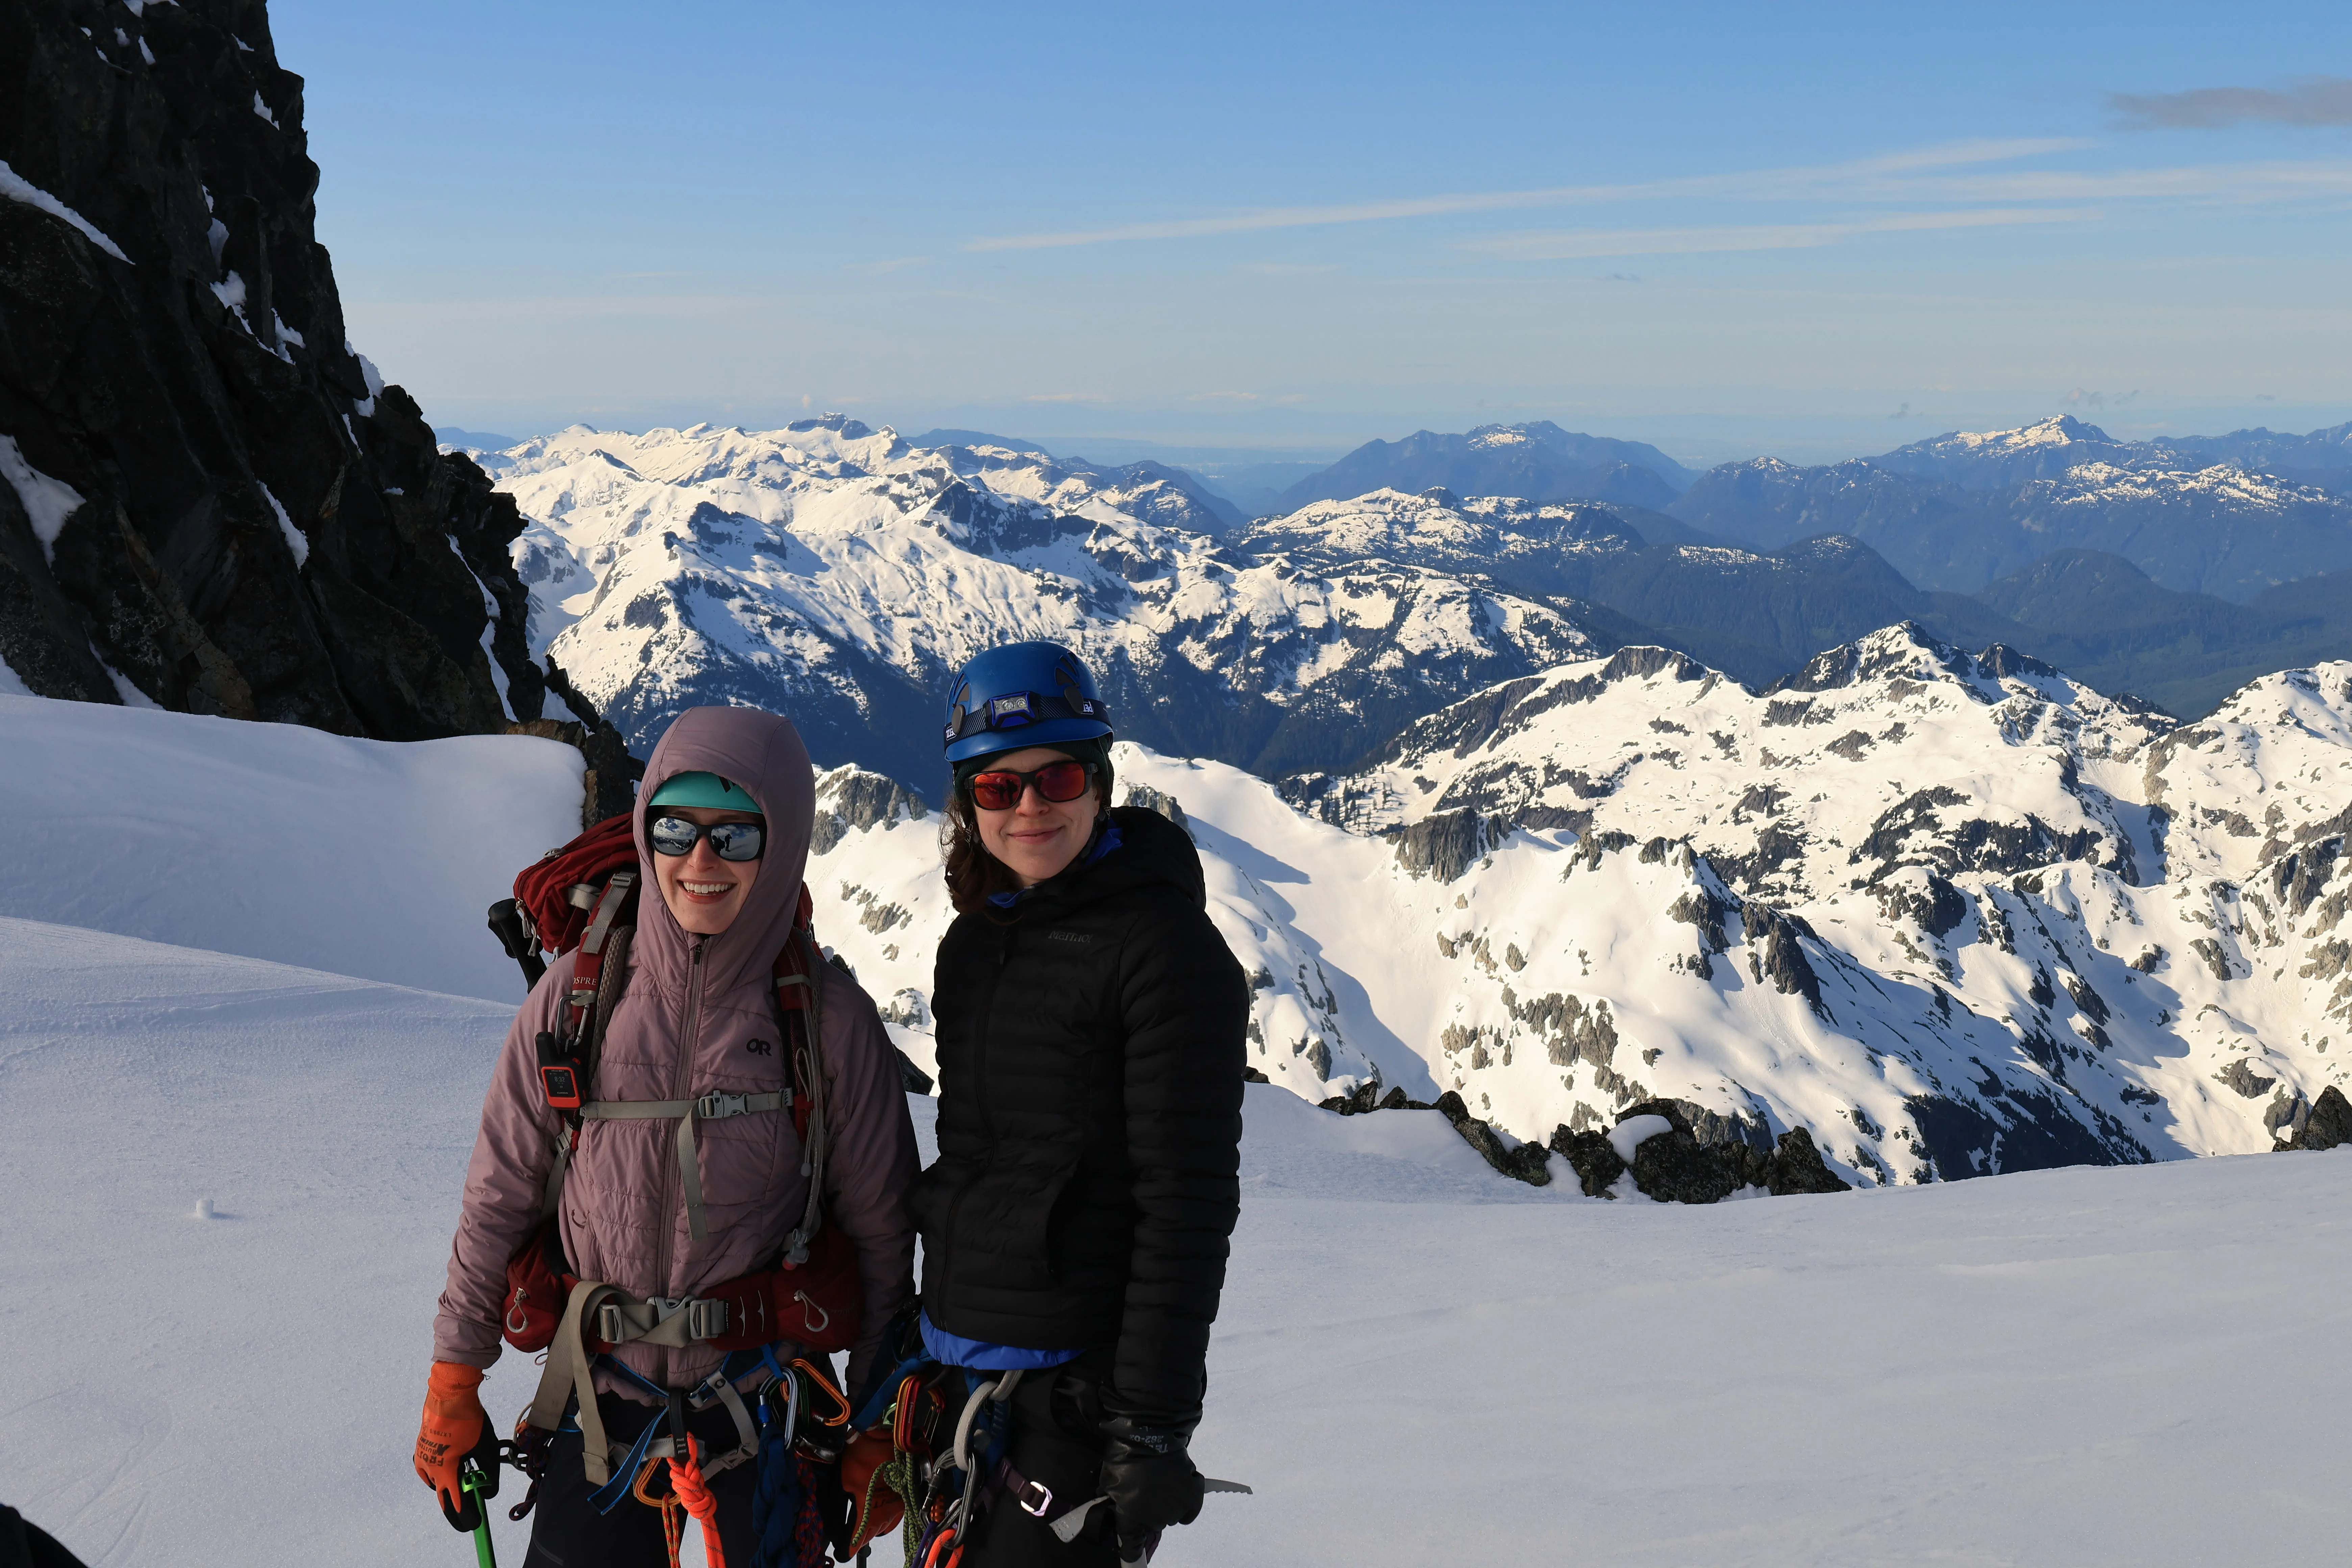
Phoebe and Lydia aura farming
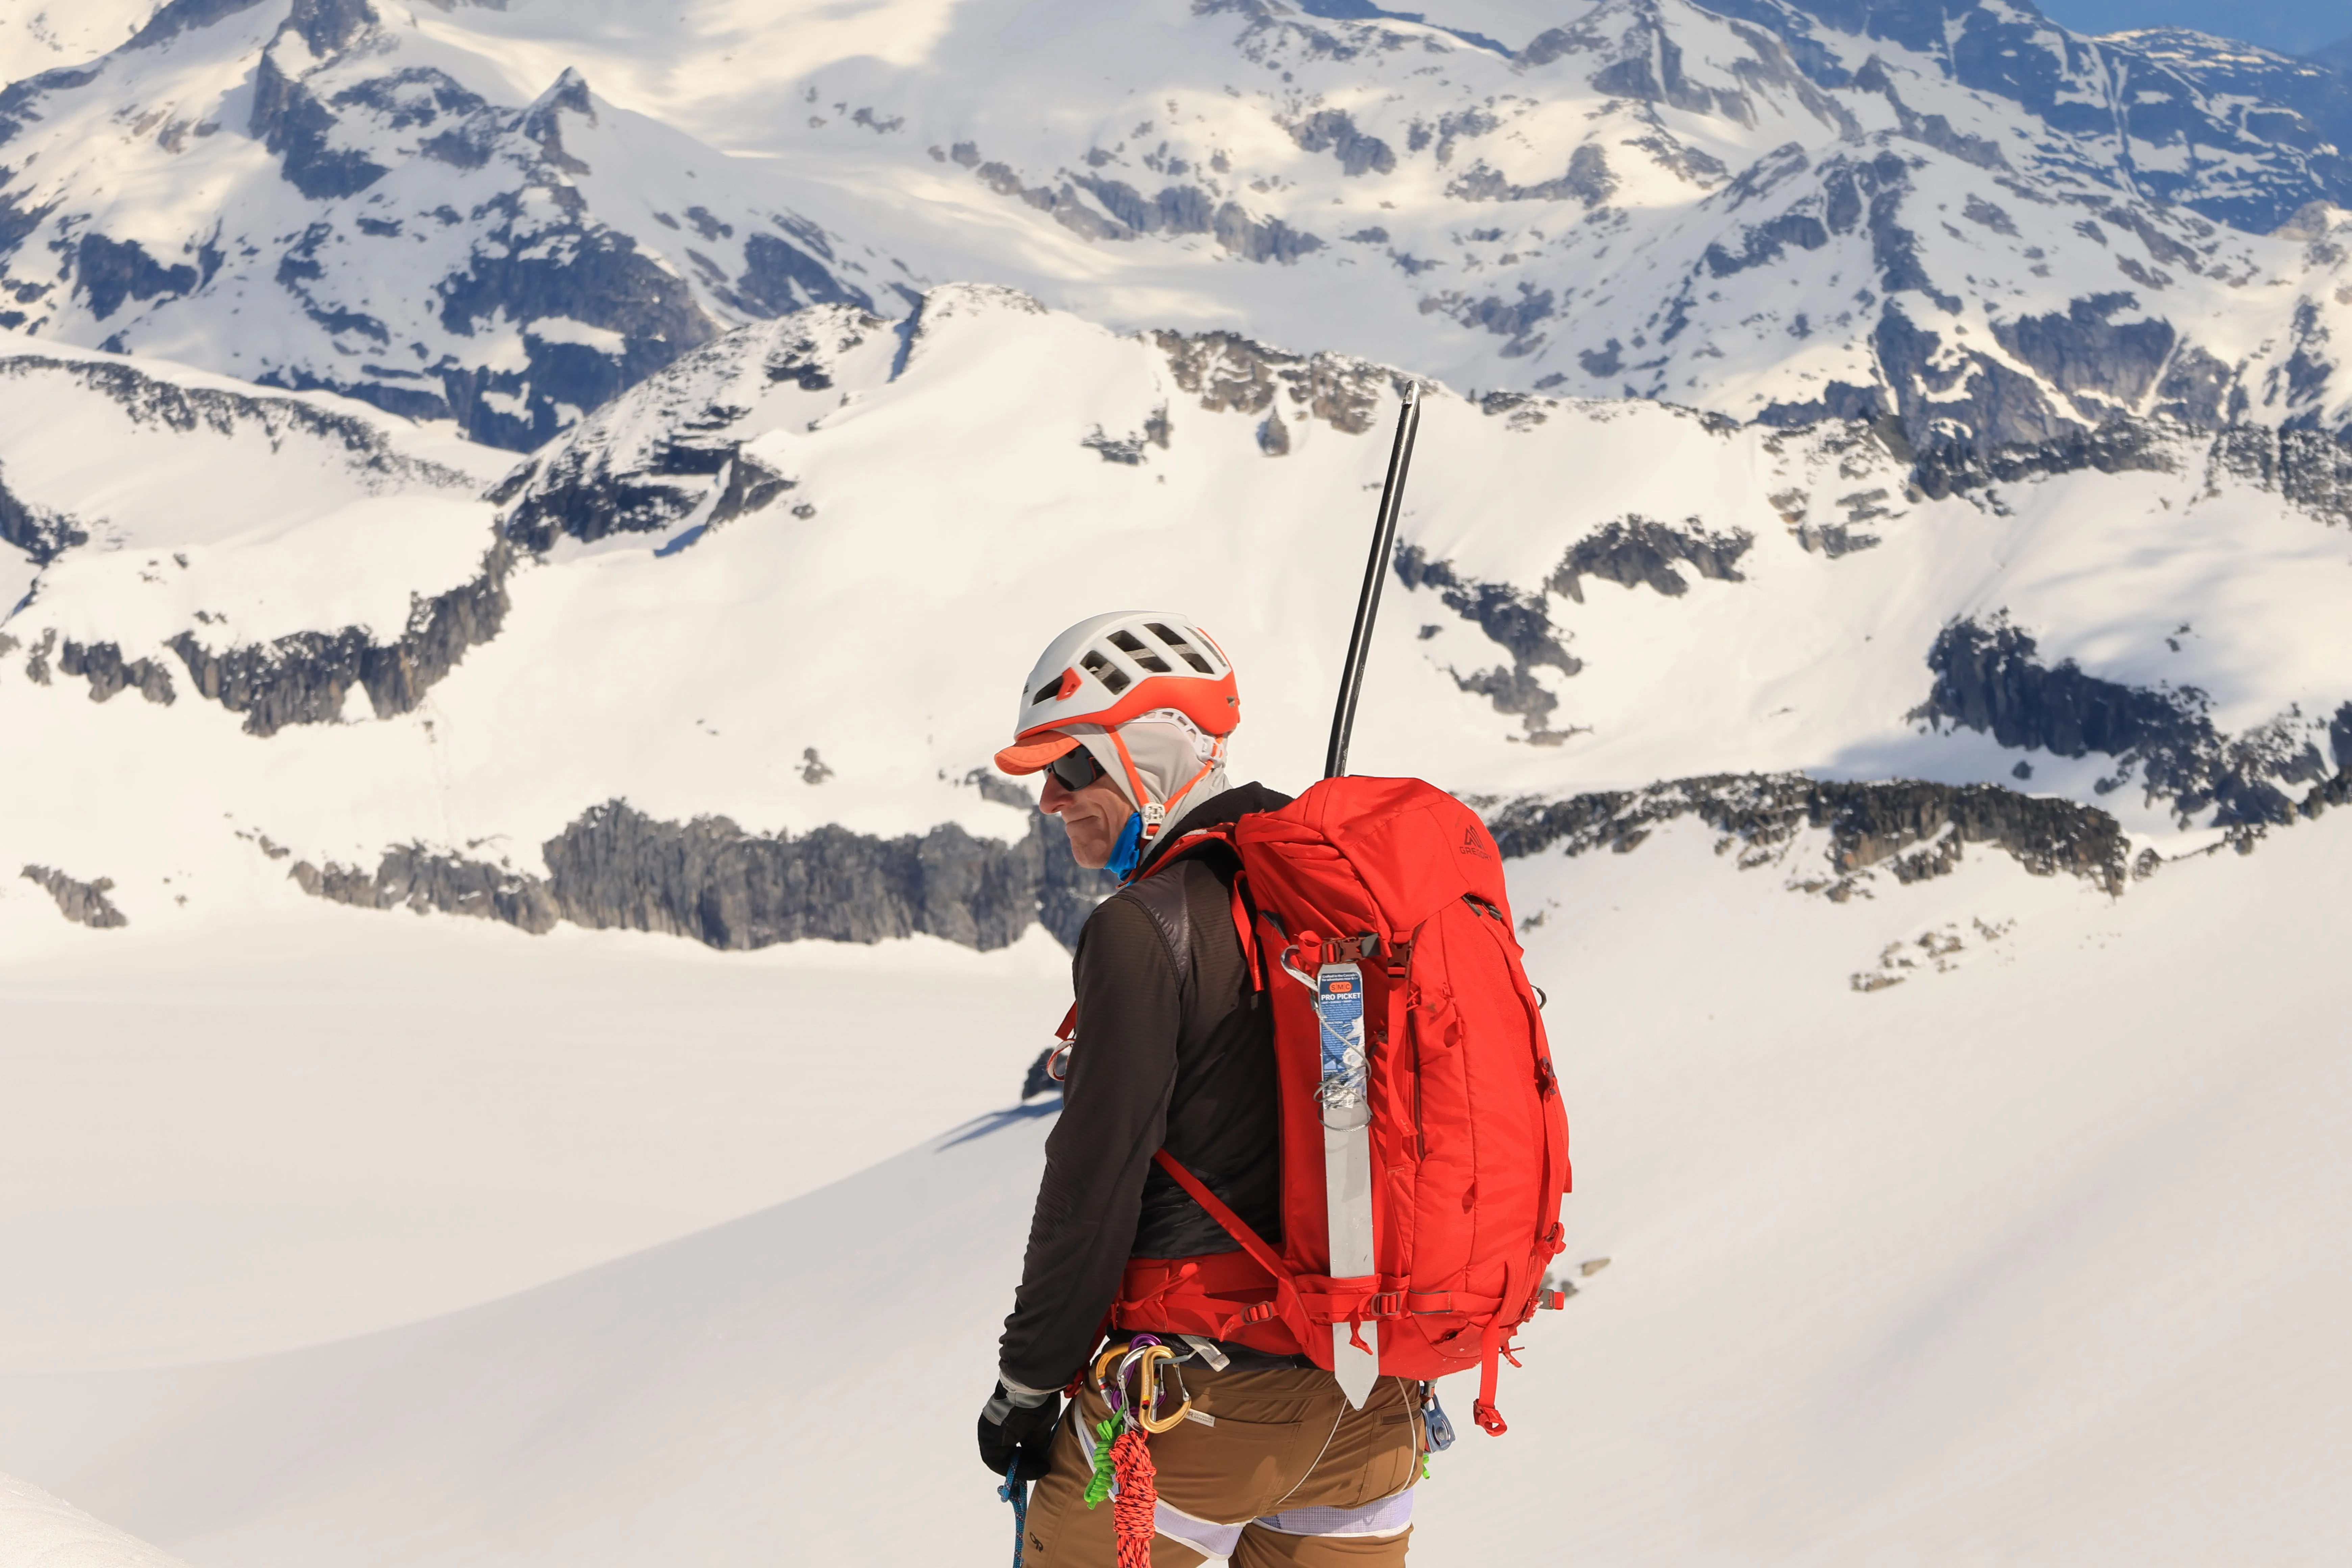
Rainer above the icefield
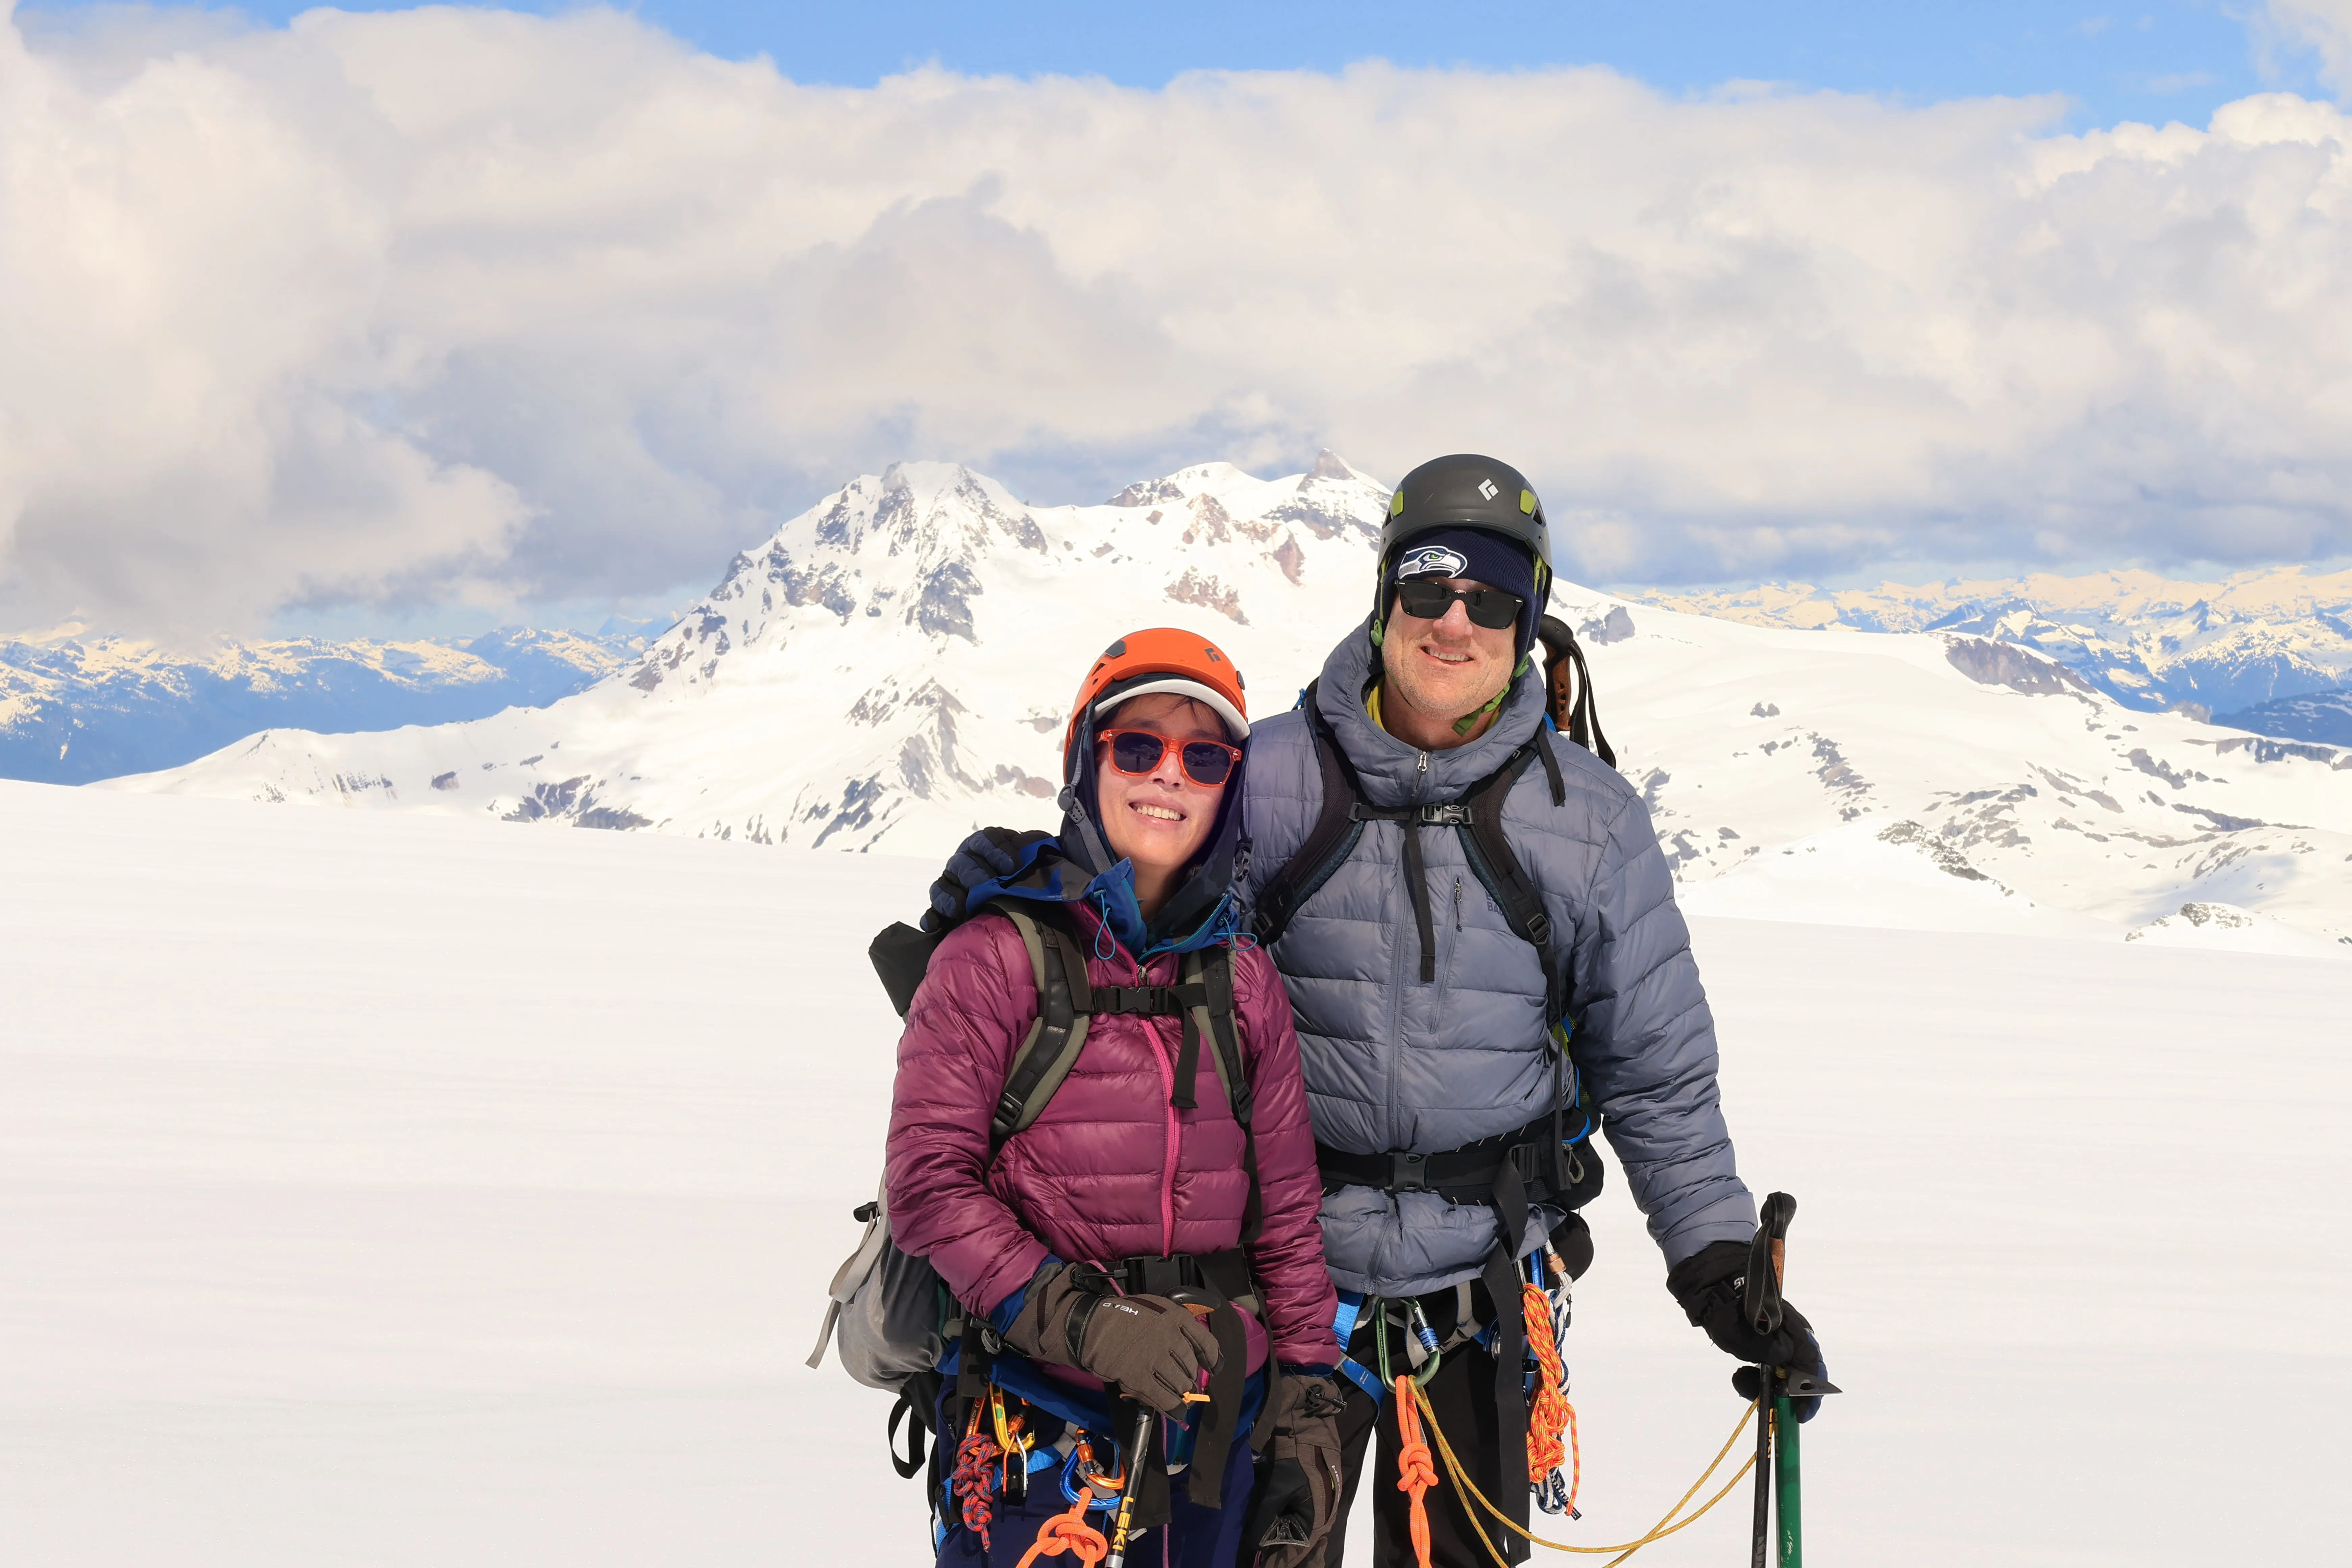
Mark and Jaewha volcano mogging
Mamquam Mountain Gear Loadout
Affiliate links, I may earn a commission, never at extra cost to you.
Carry & Move
-
Osprey
Atmos 65L
My do-everything pack. Carries heavy loads comfortably, ventilated back panel. Use it for most activities.
$300 -
Scarpa
Mont Blanc Pro GTX
Stiff enough for front-pointing, light enough for 5000ft approaches. My go-to mountaineering boot.
$550 -
Alvada
Merino Wool Crew Socks (3 pairs)
Cheap merino crew socks that punch above their price. Warm, cushioned, and a fresh pair for summit day is a small luxury.
$22
Climbing & Snow
-
Grivel
74cm Straight Shaft Ice Axe
Classic glacier travel axe. Self-arrest, probe, anchor — the do-everything tool for moderate terrain.
$120 -
Petzl
Vasak
Solid 12-point steel crampons. Reliable on glacier and moderate ice — the workhorse of my rack.
$175 -
Black Diamond
Vapor Helmet
Ultralight, great ventilation, fits over a beanie. The green one.
$100 -
Arc'teryx
AR-395a Harness
All-around alpine harness. Light for glacier travel, enough gear loops for a trad rack when needed.
$200 -
Mammut
Alpine Sender 9.0mm
My glacier rope. Thin and light for crevasse rescue systems, not a sport climbing rope.
$250 -
SMC
Aluminum Snow Picket
Aluminum picket for snow anchors and the summit belay. One of these is what Peter set the fixed line off on Mamquam.
$45 -
Generic
Runner & Wiregate Carabiner
A dedicated runner and wiregate biner rigged to the picket for a quick, reliable snow anchor.
-
Mammut
Sender Wire 60cm Quickdraw
Two long wiregate draws for the odd bit of protection. Light enough to forget they are in the pack.
$25 -
Mammut
Contact Sling 8.0 (180cm)
Two 180cm Contact slings for anchors and extending placements. Light, simple, always useful.
$15 -
Sterling
Hollowblock 2
Friction hitch cord for autoblock backup on rappels and crevasse rescue prussiks.
$20 -
Black Diamond
RockLock Screwgate Carabiner
My everyday screwgate locker. Big smooth gate, easy to work with gloves on.
$15 -
Black Diamond
RockLock Triple-Lock Carabiner
Triple-action locker for the master point and anywhere I want zero chance of it opening.
$22 -
Petzl
Tibloc
Emergency ascender — weighs nothing, lives on my harness for crevasse rescue hauling.
$30 -
Petzl
Nanotraxion
Progress capture pulley for Z-drag crevasse rescue systems. Tiny, bombproof.
$90 -
Petzl
Mini Pulley
Simple rescue pulley for mechanical advantage in haul systems.
$25 -
Petzl
Rocha Screw Lock Carabiner
Simple screw-gate locker. Reliable for glacier travel anchors and cordelette setups.
$14 -
Black Diamond
Transfer LT Shovel
Lightweight avy shovel. Packable, sturdy enough for real digging. Part of the avy kit.
$65
Layers & Apparel
-
Rabbit
Ice Perf Short Sleeve Tee
Breathable next-to-skin layer. Light and fast-drying, moves like a running shirt because it basically is one.
$48 -
Arc'teryx
Atom Hoody
My do-everything midlayer. Synthetic insulation that breathes on the move and shrugs off a little wind. Lives on me most of the climb.
$300 -
Arc'teryx
Norvan Windshell Hoody
Featherweight wind shell that stuffs to nothing. Cuts the wind on exposed ridges without the bulk of a hardshell.
$190 -
Outdoor Research
Helium Hoodie
Packable puffy for breaks and the summit. Throw it on the moment you stop moving and the wind finds you.
$280 -
Outdoor Research
Cirque Lite Softshell Pants
Stretchy softshell pants for approaches and moderate alpine climbing. Move well, dry fast.
$120 -
Arc'teryx
Grotto Toque
Warm toque for cold starts and summit wind. Fits under a helmet.
$40 -
Arc'teryx
Aerios 5-Panel Cap
Breathable cap that keeps the sun off on long snow days and dries fast.
$40 -
Black Diamond
Soloist Finger Mitt
Split-finger mitt that trades a little dexterity for real warmth. My hand layer on Shasta, plenty warm up high without going full expedition mitt.
$160 -
Showa
Temres 282 Gloves
Waterproof, grippy gloves I always pack for snow, rock, and ice scrambling like the summit push. Dexterous enough to work, cheap enough not to baby.
$35 -
Generic
Fingerless Fishing Gloves
Cheap white fingertipless fishing gloves to keep the sun off the backs of my hands on long glacier days, fingertips free for knots and zippers.
$12 -
Mount to Coast
Running Sleeves
Arm sleeves for quick temperature regulation. On for the cold start, pushed down or stowed once the sun comes up.
-
Badger
SPF 50 Sunscreen
Mineral zinc sunscreen — thick, stays put on sweaty glacier days. Reef safe too.
$16 -
Vallon
Heron Glacier Glasses
Side shields, category 4 lenses. Essential for high-altitude snow travel — no snow blindness.
$150
Electronics
-
Black Diamond
Storm 450
My alpine-start headlamp, bright enough to route find on snow in the dark. Ran it from the 1am start to sunrise on Shasta without a thought.
-
Rocky Talkie
Mountain Radio
Carried a pair for team comms on the mountain. Glove-friendly, leashed so they do not drop, and they just work when the team is spread across a slope.
$110 -
Garmin
inReach Mini 2
Satellite messaging and an SOS button for where there is no signal, which is most of the time up high. Non-negotiable safety kit.
$400
Shelter & Sleep
-
Outdoor Research
Helium Bivy
Minimal bivy sack for nights when a tent is too much. Packs tiny, blocks wind and spindrift. My shelter on the Darling Lake bivy.
$250 -
Mountain Equipment
Glacier 700 Sleeping Bag
Down bag rated for alpine camps. Warm, packs small, handles cold bivy nights.
$400 -
Therm-a-Rest
NeoAir XLite
R-value 4.2 in a tiny package. The inflatable pad that actually keeps you warm at altitude.
$220 -
Exped
FlexMat (Z-Mat)
Closed-cell foam pad — bulletproof, no punctures, doubles as a sit pad. Pairs with the NeoAir for cold nights.
$50